Tuesday, August 31, 2010

Spectacle Island

Img_2299

The Charles is beautiful in the morning. Before it is disturbed my numerous motor boats, sailboats, kayaks, and crew people, it is very calm and serene.

Img_2307

On our journey to Spectacle Island, we motored out of the Charles in a sailboat, and made our way to Boston Harbor.

Img_2316Img_2317Img_2312

There were some amazing, unique views.

Img_2320

We went through the locks...

Img_2333

...and made it to the harbor!

Img_2331

We raised our sail, but not for long... It broke, and we had to motor all the way to Spectacle Island.

Img_2336

But we made it there! And I have a picture of the welcome sign to prove it.

Img_2342

Spectacle Island featured views of the ocean,

Img_2353

and views of the city.

Img_2352Img_2355Img_2356

Jamie took some beautiful pictures!

Img_2366

We motored back to Cambridge, with our sailboat friends in tow.

Img_2375

This is a secret view of the Longfellow Bridge - it is my favorite! You can only see these gondala-gargoyle-ish statues from the water!

Img_2377

And finally, the amazing view of Boston from under the Longfellow  Bridge.


Monday, August 30, 2010

Chex Mix

On Saturday, Jamie and I went on an adventure! I'll have to post the details of our adventure later, but for now, I'll tell you how I made the snack we took with us!

Img_2274
I started by mixing together approximately:

1.5 cups of rice chex

1.5 cups of corn chex

1 cup pretzels

1 cup cheetohs

1 cup garlic-flavored bagel chips, broken up into small pieces

Img_2275Img_2278

Next, I measured 3 tablespoons of Smart Balance, and melted it in the microwave.

Img_2276

Then, I gathered:

1 T Worcestershire Sauce

3/4 t Lawry's Seasoned Salt

1/2 t garlic powder

1/4 t onion powder

Img_2279

And then, I mixed all of the spices and worcestershire sauce into the melted Smart Balance...

Img_2280

...poured it all over the chex mix, and mixed it all together (with my hands)!

Img_2282

I stuck the mixed together bowl of future yumminess in the microwave for one and a half minutes.

Img_2285

I took it out of the microwave, and stirred it all up. Then, I repeated the microwave and stir process two more times.

Img_2287

I spread the hot mixture out onto a paper towel to cool.

Img_2288
It was really yummy!

Friday, August 27, 2010

My lifelong dream

I have always wanted a giant chalkboard (and an overhead projector but I don't think that one's happening anytime soon). My dream came true this week when Jamie and I painted one on the wall outside our door. It is pretty awesome! Jamie even had the idea to paint a border around it that matches our door.

Img_2210

It started with the kids on our floor, who wanted to paint a magnetic chalkboard hockey rink. I thought that was awesome enough - that I would be within close proximity to a giant chalkboard. And when I found out they had extra paint so I could have my own giant chalkboard, I got really excited! Here is their awesome half way finished hockey rink. Notice the little dinosaur magnet that is going to represent them playing hockey!

Img_2267Img_2269

And here is my finished bulletin board! I wrote the schedule of events for the freshmen so they'll know where to be and when. Now they have no excuse.

Img_2261Img_2262Img_2264

Thursday, August 26, 2010

Greek Salad

The accompaniment to the grape leaves I made last night was this greek salad. It was quite fun to make! I attempted to document it PW style, too, and here it is! 

I started with simple ingredients: oil and vinegar.

Img_2238

I put 1/4 cup of each into my pyrex with 1/4 cup of water.

Img_2240
Then I added 2 cloves of pressed garlic and approximately 2 tablespoons of chopped parsley.
Img_2244
Last I added salt and pepper. Oh yeah, and a little bit of dried oregano. After that, I poured it into my salad dressing cruet and shook it up really well (The picture of my cruet did not come out well so you'll have to imagine that part in your head).
Img_2248
Now, for the good stuff! I washed a green bell pepper, a cucumber, romaine lettuce, cherry tomatoes, and green onions.
Img_2251

Then I chopped them all up, added a can of sliced black olives, and spun all of the water out in my salad spinner!

Img_2252
I tossed some crumbled feta cheese on top and sprinkled dill over the top.
Img_2254
It went quite well with my grape leaves! Yum!


Grape Leaves

Last night, I made Jamie's favorite meal, Grape Leaves. They are quite a task to take on, as they require lots of labor (the rolling of the grape leaves). There is no strict recipe; It's just a little here, a little there, do this, do that, so I am going to attempt to document my recipe PW style, picture by picture. Enjoy!

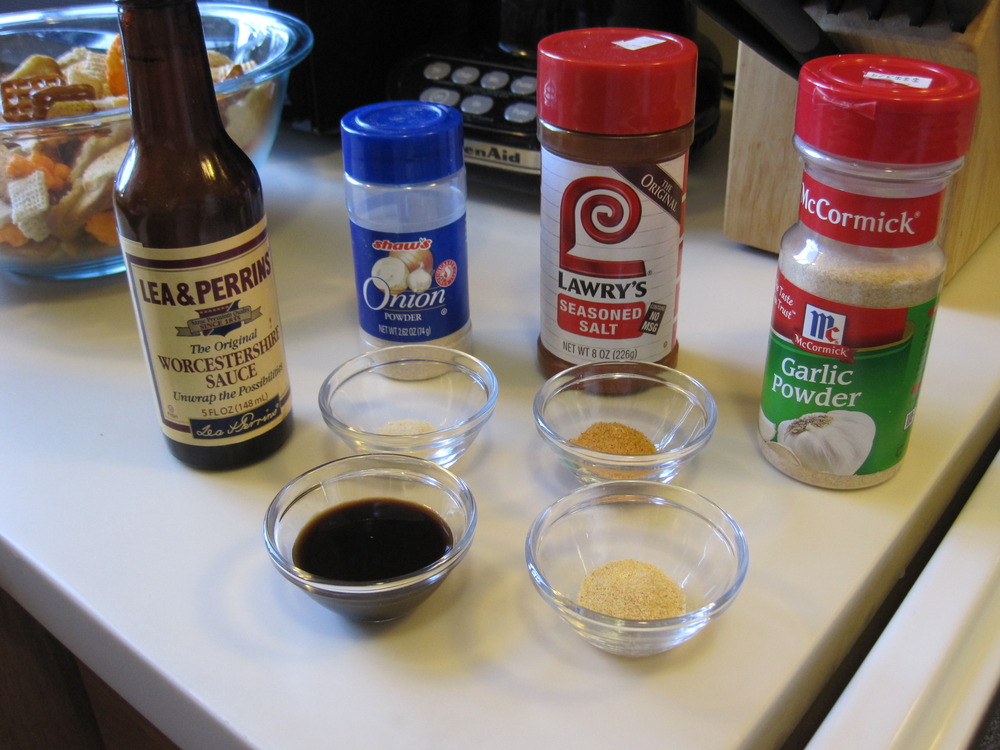
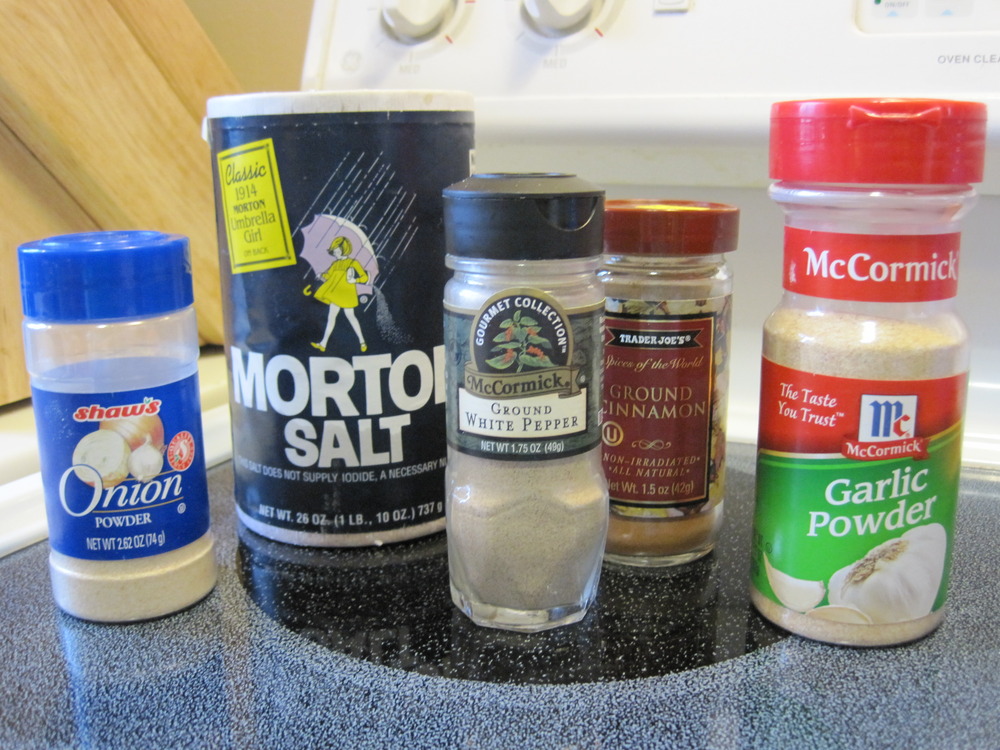
Start by gathering the following spices: Salt, pepper, cinnamon, onion powder, and garlic powder.

Img_2217
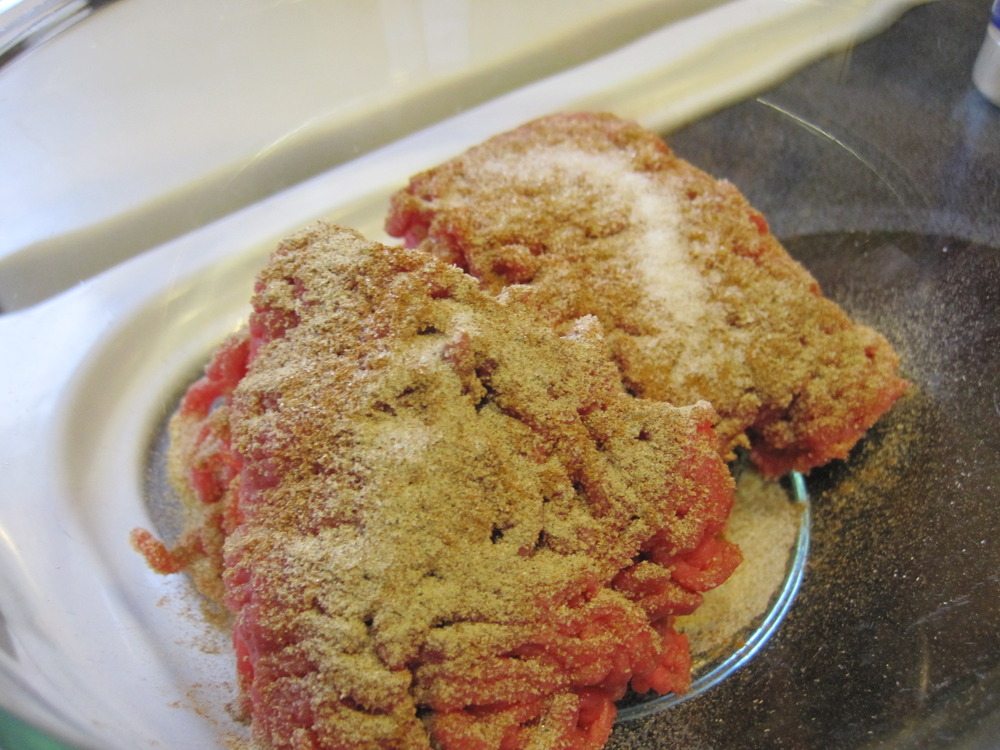
Sprinkle them on a pound of ground lean beef (I use 94% or 90%). Generously sprinkle the garlic powder, cinnamon, pepper, and give a light sprinkle of salt and onion powder. You want to have a nice sort of thick layer of spices all over your meat! It looks like this:
Img_2219

Next, dump some basmati rice over the top of your meat. Get your hands in there and work it all together. Add more rice if it doesn't look like enough. There should be a nice balance of rice and meat, just like this:

Img_2222

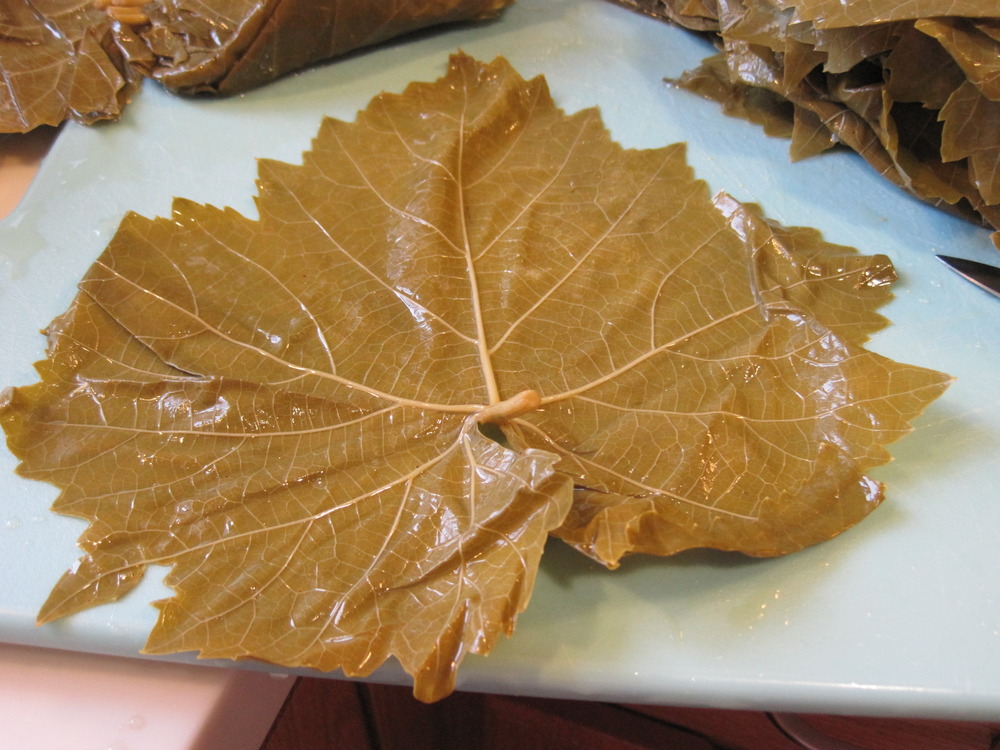
Now, for the grape leaves! Get a can of grape leaves from the store. Many grocery stores have them, sometimes near the pickles and other times on the international foods isle. Take the grape leaves out of the can. One giant grape leaf looks like this:

Img_2220

Cut all of the grape leaves in half, being sure to cut off completely the little stem coming out the bottom. It is thick, and you wouldn't really want to eat it. Then start placing a reasonable amount of meat on the half of the grape leaf. See below for an example. If you put too little, you'll have weak grape leaves. If you put too much, Jamie's family will make fun of your giant grape leaves. It takes a lot of patience to roll these little things up!

Img_2224

Lay your rolled grape leaves in a big pot, preferably one that has a large surface area on the bottom. You want to stack as few grape leaf layers as possible. Stack them in a circular pattern like you see below.

Img_2226

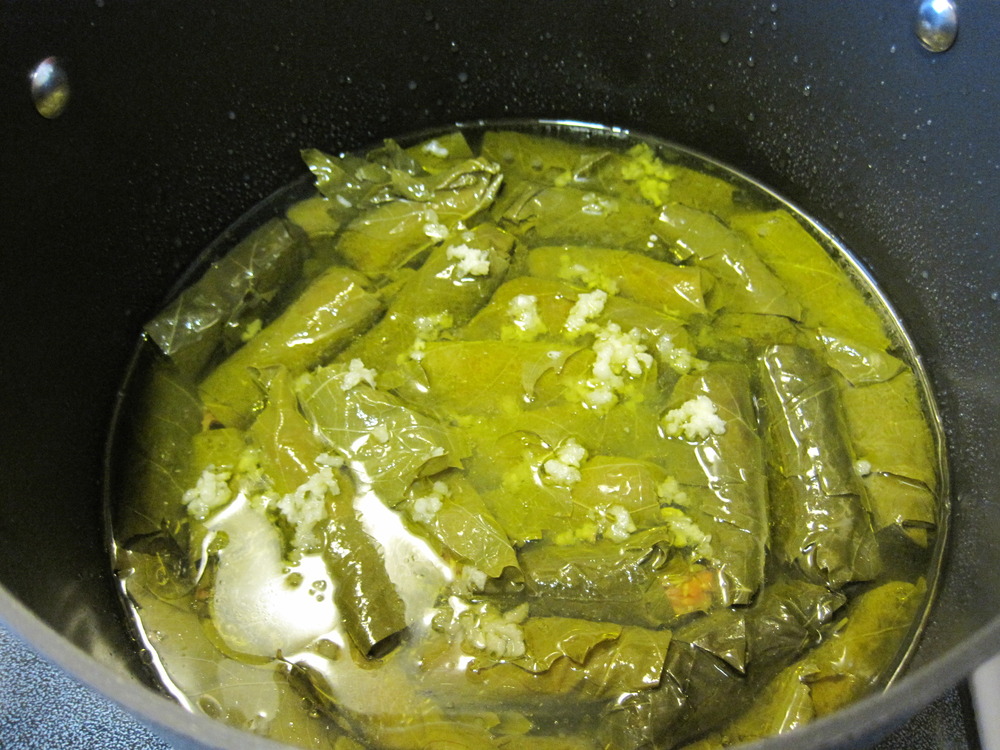
After you roll all of the meat into the grape leaves, you'll need to add olive oil, garlic cloves, lemon juice, and water to the pan.

Img_2236

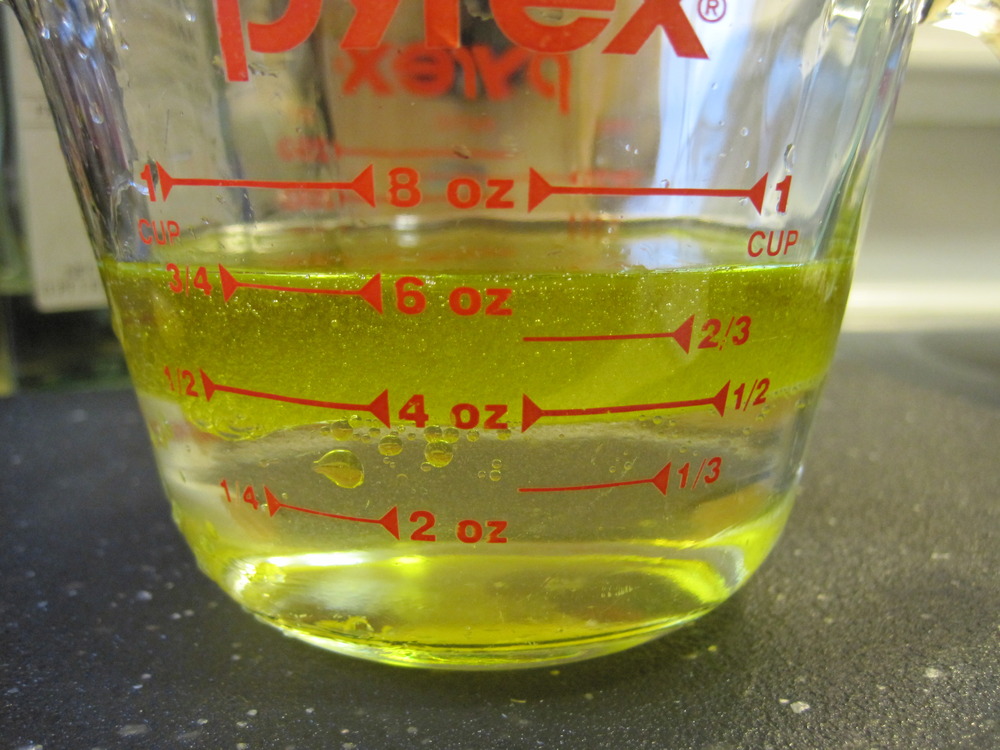
First, dump in some olive oil - I would say about 4T, but don't measure. Add about the same amount of lemon juice. Then, add some water until it reaches just the top of the grape leaves.

Img_2229

Last, put in 4 cloves of peeled garlic. This time, I used a garlic press to make the garlic disperse more around the pan. You can do that, or just put the garlic in whole.

Img_2232

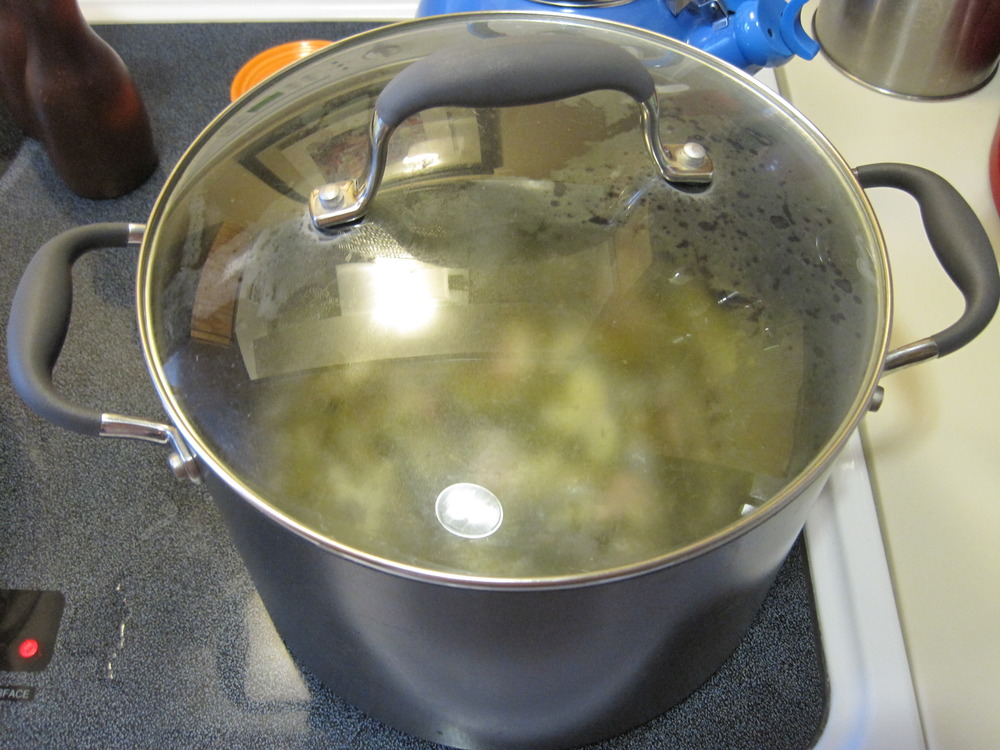
Turn the heat on high, with your pot uncovered until you hear it start to boil. At that point, turn the heat to medium and add a lid to the pot. They need to cook for about 45 minutes total.

Img_2242

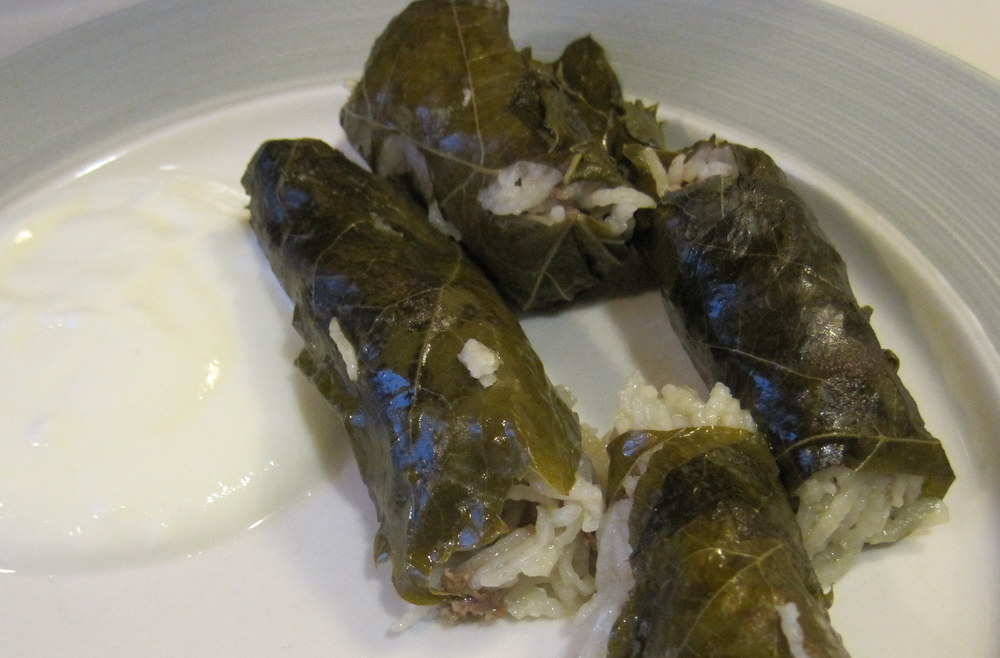
45 minutes after you originally turned on the heat, you are ready to serve your grape leaves! Pour some nonfat yogurt into a bowl, and add a little salt on top. Scoop some salted yogurt on a plate next to your grape leaves and enjoy! They will be delicious!

Img_2256Img_2255