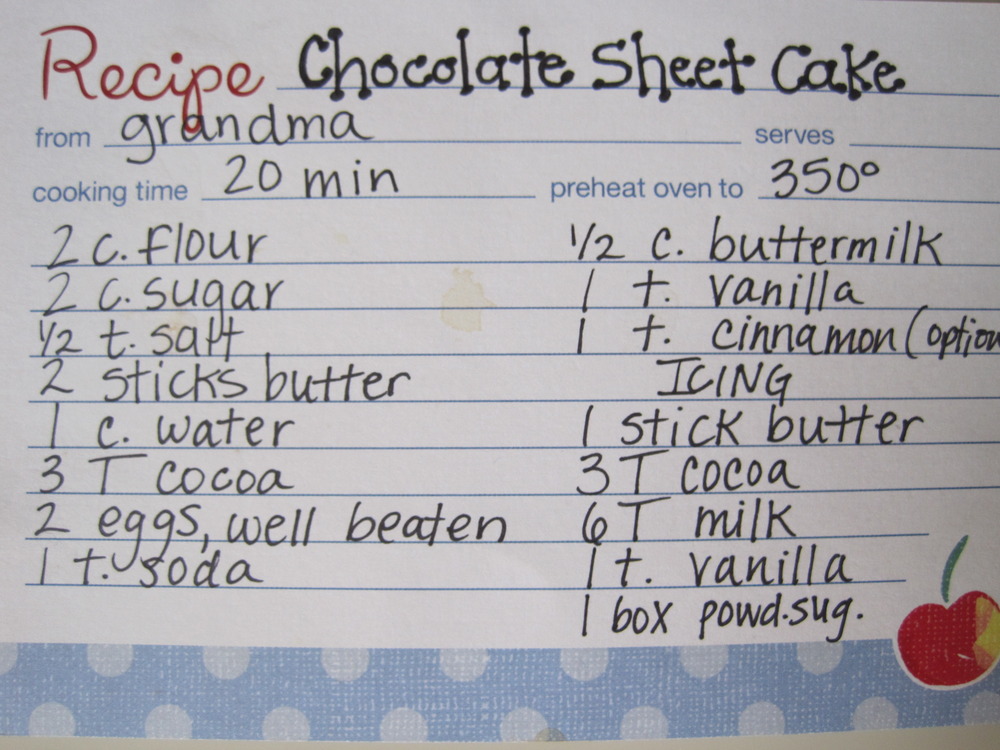
The recipe has been "passed on" to me by my grandma - who makes this cake every time we visit. I always think it tastes better when she makes it, even now. The reason I say "passed on" in the way that I do is because the first time I asked her for the recipe, she told me to go online and look up "Texas Sheet Cake". So there are various versions of this cake floating around, but my favorite is Grandma's.
Throughout the - let's say 10 - years I have been making this cake, I have learned many things:
- You have to mix the ingredients in the specified order
- You have to wait for the chocolate mixture to cool before adding it to the other ingredients
- The cake will come out really badly without baking soda
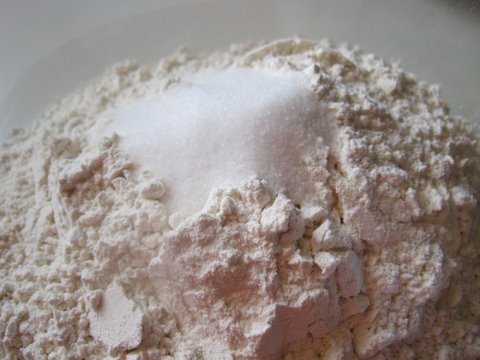
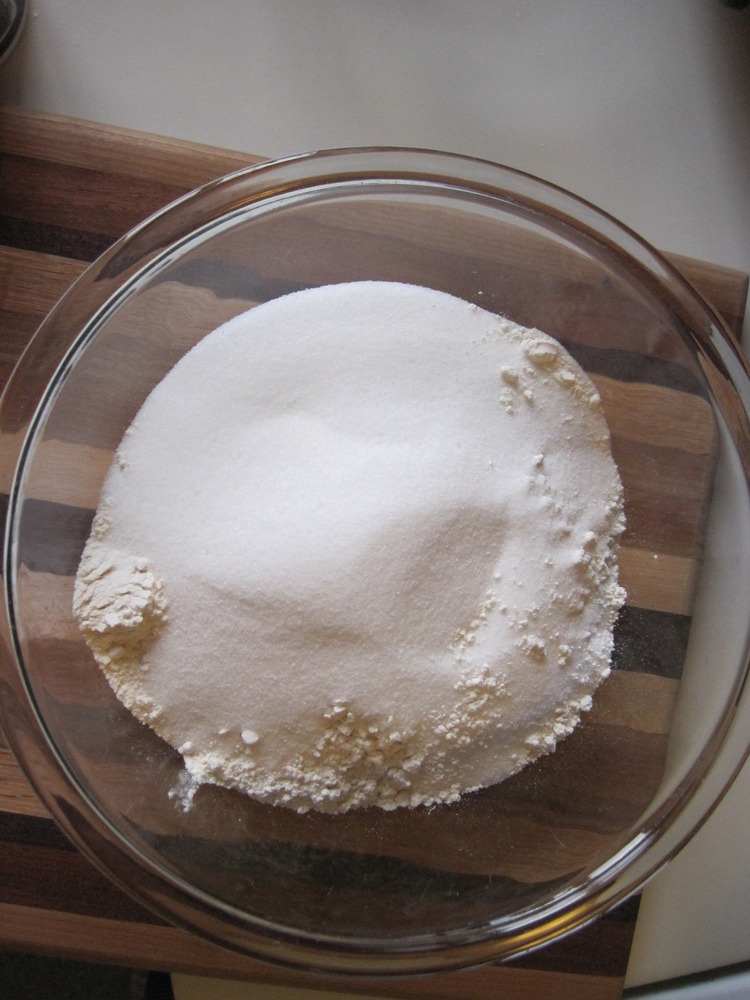
To start out, combine flour, sugar, and salt in a large bowl.
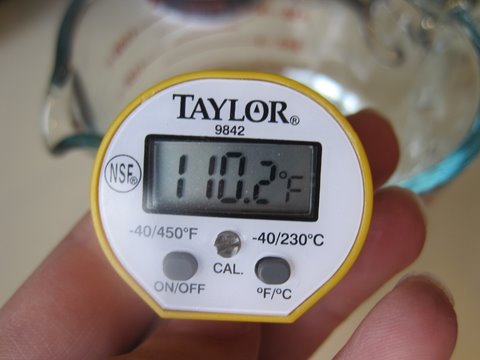
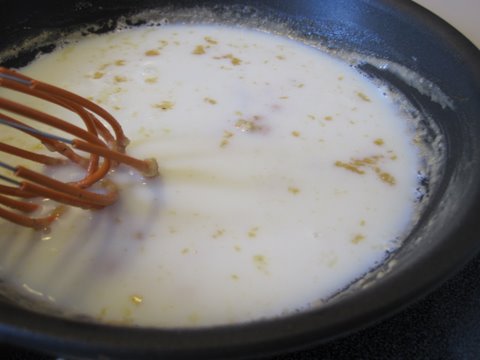
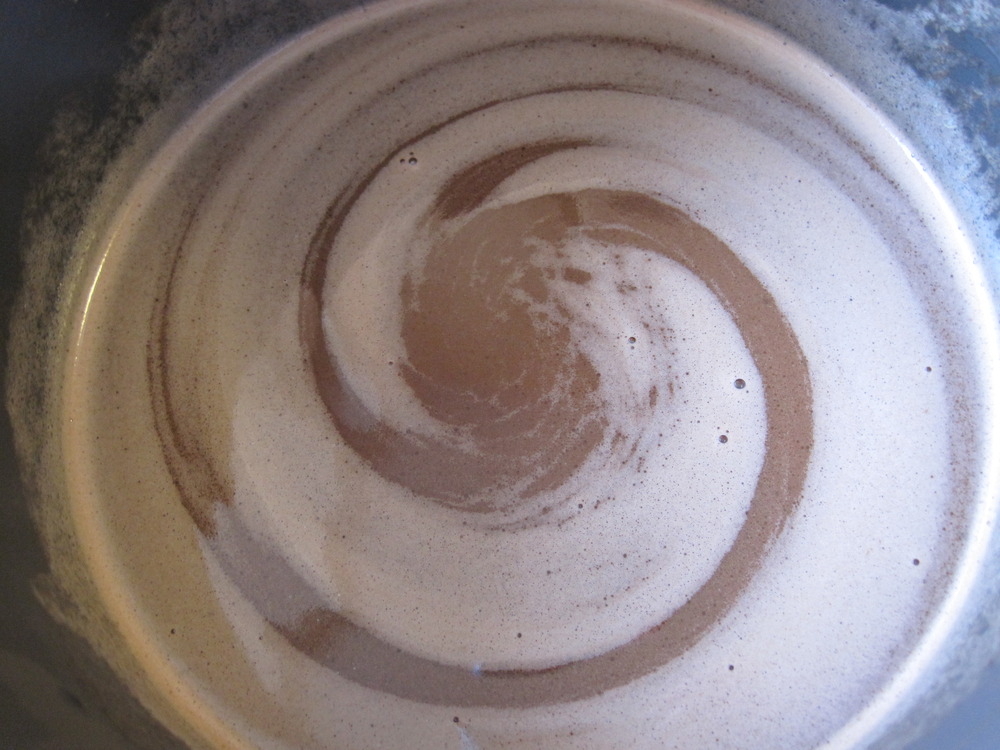
Then on the stovetop, heat up butter, water, and cocoa.
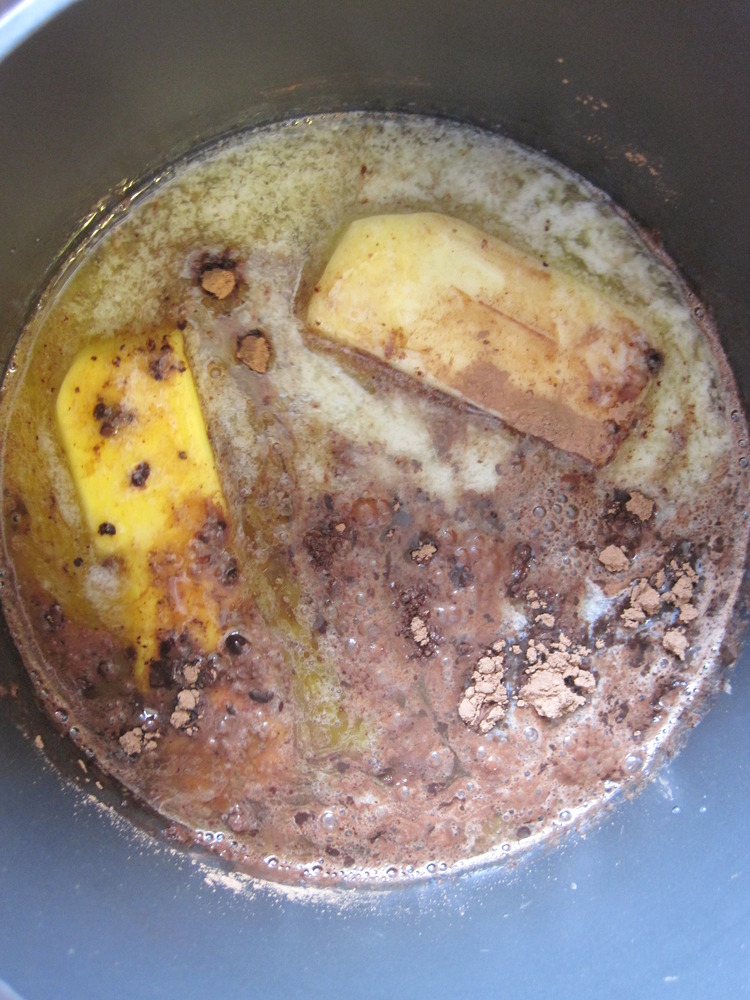
Bring to a boil and let cool.
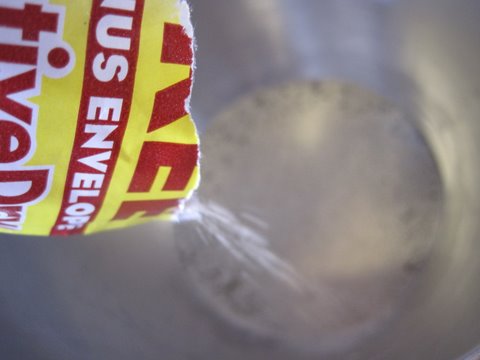
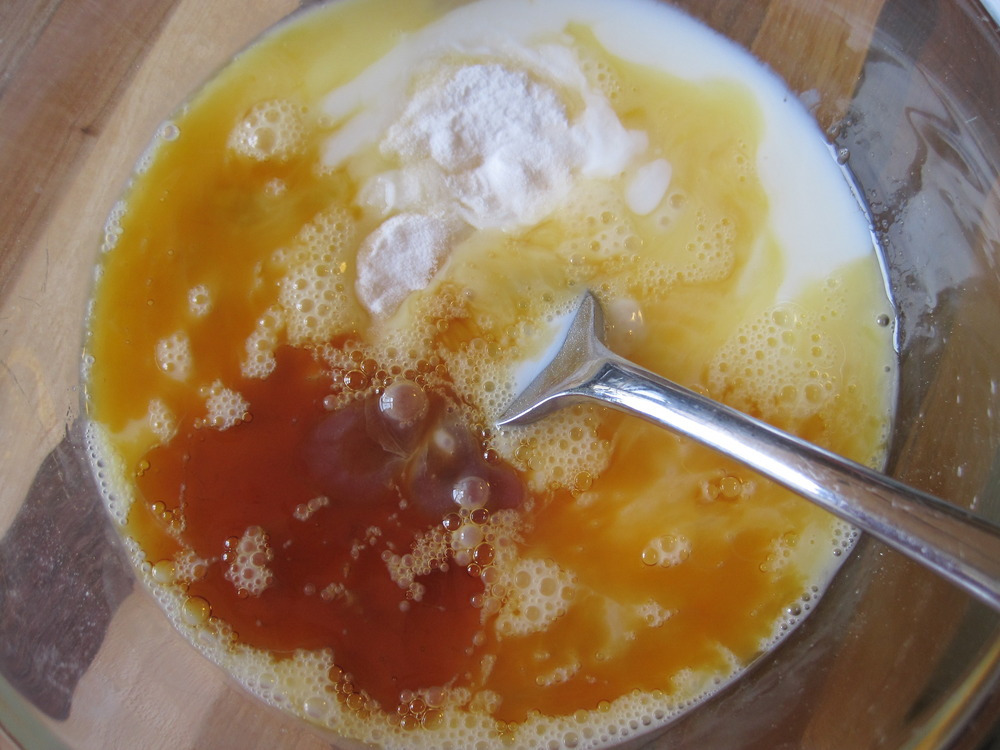
In another bowl, combine eggs, buttermilk, soda, and vanilla.
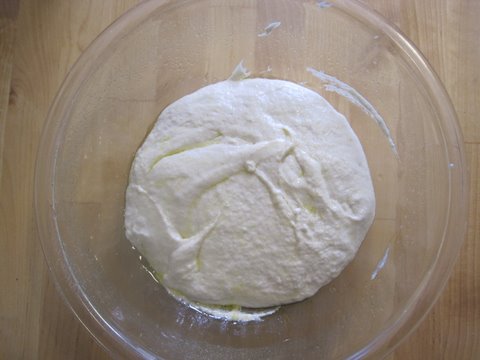
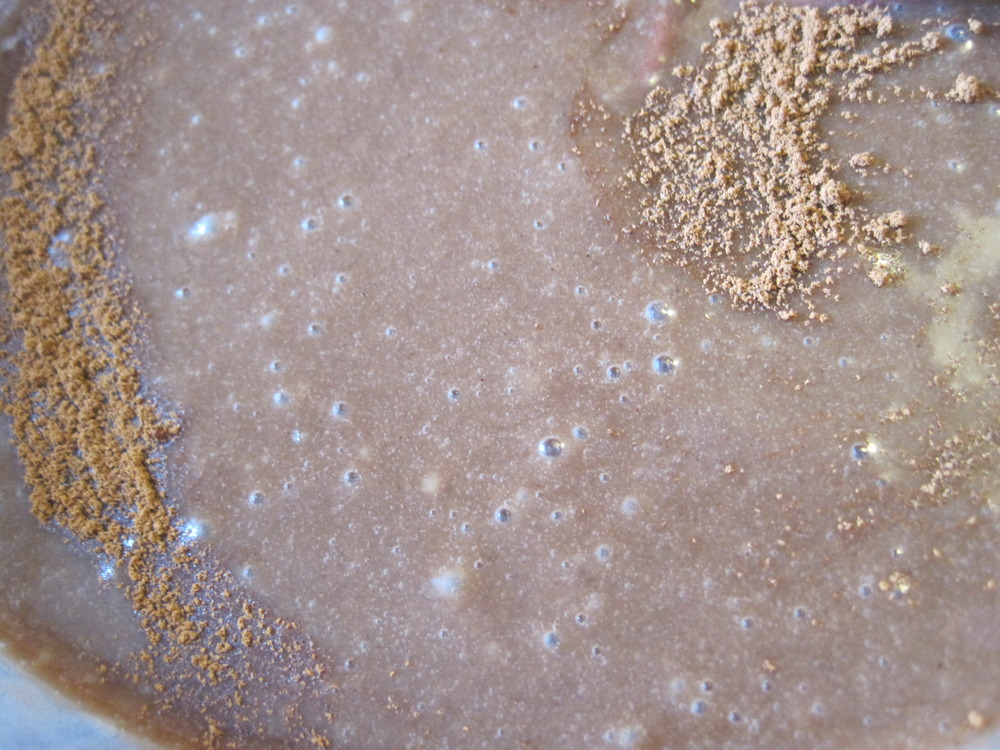
Pour the cooled chocolate mixture over the flour/sugar combination.

Stir in the egg mixture as well,
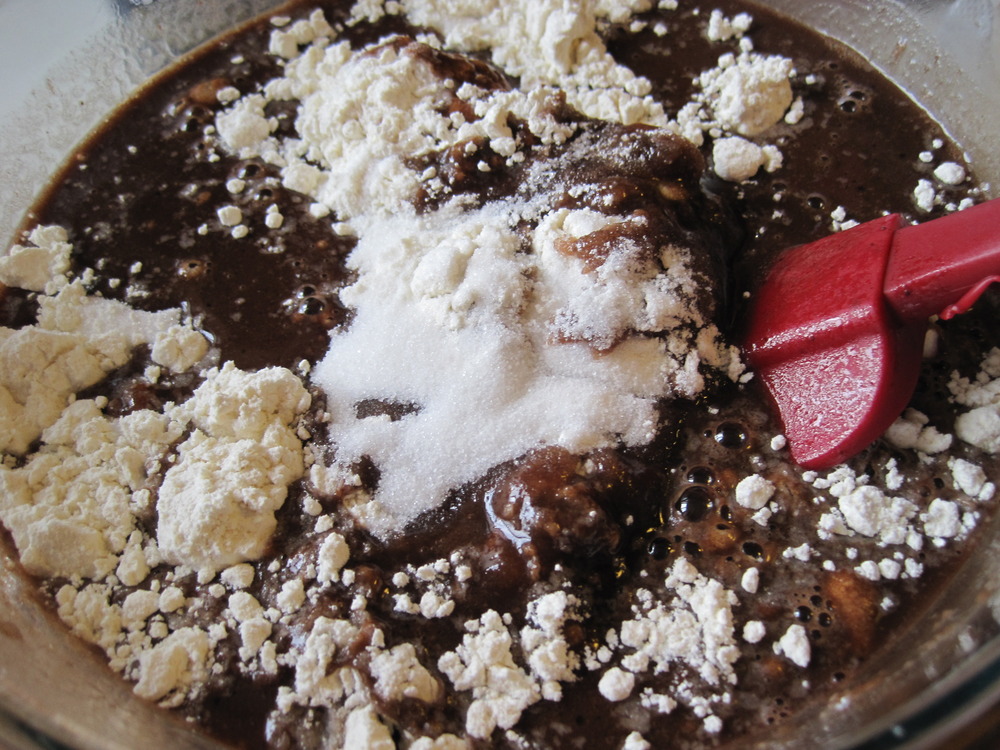
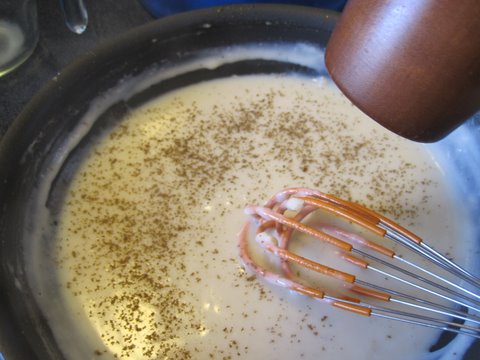
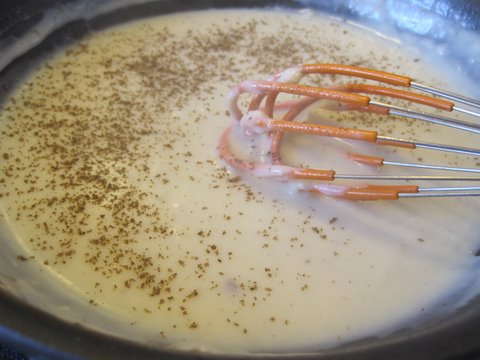
and finally add cinnamon if you wish.
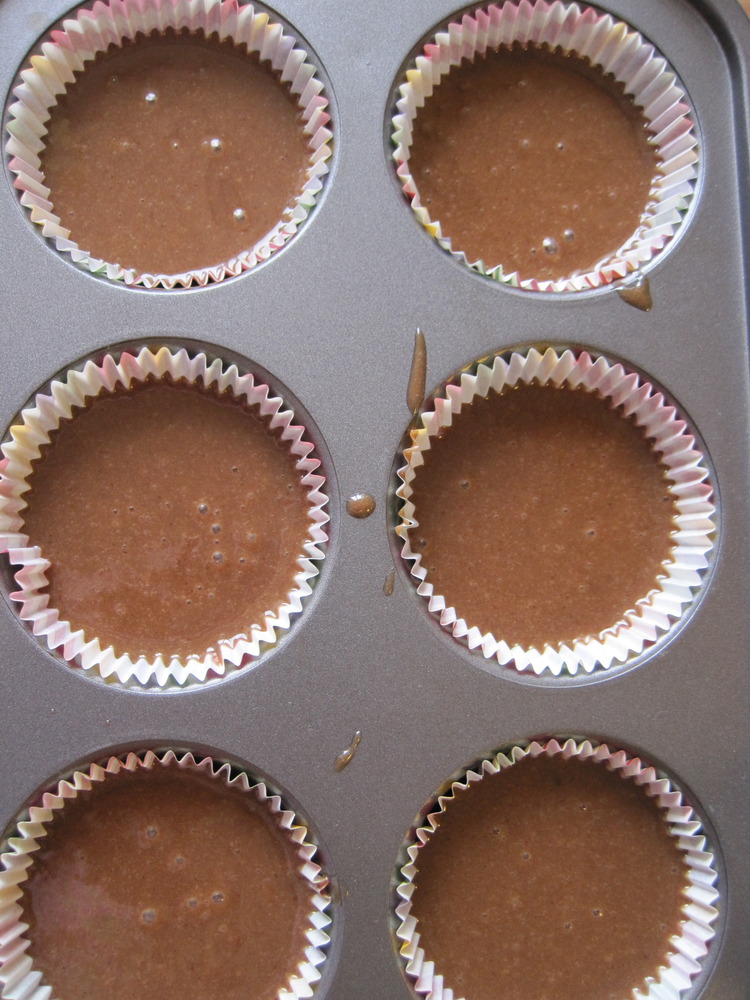
Then, you can bake it in a sheet cake pan for 20 minutes at 350 and ice it with the icing glaze (Classic Style), or you can get crazy and pour it into cupcake pans and bake at 350 for about 17 minutes (what I did.)
17 minutes-ish later:
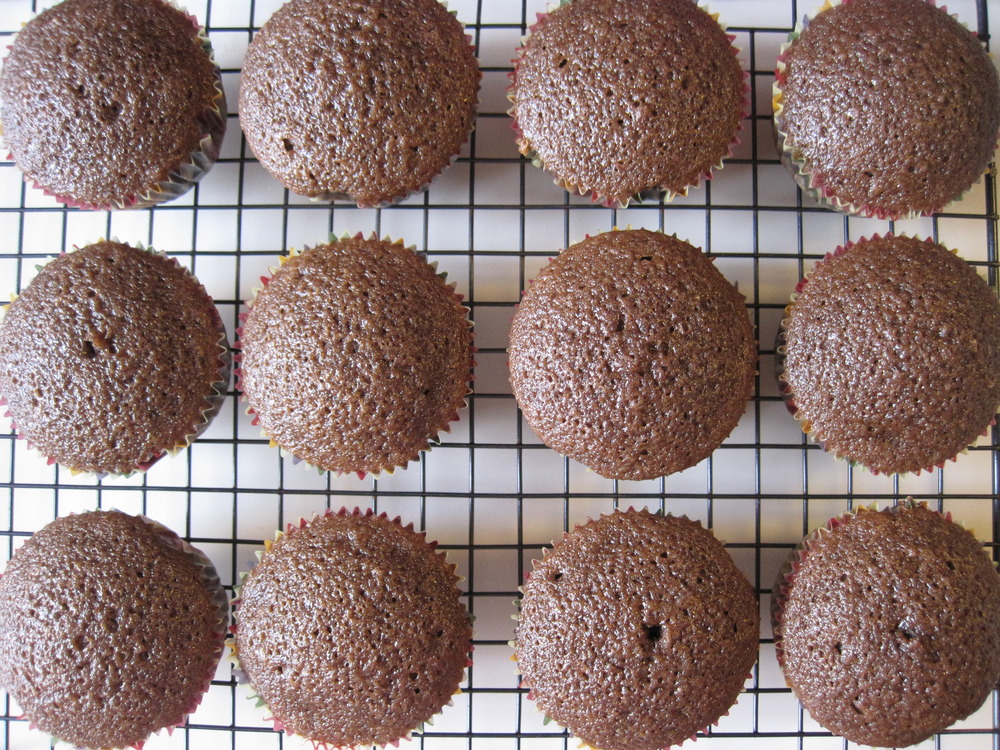
Yum.
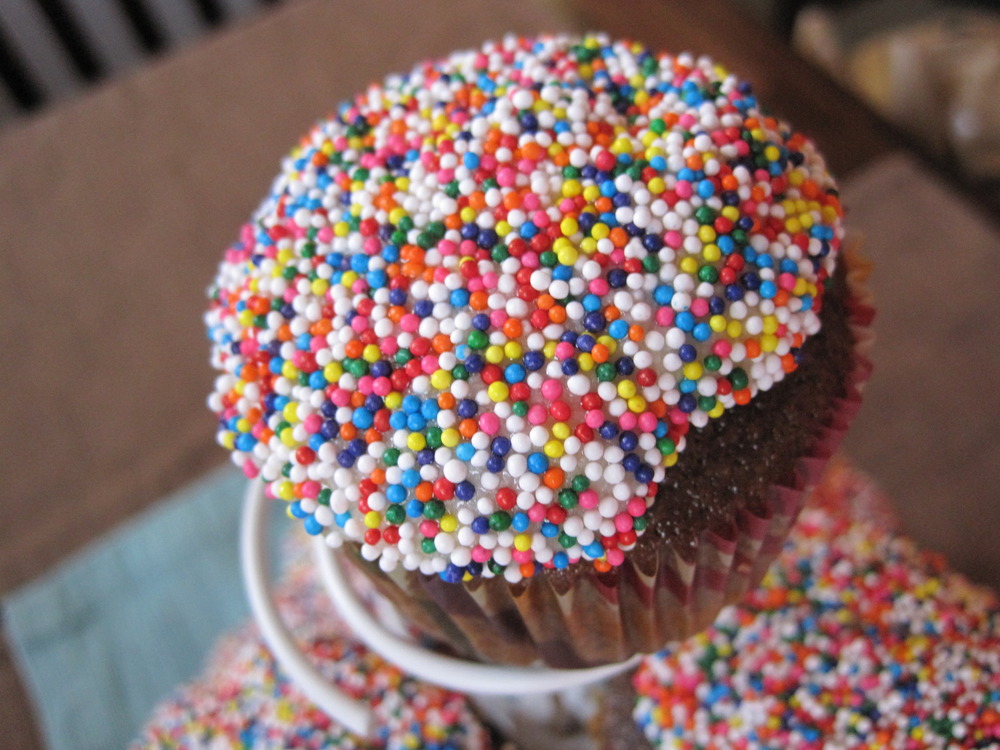
Then, for the icing, I used the recipe on this site: Obsessed with Baking. It is similar to this recipe: Pioneer Woman's That's The Best Frosting I've Ever Had. I made the PW version for a different set of cupcakes I made a couple of days before, and I'll have to say that despite the different methods, they both came out pretty much the same. I had a slight problem with getting the Obsessed with Baking version to really come together nicely but it tasted great. To cover up the imperfections, I decided to cover the icing with sprinkles, which was a great idea. They turned out gorgeous!
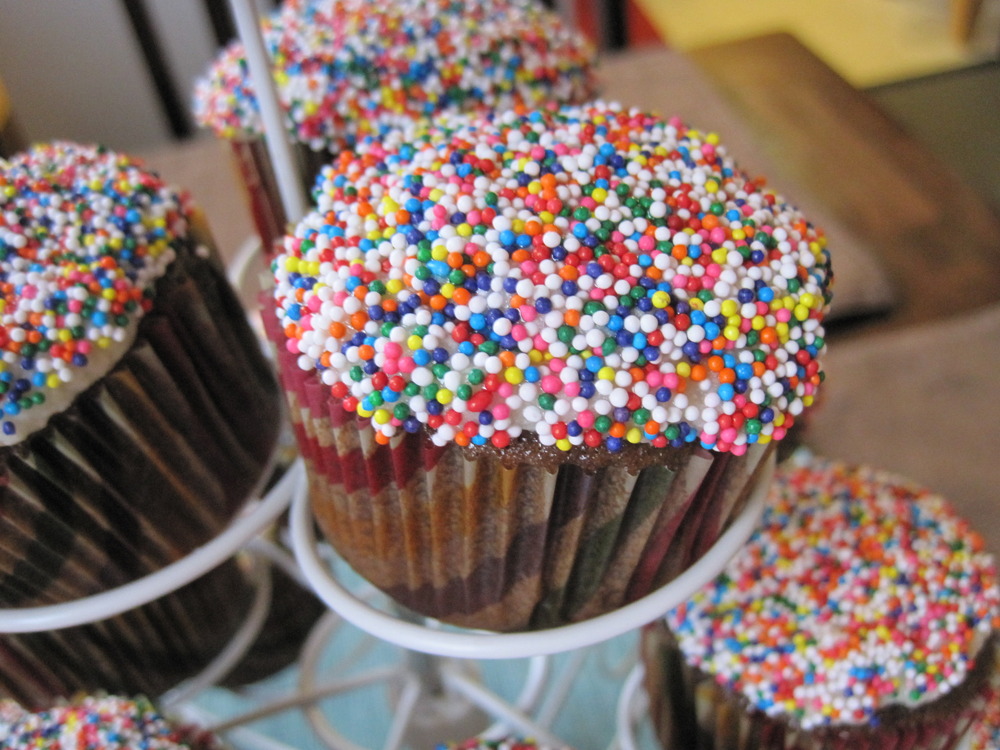
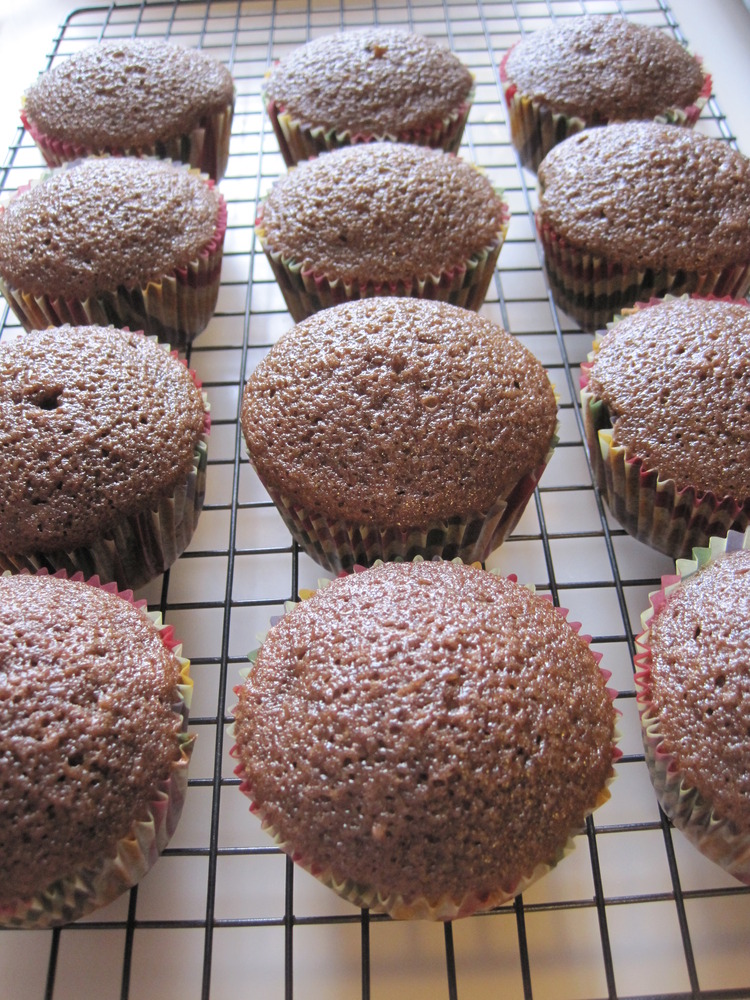
And check this out:
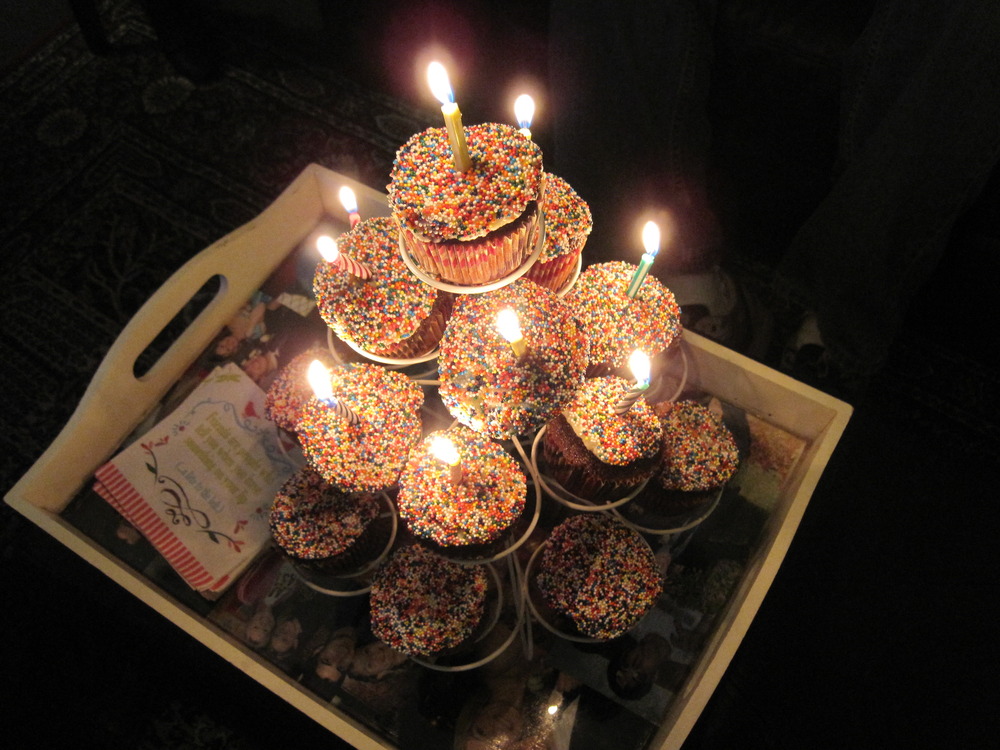
WoW!