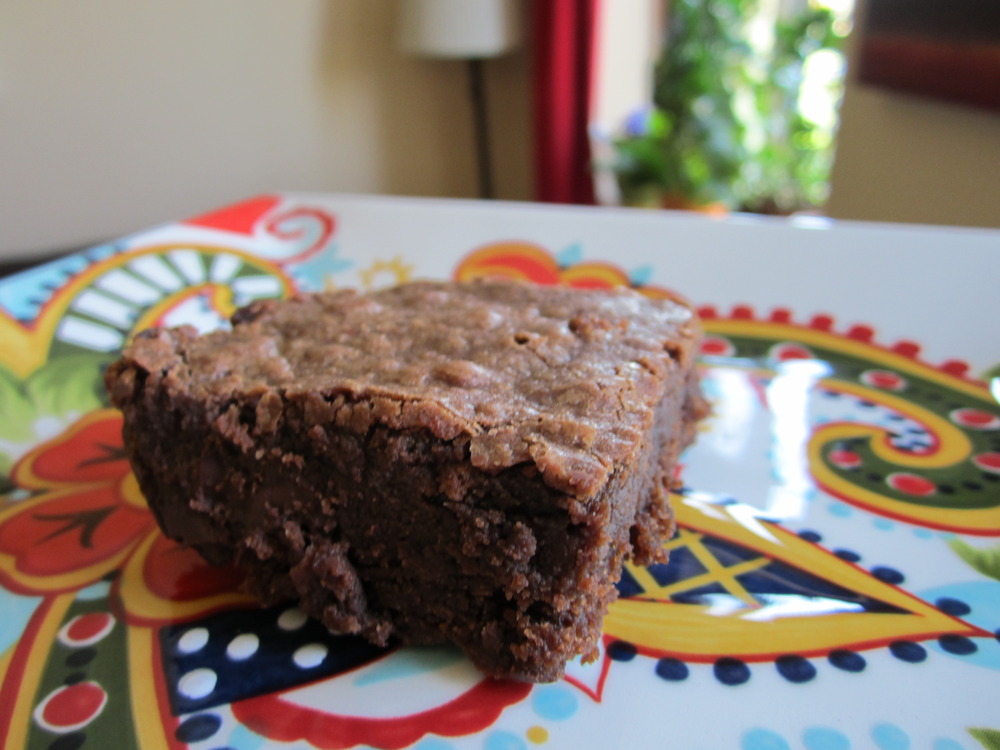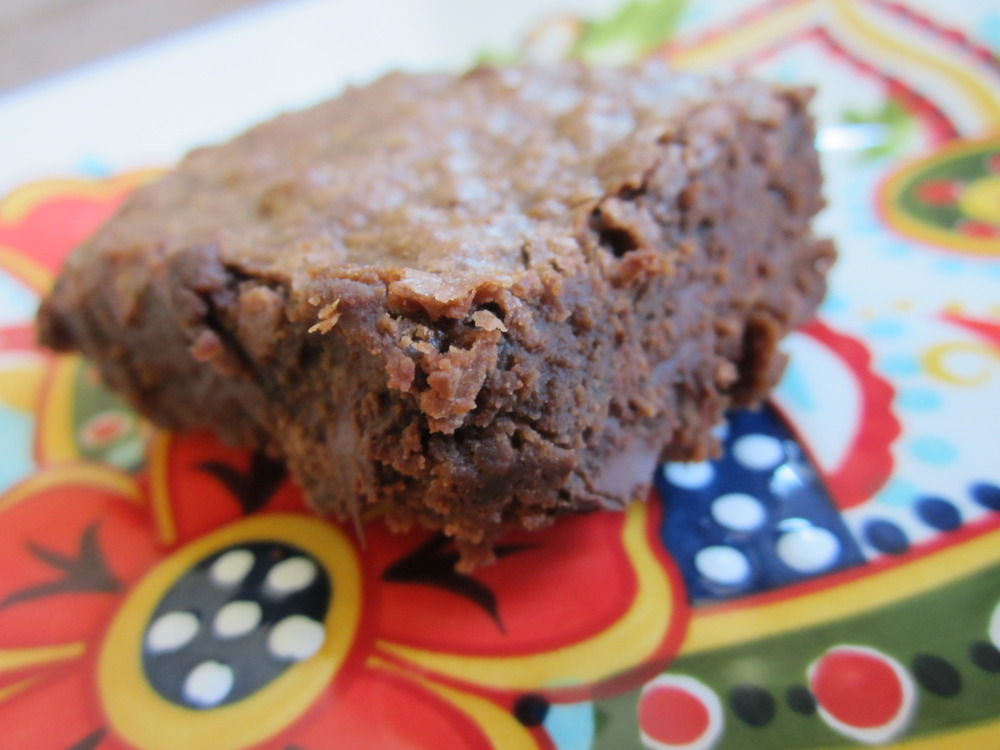
Boxed brownies will usually satisfy me - especially the Ghiradelli brand, whose boxed brownies are AMAZING. But I wanted to try the ATK recipe just for kicks AND I like knowing what is in my brownies, so I do prefer homemade when I have the time. They came out really good, and they aren't too crazily complicated, like some of the ATK recipes can be.
Here is the recipe, slightly modified from the original version.
Ingredients
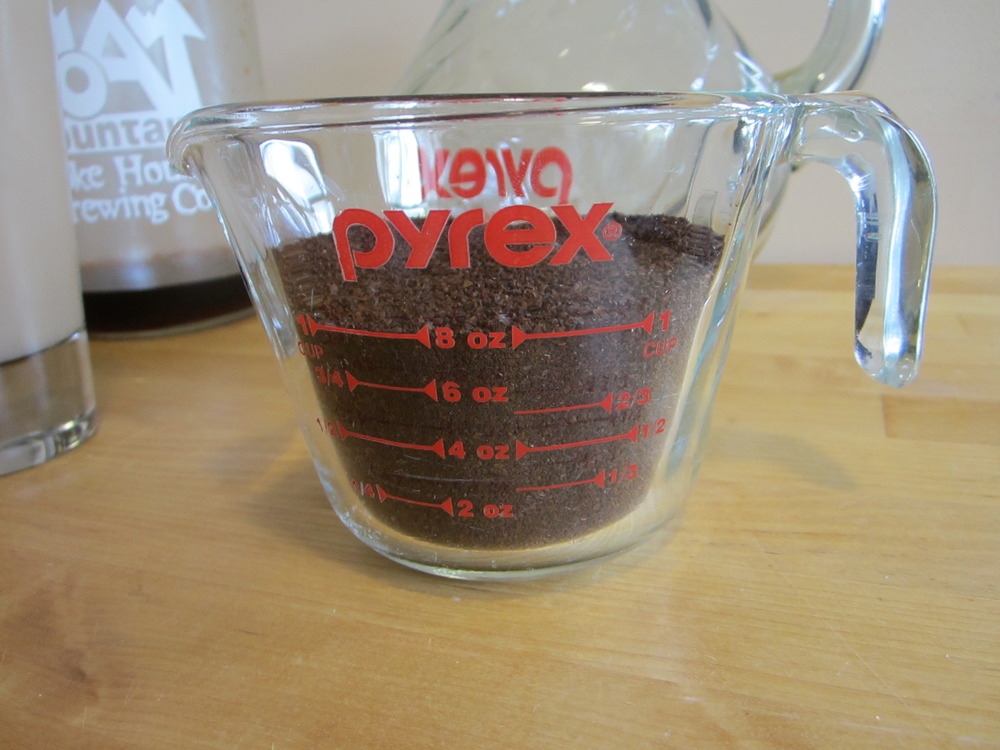
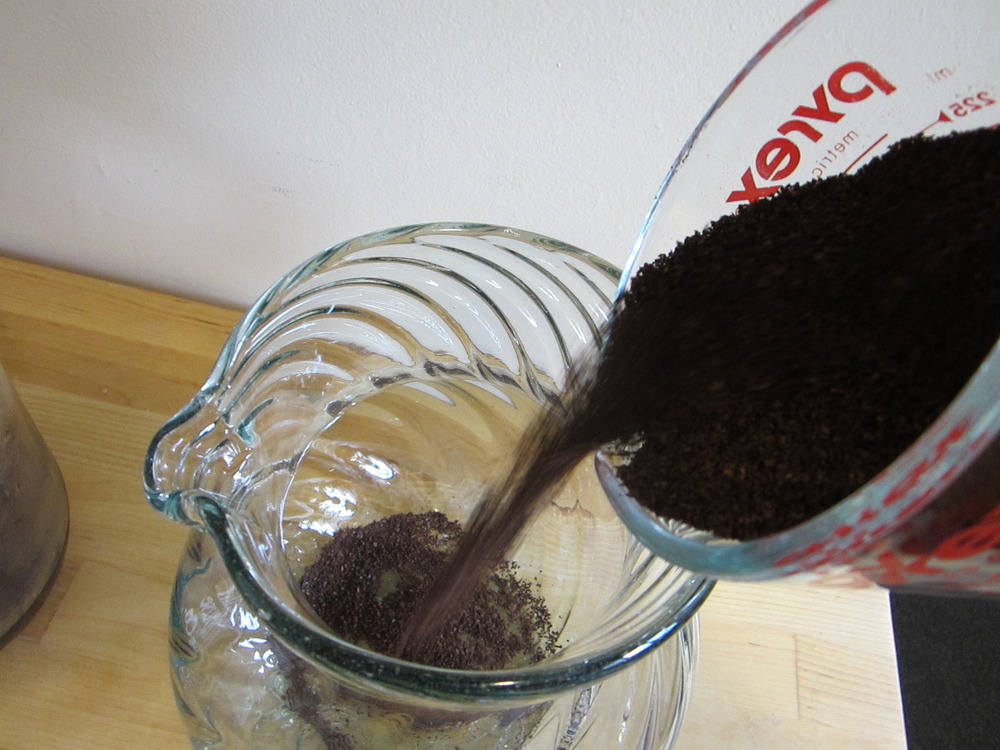
- 1/3 cup cocoa
- 1 teaspoon instant coffee
- 1/2 cup plus 2 tablespoons boiling water
- 2 ounces unsweetened chocolate, finely chopped
- 4 tablespoons butter, melted
- 1/2 cup plus 2 tablespoons vegetable oil
- 2 large eggs
- 2 large egg yolks
- 2 teaspoons vanilla extract
- 2 1/2 cups sugar
- 1 3/4 cups flour
- 3/4 teaspoon table salt
- 6 ounces bittersweet chocolate , cut into 1/2-inch pieces
Instructions
1. Adjust oven rack to lowest position and heat oven to 350 degrees. Line a 13X9 pan with 2 pieces of foil, so that the foil hangs over all four sides of the pan, creating handles by which you can lift the brownies out of the pan with. Spray the foil with nonstick cooking spray.
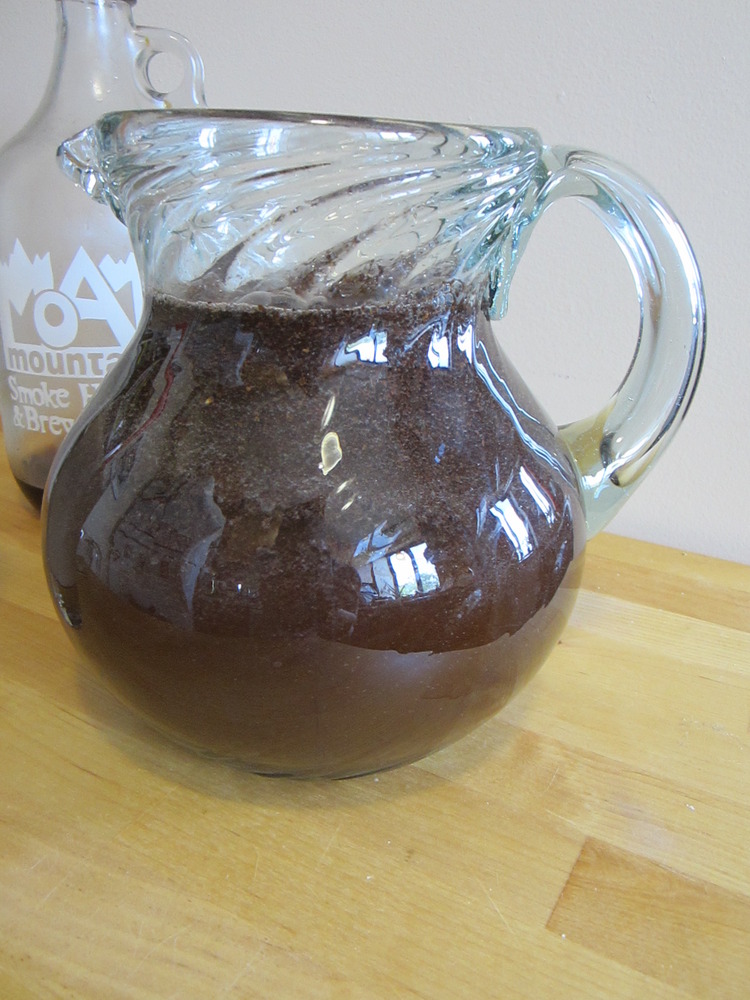
2. Whisk cocoa, instant coffee, and boiling water together in large bowl until smooth. Add unsweetened chocolate and whisk until chocolate is melted. Whisk in melted butter and oil. Add eggs, yolks, and vanilla and continue to whisk until smooth. Whisk in sugar until fully incorporated. Add flour and salt and mix with rubber spatula until combined. Fold in bittersweet chocolate pieces.
3. Scrape batter into prepared pan and bake until toothpick comes out with just a few moist crumbs attached, 30 to 35 minutes. Transfer pan to wire rack and cool for at least 30 minutes to an hour.
4. Using foil overhang, lift brownies from pan. Return brownies to wire rack and let cool completely, about 1 hour. Cut into 2-inch squares and serve.