Tuesday, March 29, 2011
Changing Education Paradigms
A thought provoking video that all should watch, if you haven't already:
Monday, March 28, 2011
To Do

It looks a lot more like the one below.

Just kidding! My REAL list says things like grocery shop, go to the library, get ready for the career fair, and get a car wash.
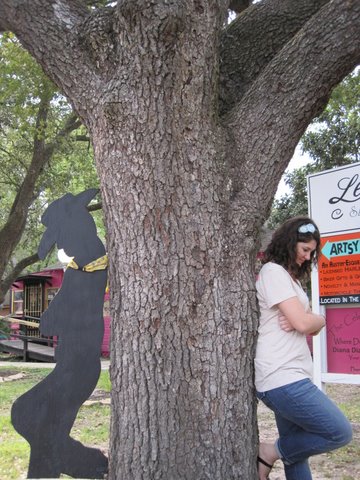
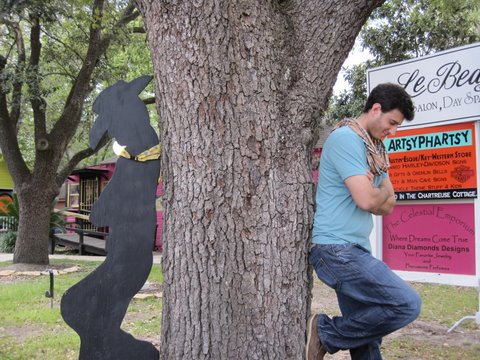
However, the following people make me wish my to do list was to smile, listen, hug, and make cupcakes:


Texas bluebonnets, cowboys, and pretty pink flowers make me smile, too:

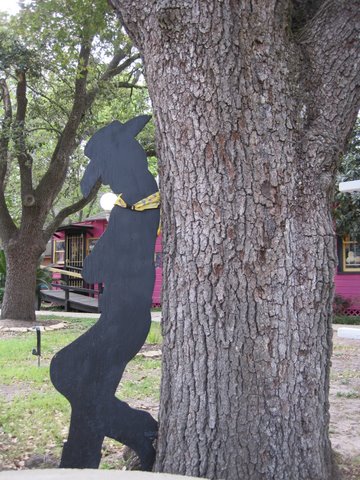

And here are those crazy people again, who never fail to make me smile:


Don't even ask, because I don't know the answer...
Wednesday, March 23, 2011
Enchiladas Part 1
Kitchen catastrophes seem to be my thing. It's like they're attracted to me. They started in my mom's kitchen when I learned not to put hot red liquids into a blender: the blender will explode and spaghetti sauce takes over. Kitchen catastrophes have continued to follow me, and have especially plagued me lately when 1. the fire alarm went off because my grill pan was smoking, 2. my kitchen aid mixer went out of control and spewed mashed potatoes everwhere (twice), and 3. most recently when I had multiple accidents with knives and can lids.
The night I made these enchiladas for Lisa and Andrew started out great. I planned ahead and made fresh salsa, had all of the ingredients for the enchiladas prepared and ready, and even had everything we needed for margaritas sitting out on the counter. As I prepared to assemble the enchiladas, tragedy occured - the knuckle of my middle finger grazed against the tin can lid of pickled jalapenos I just opened. Ouch! I left the kitchen, ran my finger under running water in the bathroom, and put pressure to stop the bleeding. Yuck! Not an appetizing story for a food blog... 2 minutes later, Lisa and Andrew arrived and luckily Lisa saved the day by helping me assemble the enchiladas! It was fun, and nothing was lost - except pictures of how to do it.
So here is the recipe for beef enchiladas, part 1, pre-finger injury. Part 2 will have to come another day when I can make these babies again. Trust me, they are delicious. I will be nice and describe to you how to assemble them without pictures, that way you can make them before the day comes that I am able to make them again. (Which will hopefully be soon!)
You need:
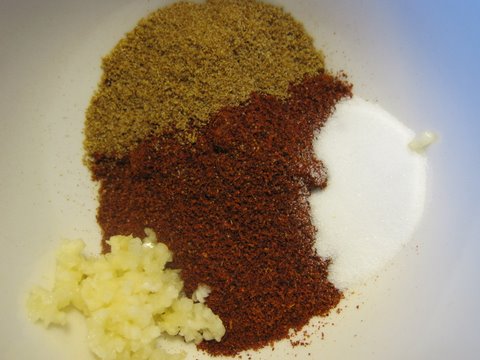
- 3 pressed garlic cloves
- 3 T chili powder
- 1 t. cumin
- 1 t. sugar
- salt
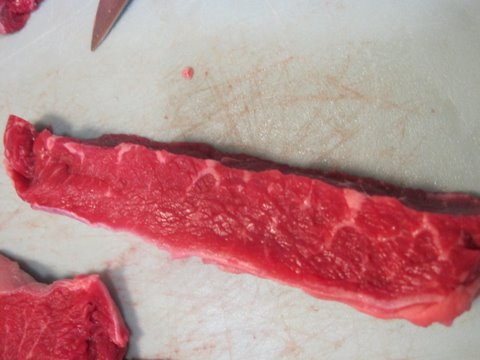
- 1 1/4 lb. top blade steaks, trimmed
- 1 T. olive oil
- 2 onions, chopped
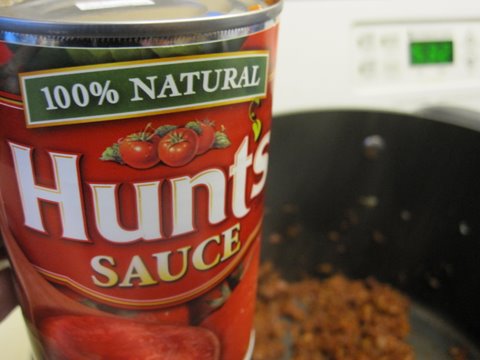
- 1 15 oz. can tomato sauce
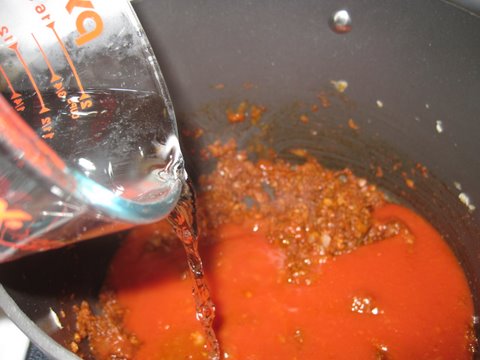
- 1/2 c. water
- 2 c. shredded colby jack cheese
- 1/3 c. chopped cilantro
- 1/4 c. chopped pickled jalapenos
- 12 corn tortillas
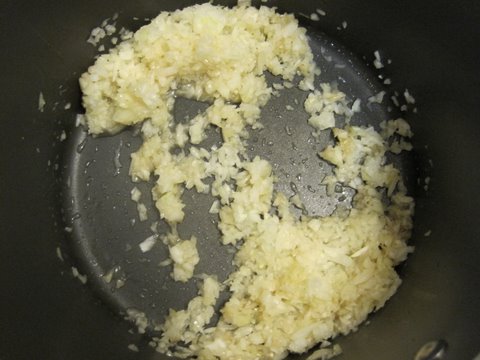
Start out by getting the spices together in a bowl: the garlic, chili powder, cumin, and sugar.
Then, get the meat ready:


Trim the meat by cutting out the center strip of fat from the middle of each steak.
Get some olive oil heating up over medium-high heat in a large pot,

and place the steak strips into the oil,
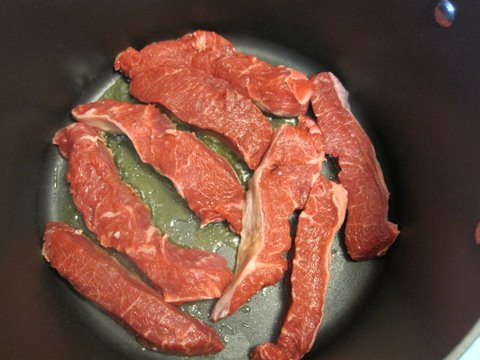
getting them browned, but not cooked all the way through.

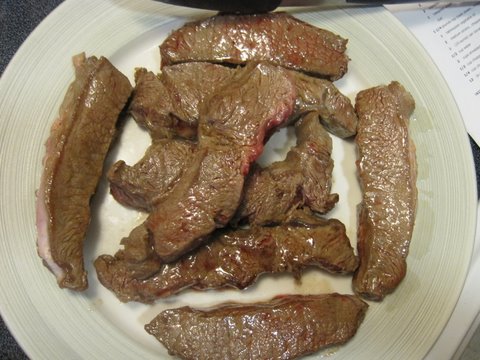
Once they are browned on both sides, put them on a plate.
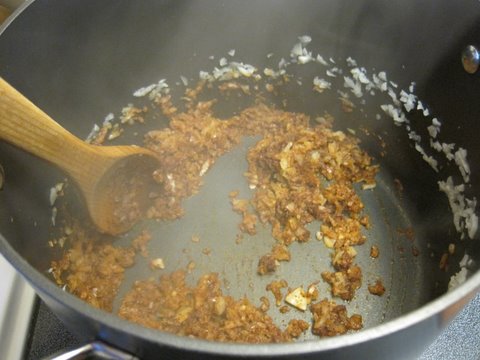
Then, get your onions chopped up,
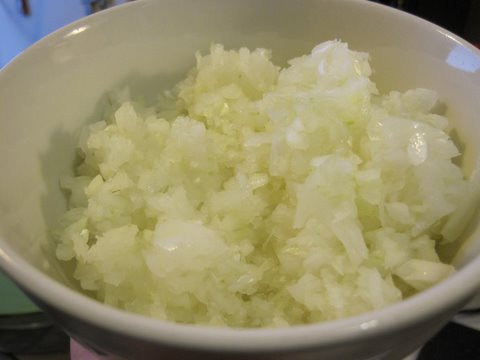
and sautee them in the same pot.
Add the spices, and stir.
Next, add tomato sauce,
water,
bring to a boil,
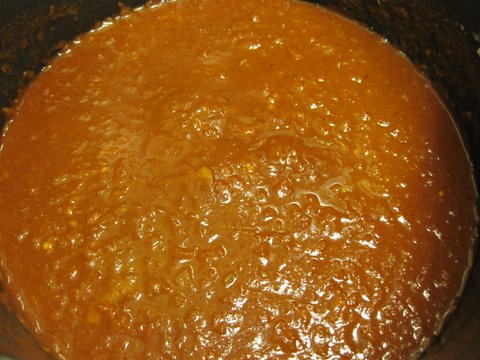
add the meat back to the pot, turn heat to low,
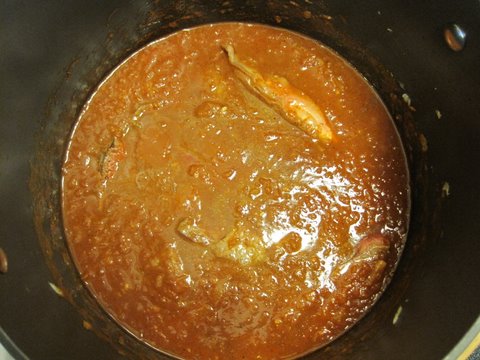
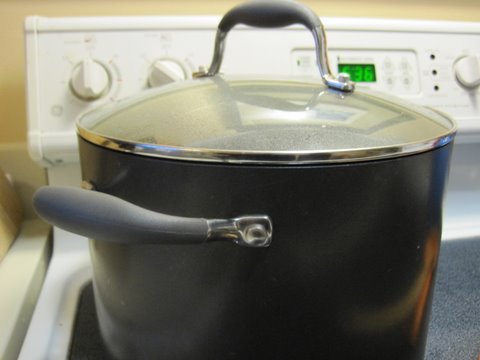
cover with a lid and let simmer for about 1 1/2 hours.
Now, follow the instructions in Enchiladas Part II (Coming soon!) to assemble the enchiladas!
Saturday, March 19, 2011
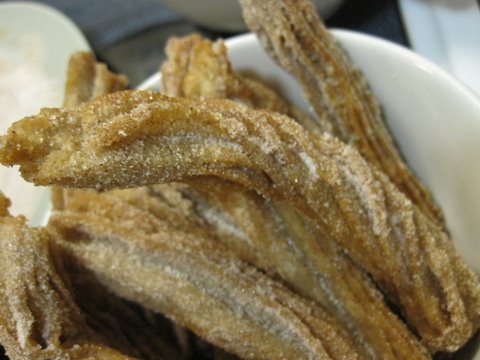
Churros!
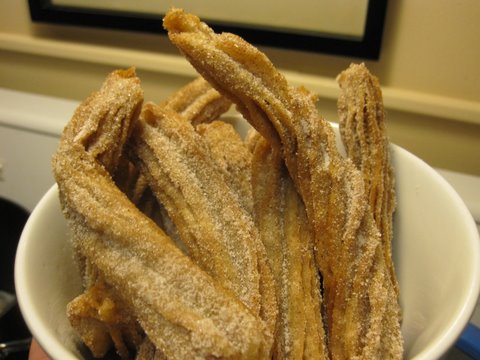
A couple weeks ago and last night, we made churros! They are a fried treat that is absolutely delicious! They are also surprisingly easy to make. We don't usually make things that are deep fried, but for churros we make an exception!
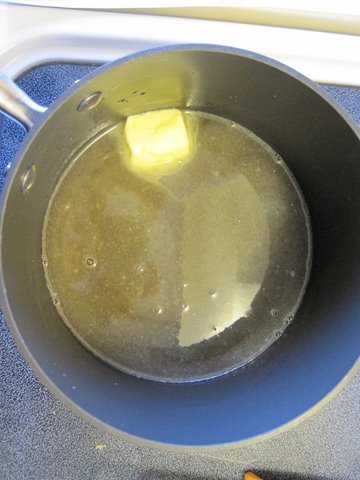
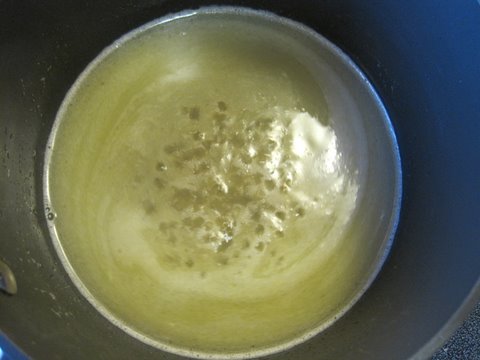
To start out, heat up 1 c. water, 3 T butter, 2 T of brown sugar and 1/4 t. salt in a saucepan. until it's boiling.
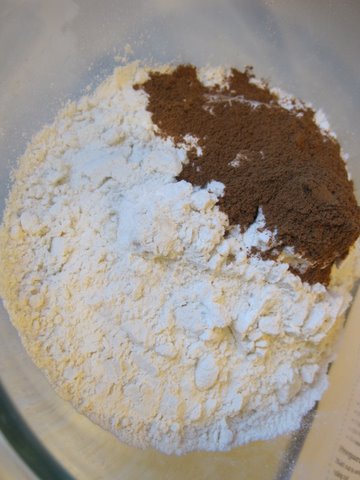
Then, mix 1 c. flour with 1 t. cinnamon.
Add it to the hot liquid mixture,
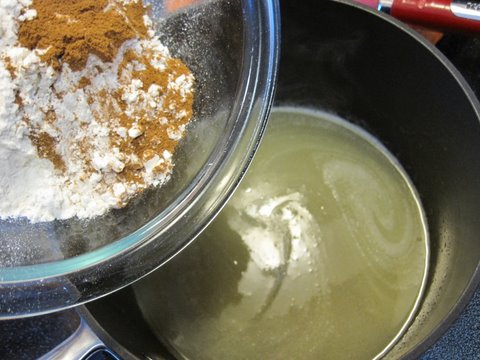
and stir it all together.
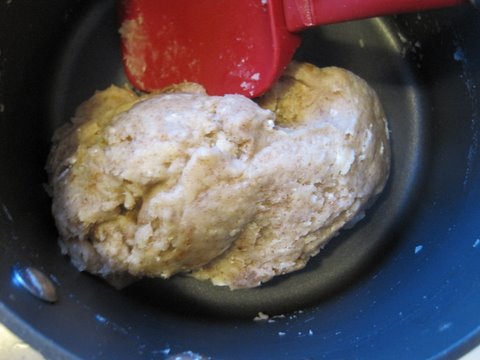
Let it cool down a bit, and then transfer it to a standing mixer (or a bowl you can use with a handheld mixer.
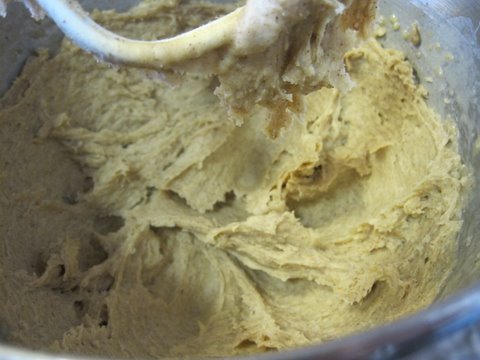
Add 2 eggs and vanilla to the batter, and mix well.

Now you need to fry up the dough! Heat about 1 inch of oil in a saucepan until it reaches about 375 degrees. Using a piping bag fitted with a larger tip (or just cutting a hole in the end of the bag), pipe the churros into the hot oil. You can make them whatever shape/length you want!
After they fry for about a minute on each side, place them onto a paper towel on a plate. Then, roll them in a cinnamon-sugar mixture (1/4 c. sugar or Splenda + 1 t. cinnamon). Finally, enjoy them!
Saturday, March 12, 2011
Classic Salsa
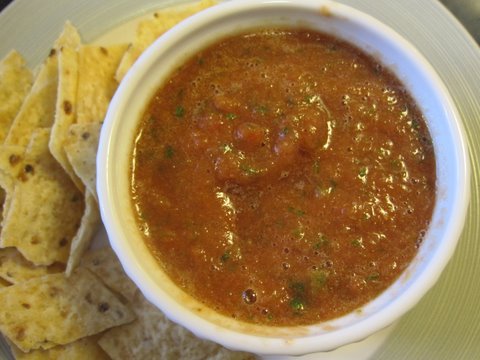
This recipe is my favorite for home-made salsa.
All you need is:
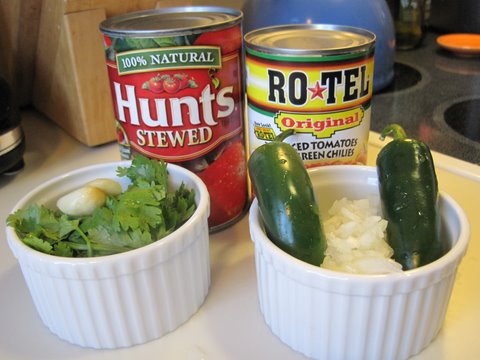
- 2 cans stewed tomatoes
- 2 jalapenos
- 1/3 cup (approximately) chopped sweet onions
- 1/2 cup (approximately) chopped cilantro
- 2 cloves of garlic
- salt and pepper, to taste
In this version of the salsa, I used one can of Rotel and one can of stewed tomatoes, but that was all I had :)
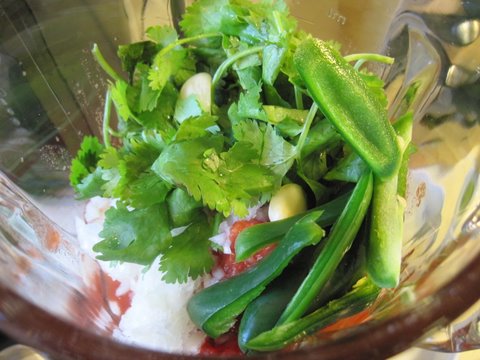
The salsa is really simple. All you do is combine all of the ingredients in a blender. You can seed the jalapenos if you wish. I usually put the seeds from only one of the jalapenos into the salsa.
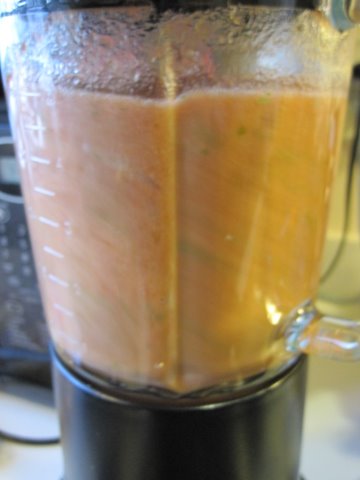
Blend it all up!
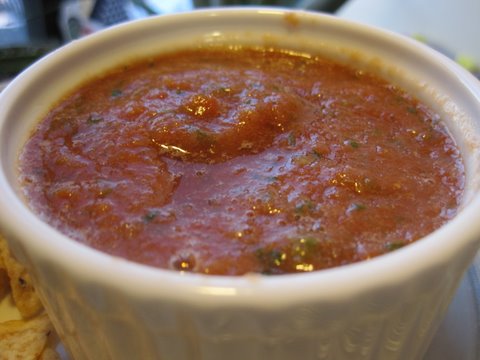
And there you have it - freshly made salsa! Variations to the recipe include sauteeing the onions and garlic before mixing or roasting them in the oven. Any way you do it, this salsa will be better than anything you can buy at the store - I promise!
Friday, March 11, 2011
Schwarzwaldtårta: The Swiss Pastry Shop's Black Forest Cake!
Cambridge Cowgirl participates in the Amazon Affiliates Program, which means that by clicking on links in this post, I will earn a small commission at no cost to you.
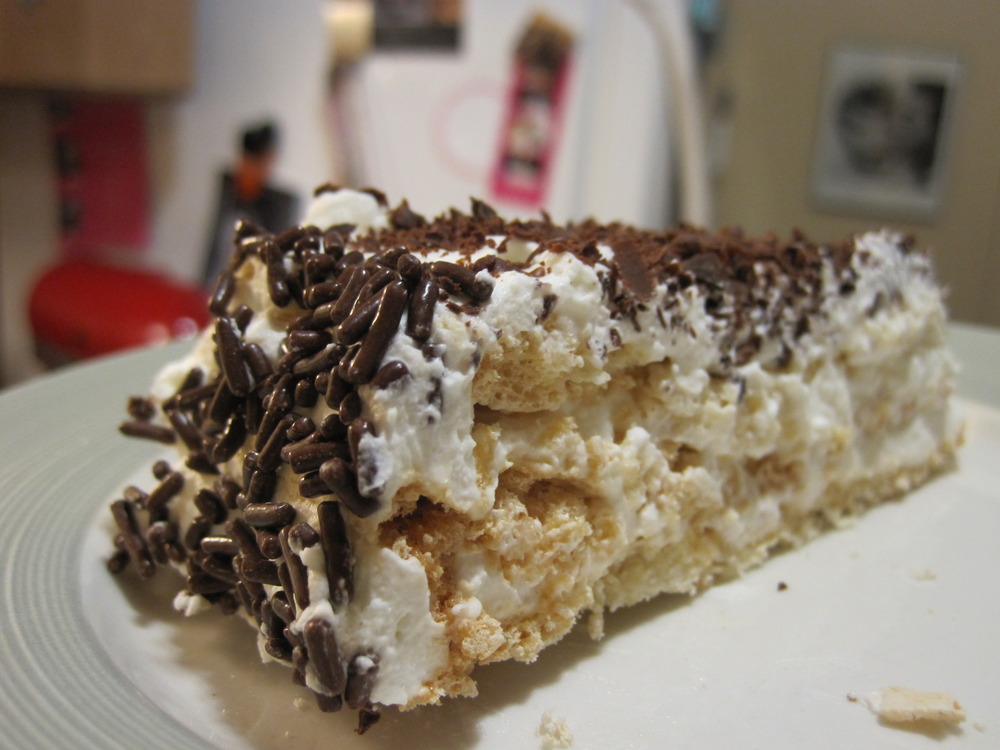
"A Swedish cake called Schwarzwaldtårta is related to the traditional Black Forest cake only by name. It consists of layers of meringue with whipped cream in between. The whole cake is also covered with whipped cream and decorated with chocolate."
So there, it is a real cake from
After looking around on the internet for recipes, I found one, and I tried to follow it. It called for using unflavored gelatin to stabilize the whipped cream. I followed the instructions for the gelatin, dissolving it in water:


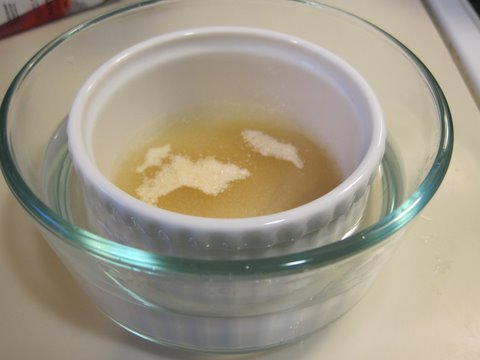
And it smelled terrible. Like a wet dog. So I threw it out - I was really afraid of ruining my whipped cream, so... I decided just to do it my own way. And I was successful - my end result brought me right back to Fort Worth, Texas - which was exactly my goal.
Here's how to make the Swiss Pastry Shop's Black Forest Cake in 7 somewhat easy steps!
1. Make 3 layers of Almond Meringue. One meringue recipe should yield 3 layers.
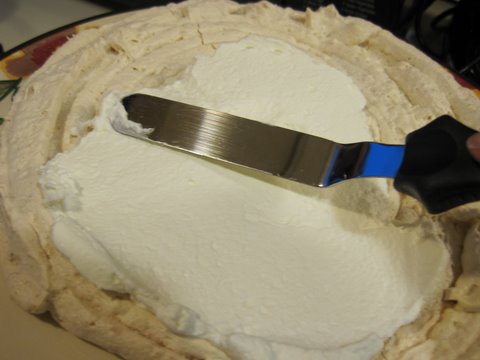
2.Beat 3 c. of whipping cream with 6 T confectioner's sugar. Confectioner's sugar contains cornstarch and will help to stabilize the whipped cream.You could also use gelatin - at your own risk!
3. Layer the meringue and whipped cream in alternating layers, starting with almond meringue and ending with whipped cream. Cover the sides of the cake with whipped cream as well.
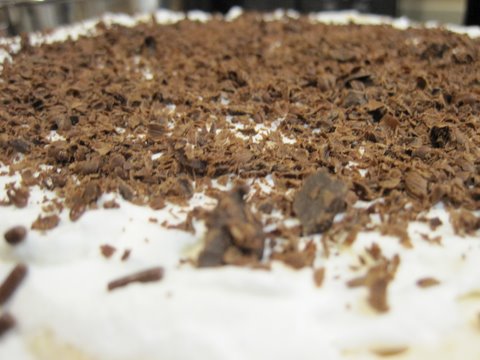
4. Gather some beautiful dark chocolate and grate it.

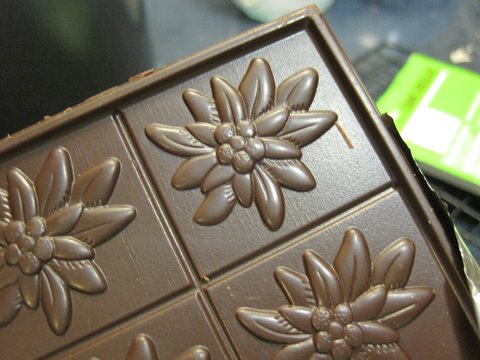
5. Sprinkle the grated chocolate over the top layer of whipped cream.
6. Attempt to cover the sides of the cake with chocolate sprinkles.
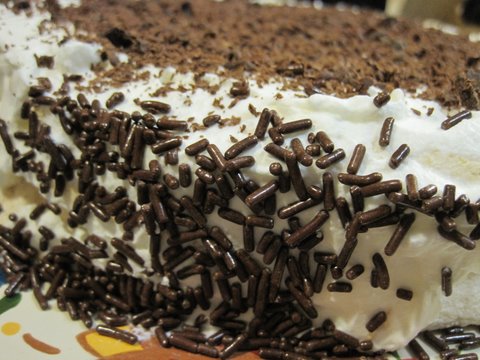
7. Slice and enjoy!

Subscribe to:
Posts (Atom)