Today (Sunday) = sewing day! I thought I would share my project, as this is the 5th one of these I have made for friends and family, and I was finally able to take pictures of the process (sort of - some steps are definitely lacking in the picture-area). They're pretty easy, and fun to make - the part that is the hardest for me is sewing on the buttons :)
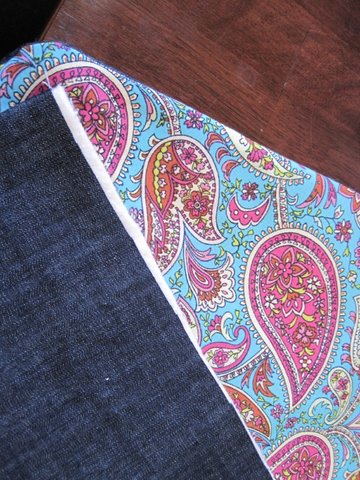
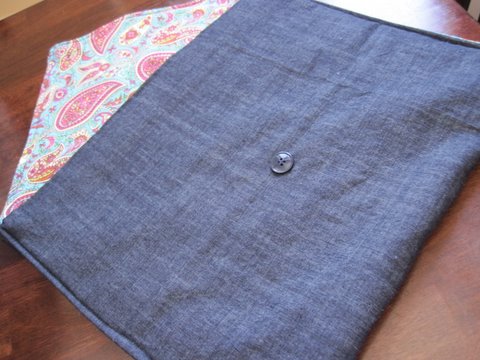
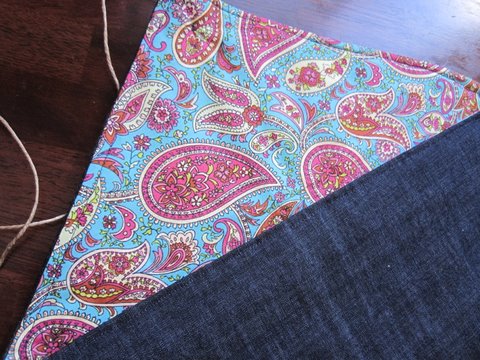
I started with three layers of fabric: one denim, one cute print, and one batting layer. I placed the denim and print fabrics right-side together, and then placed the batting on the bottom of the two layers. See the photo above. I then cut a large rectangle the size I needed. The laptop I made this for had the dimensions 14" W X 10.5" L X 1.5" H, so I calculated that the finished case should be 15.5" X 13" (by adding 1.5" to the W and L dimensions), added some extra fabric to the sides for the hems, multiplied the L by 2.5 (to account for the back of case and fold-down section), and cut my piece to 17" X 35". Yes, it is very confusing, and it is a miracle any of these cases end up fitting the laptops they're supposed to fit!

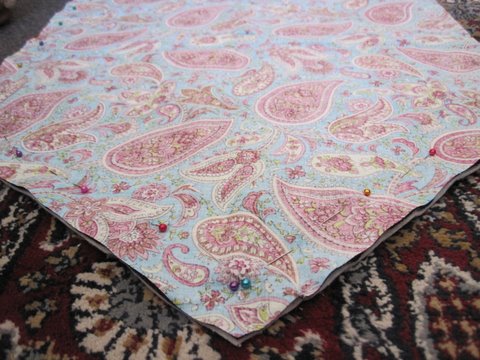
So I pinned around the edges,
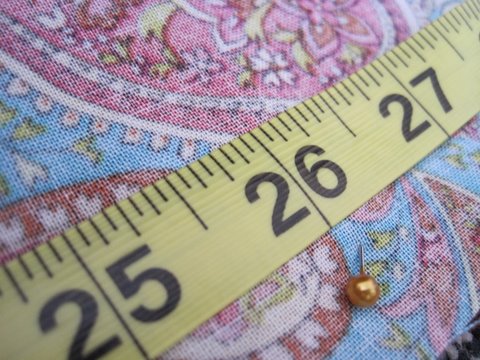
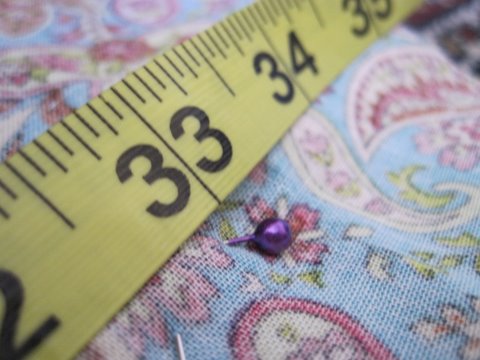
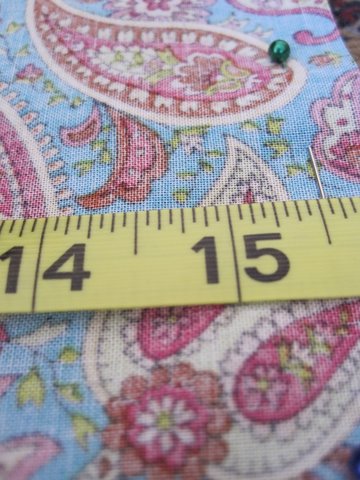
measured 26" from where the bottom seam will be to the top, and arranged the pins at that point to go inward, to create a triangle at the top, then I cut along the pins, leaving an inch or so extra:
I checked all of my measurements:
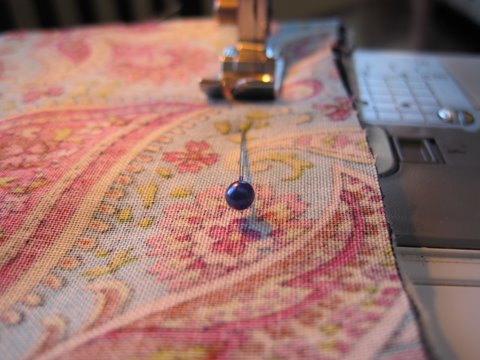
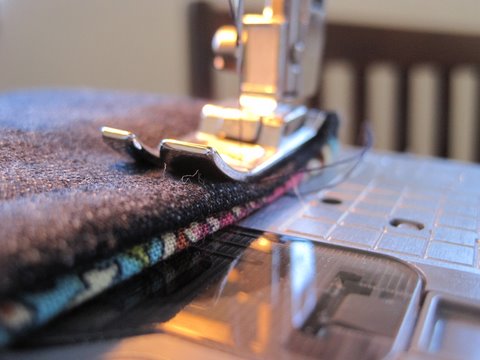
and started sewing..
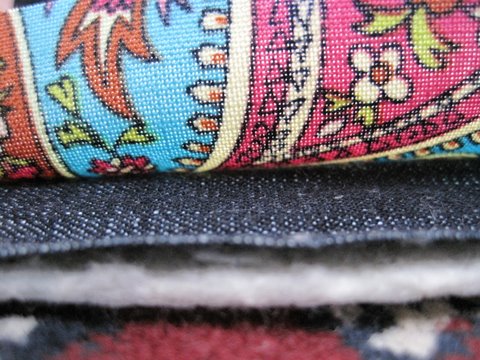
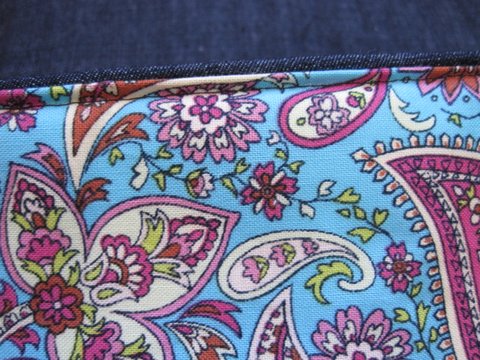
Once I sewed the perimeter of the piece (leaving the flat edge at the bottom un-sewed), I trimmed the edges, so they wouldn't be too bulky in the finished piece:
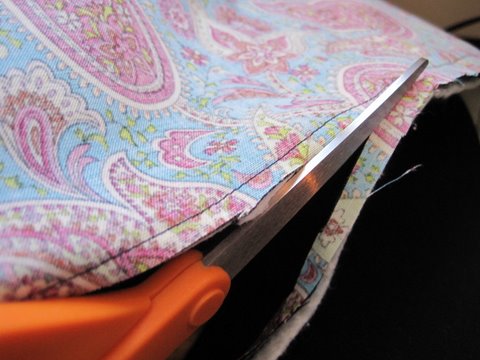
See, they're nice and trimmed (but not perfect!):
I flipped the whole piece inside out, and here is what I had:
So, I folded down the bottom un-sewn side, and sewed it shut:
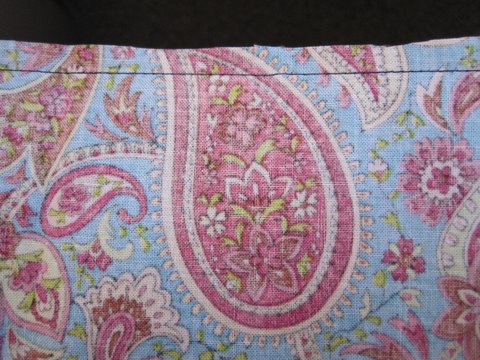
Here is what the seam looks like:
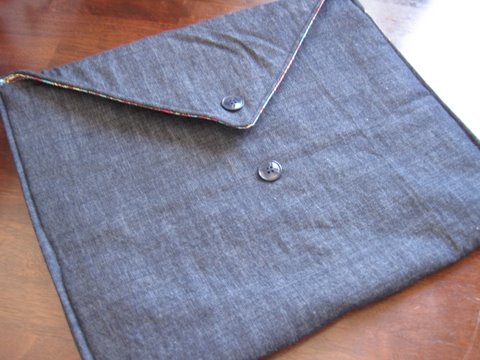
The next step was to sew the whole thing together. I folded it up, leaving the triangular top part exposed, and sewed around all of the edges.

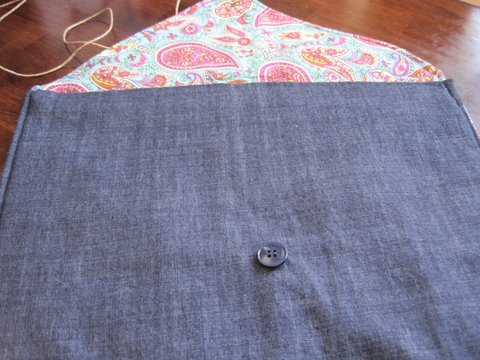
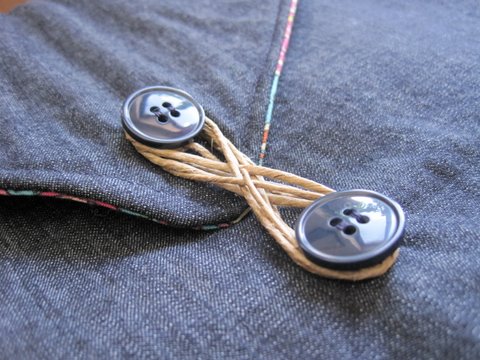
I sewed on the buttons and here is what I had:
Pretty cool, huh?
I tied some twine to one of the buttons so that it can be wrapped around them to close the case!
The finished product:
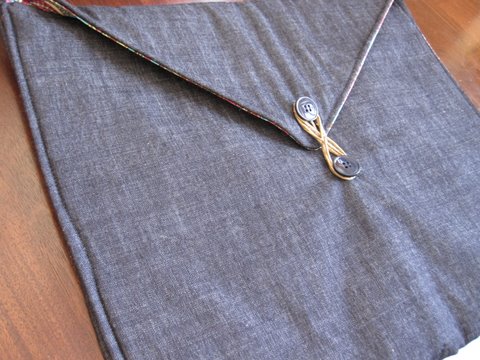
So pretty!
Neat! Who is this one for??
ReplyDelete