Thursday, May 5, 2011

Mexican Rice

Img_5470

This mexican rice recipe makes a super-side dish to go along with enchiladas - or any other Mexican meal!

You need:

  • 2 c. rice
  • 1/3 c. oil
  • 1 14-oz can diced tomatoes
  • 1 medium white onion
  • 2 or 3 medium jalapenos, seeded (optional - leave the seeds in if you like it hot)
  • 4 minced garlic cloves
  • 2 c. chicken broth
  • 1/2 c. minced cilantro
  • 1 lime

To make:

Preheat the oven to 350 degrees.

Rinse the rice under cold water for about 2 minutes. Shake to remove excess water.

Heat oil in oven-safe 12 inch pan over medium high heat. Drop a few rice grains in when you think it is ready, and if they sizzle, it is ready. 

Img_5435

Add all of the rice and fry about 6 to 8 minutes.

Img_5436

In the meantime, process the tomato/onion in a processor until smooth,

Img_5437

pour into large bowl or 4 c. measure, and add the chicken stock,

Img_5440

and prepare jalapenos and garlic.

Img_5441

Reduce the heat to medium and add in chopped jalapenos and minced garlic.

Img_5444

Cook, stirring constantly, until fragrant (about 1 - 2 minutes).

Img_5445

Pour in tomato mixture. Stir.

Img_5447

Increase heat to medium high, and

Img_5448

bring to a boil. Then, cover the pan and transfer it to the oven.

Img_5450

Bake for 30 minutes. Stir after 15 minutes. After 30 minutes, stir in cilantro, extra jalapeno if desired, and sprinkle the juice from one lime on top.

Img_5473

Enjoy with enchiladas, quesadillas, or inside of a burrito!

Tuesday, May 3, 2011

Enchiladas Part II

Img_5474

I promised I would post pictures showing how to assemble the enchiladas for which I described how to cook the meat for in this post: Enchiladas Part I. Well, here they are. These enchiladas are absolutely delicious, and I would highly recommend that you make them ASAP.

First, make the meat in this post: Enchiladas Part I.

After the meat has been simmering for about an hour, preheat the oven to 350 degrees.

Img_5453

When the meat is tender, strain it apart from the sauce and tear or chop it up into small pieces. Reserve the sauce.

Img_5455

Mix the meat with 1 c. cheese, about 1/4 c. chopped cilantro, and about 1/4 c. chopped pickled jalapenos.

Img_5456

Spread 3/4 c. sauce into the bottom of a 9 X 13 baking dish. Heat up 6 tortillas in the microwave for 1 minute.

Img_5458

Spread about 1/4 c. beef mixture on each tortilla,

Img_5462

roll up,

Img_5463

and place in pan.

Img_5464

Repeat for all 12 enchiladas.

Img_5465

Pour remaining sauce over the top, 

Img_5467

and sprinkle with 1 cup cheese. 

Img_5469

Wrap with foil and bake about 20 to 25 minutes, until heated through. Remove foil and let cheese brown for 5 to 10 minutes.

Img_5468

Serve with black beans, rice, guacamole, or whatever else you'd like! Enjoy :)
Img_5476

Sunday, April 24, 2011

Chocolate Sheet Cake Cupcakes

Img_5392
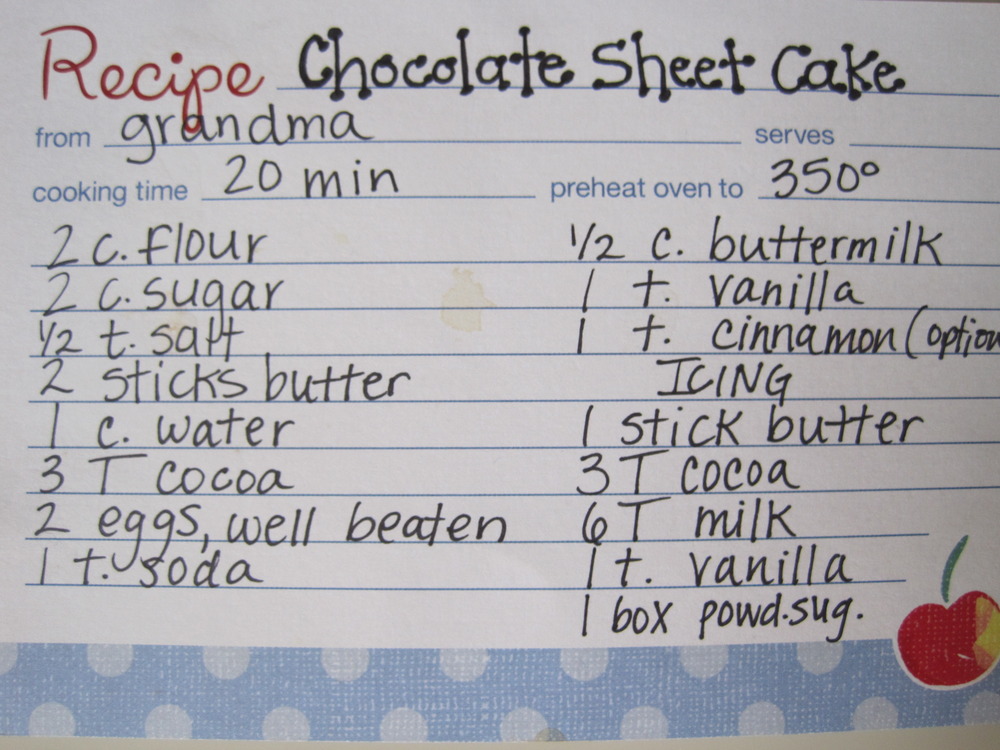
My favorite cake is chocolate sheet cake, and here is the secret recipe:

Img_5357

The recipe has been "passed on" to me by my grandma - who makes this cake every time we visit. I always think it tastes better when she makes it, even now. The reason I say "passed on" in the way that I do is because the first time I asked her for the recipe, she told me to go online and look up "Texas Sheet Cake". So there are various versions of this cake floating around, but my favorite is Grandma's.

Img_5360

Throughout the - let's say 10 - years I have been making this cake, I have learned many things:

  1. You have to mix the ingredients in the specified order
  2. You have to wait for the chocolate mixture to cool before adding it to the other ingredients
  3. The cake will come out really badly without baking soda

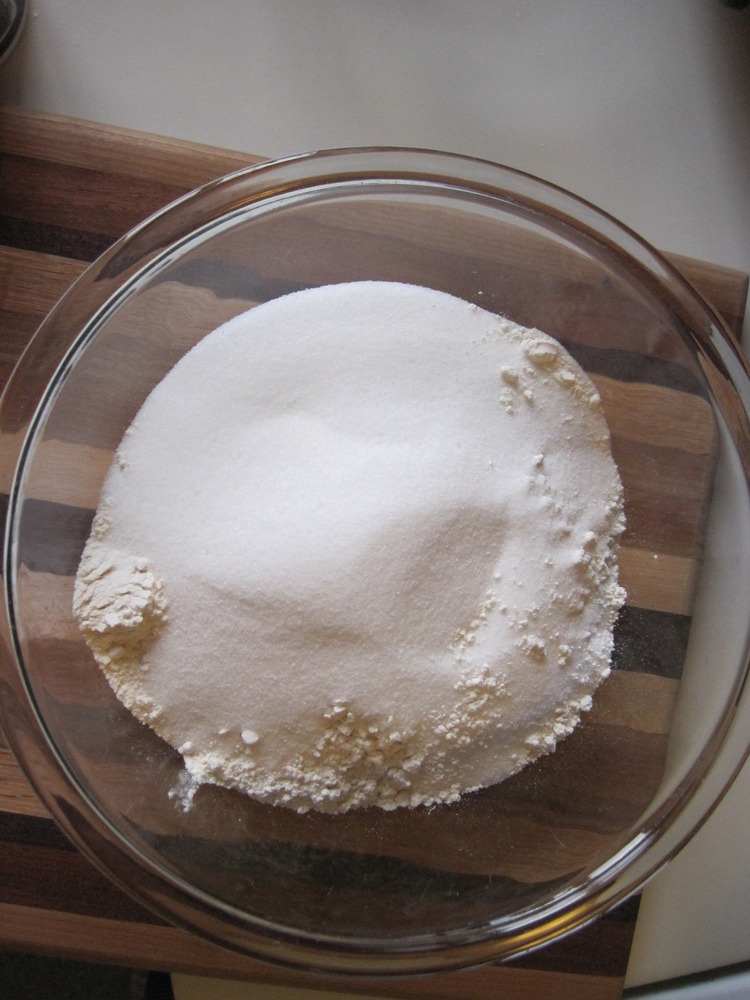
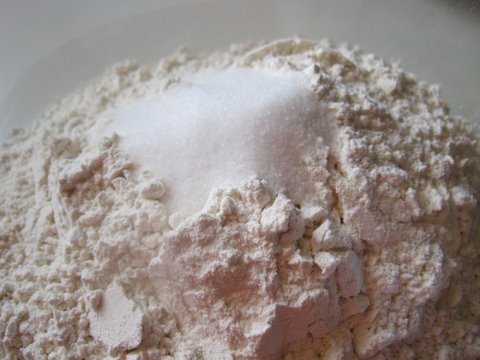
To start out, combine flour, sugar, and salt in a large bowl.

Img_5363

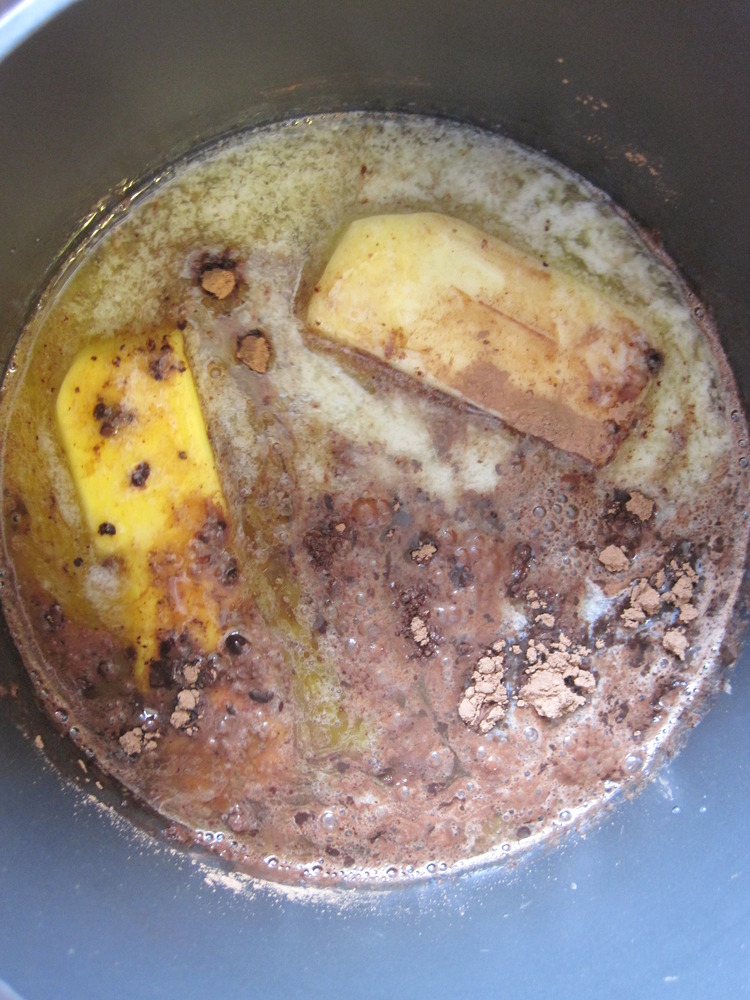
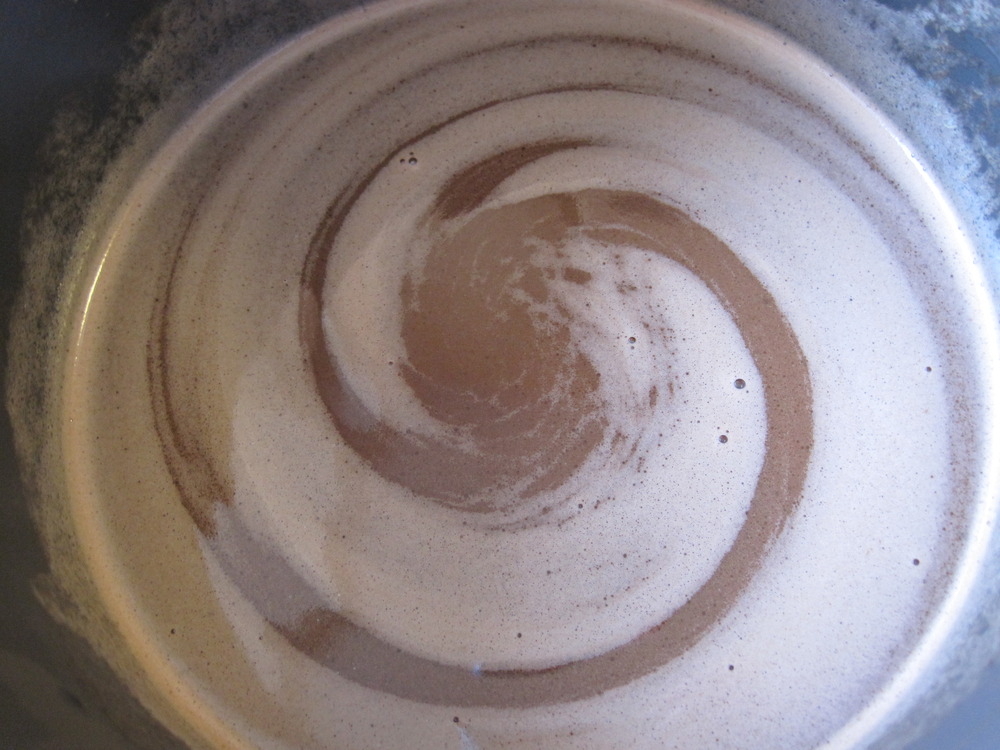
Then on the stovetop, heat up butter, water, and cocoa.

Img_5364

Bring to a boil and let cool.

Img_5366

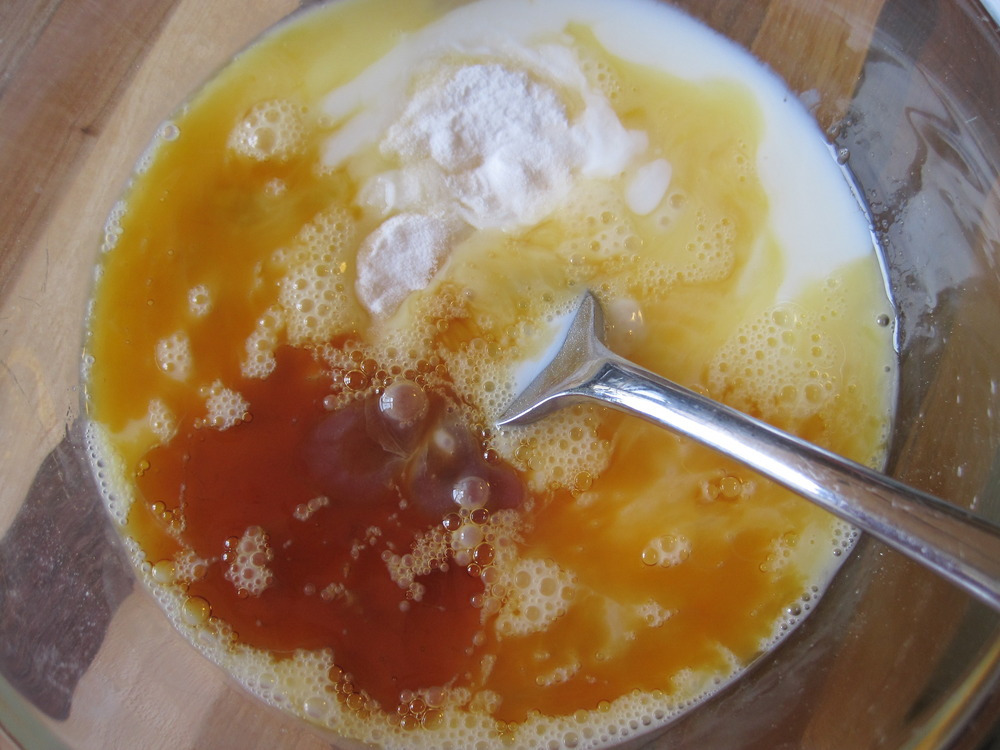
In another bowl, combine eggs, buttermilk, soda, and vanilla.

Img_5368

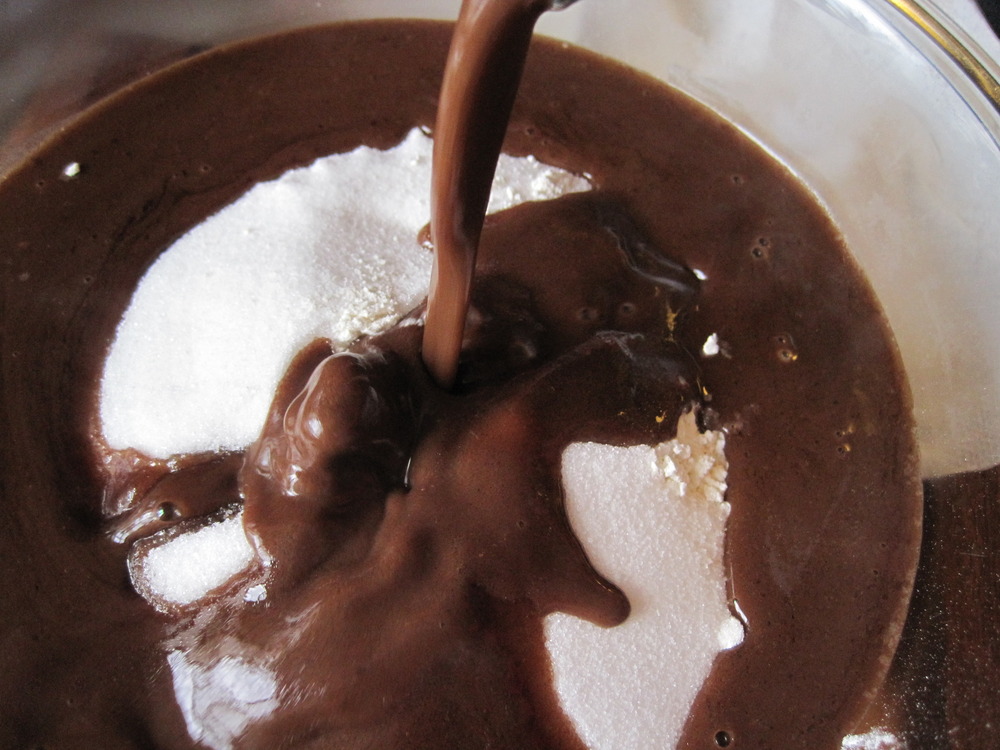
Pour the cooled chocolate mixture over the flour/sugar combination.

Img_5370

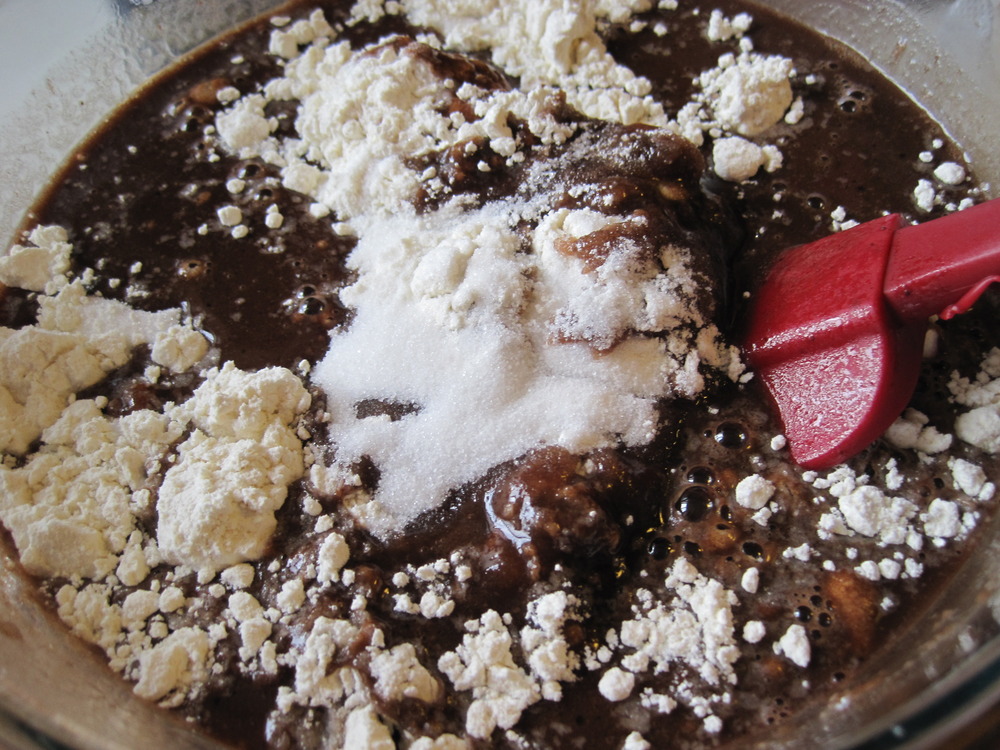
Stir in the egg mixture as well,

Img_5371

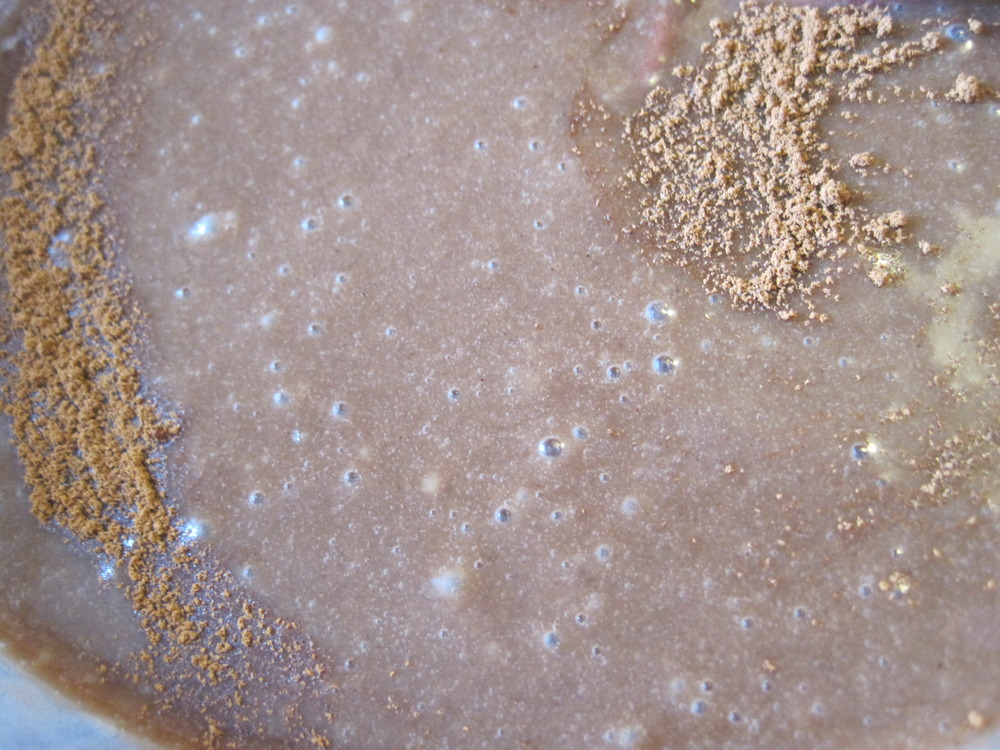
and finally add cinnamon if you wish.

Img_5374

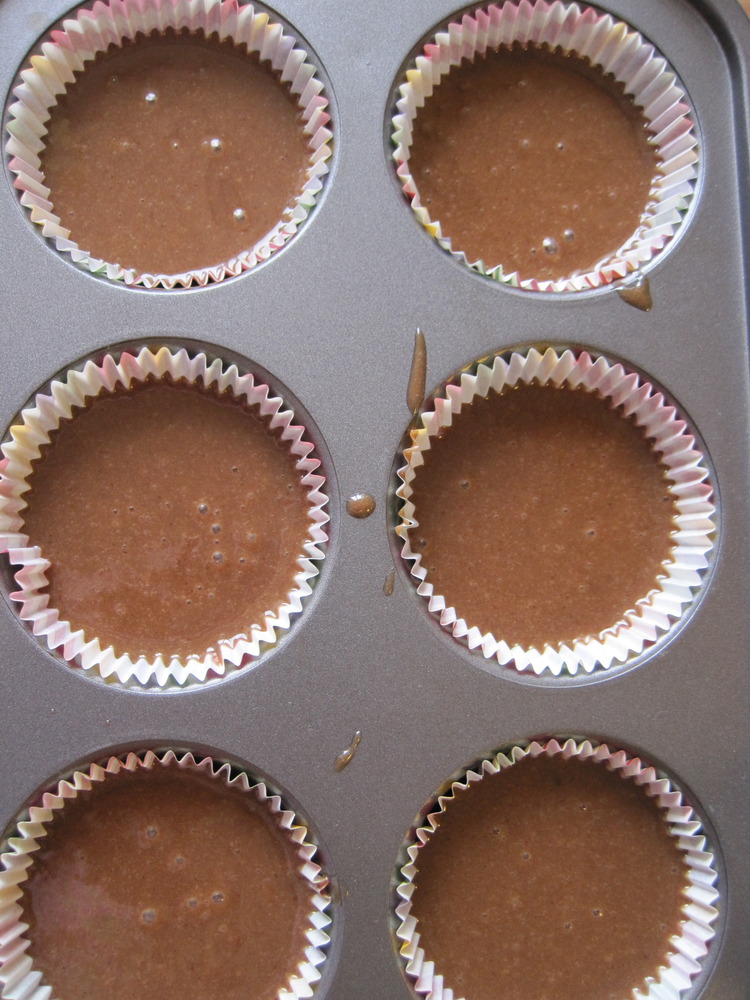
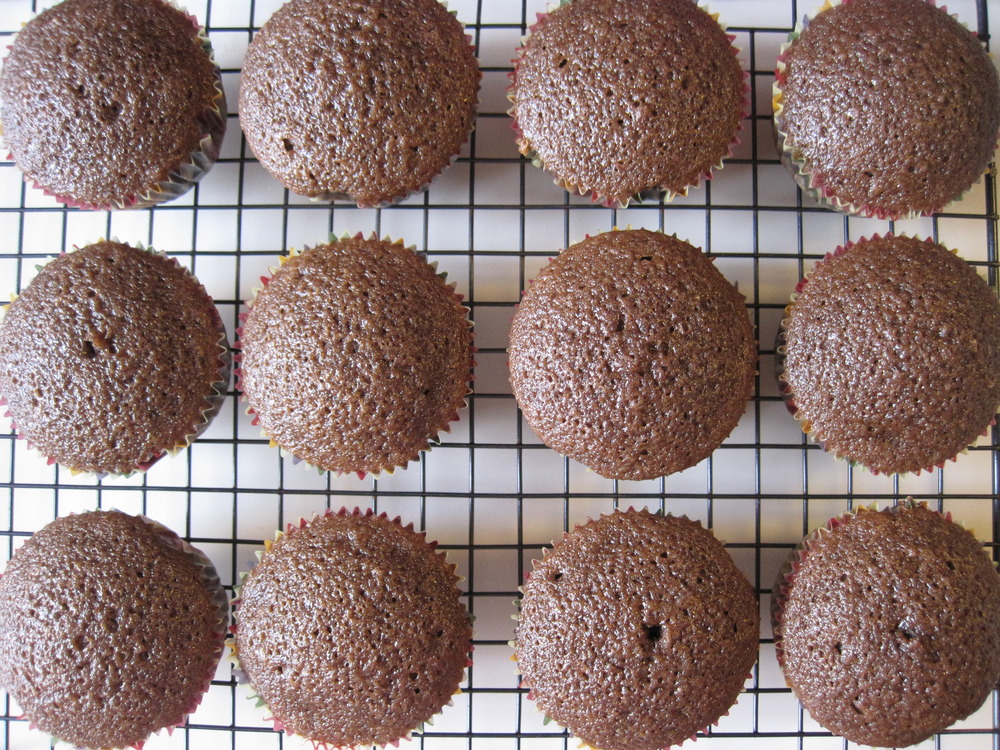
Then, you can bake it in a sheet cake pan for 20 minutes at 350 and ice it with the icing glaze (Classic Style), or you can get crazy and pour it into cupcake pans and bake at 350 for about 17 minutes (what I did.)

Img_5379

17 minutes-ish later:

Img_5381

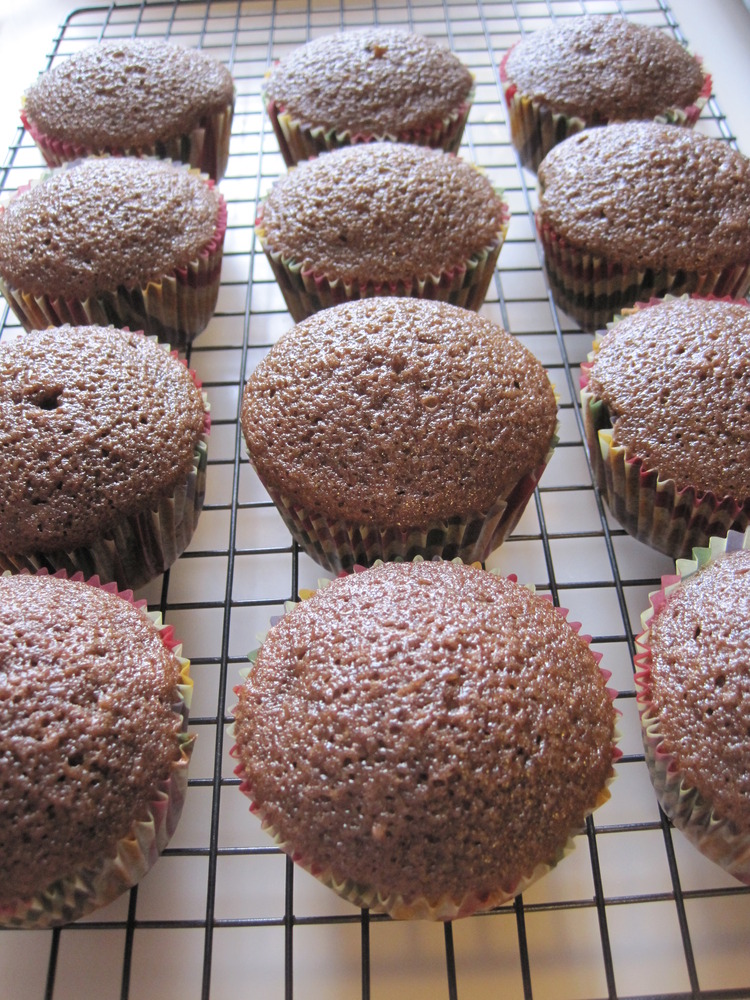
Yum.

Img_5382

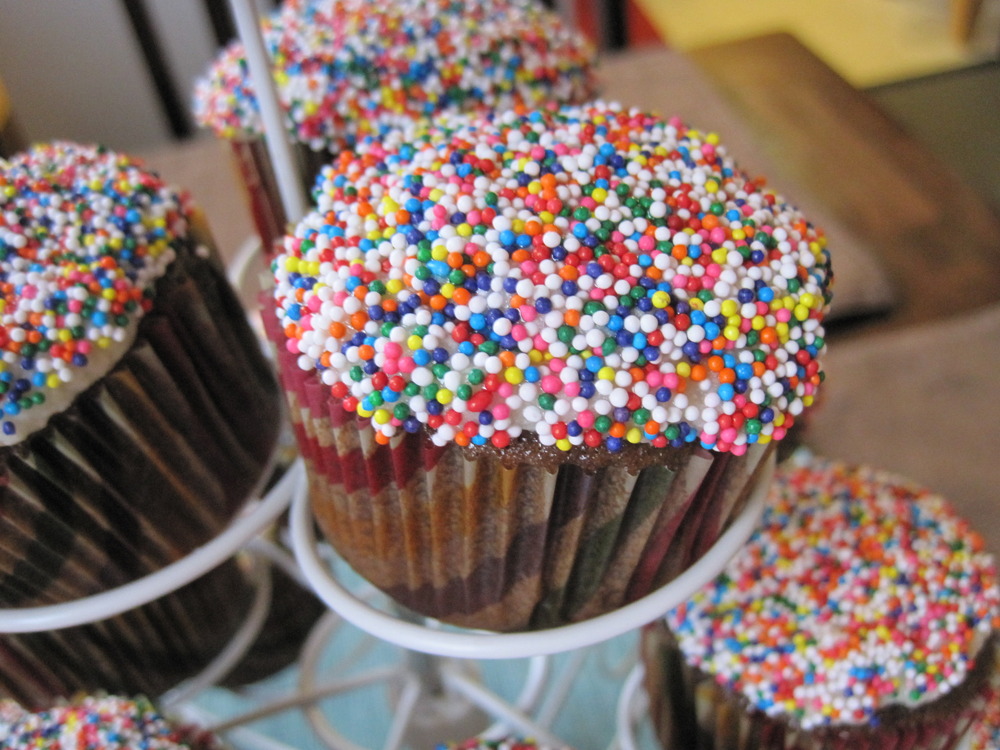
Then, for the icing, I used the recipe on this site: Obsessed with Baking. It is similar to this recipe: Pioneer Woman's That's The Best Frosting I've Ever Had. I made the PW version for a different set of cupcakes I made a couple of days before, and I'll have to say that despite the different methods, they both came out pretty much the same. I had a slight problem with getting the Obsessed with Baking version to really come together nicely but it tasted great. To cover up the imperfections, I decided to cover the icing with sprinkles, which was a great idea. They turned out gorgeous!

Img_5395

And check this out:

Img_5403

WoW!

Thursday, April 21, 2011

Zatar Bread

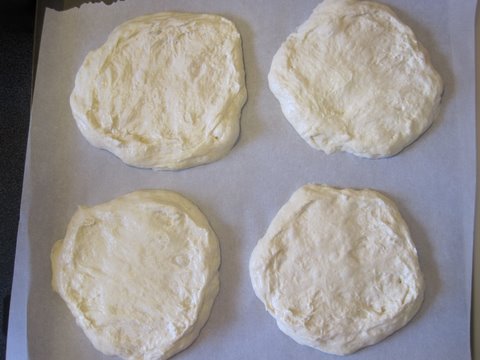
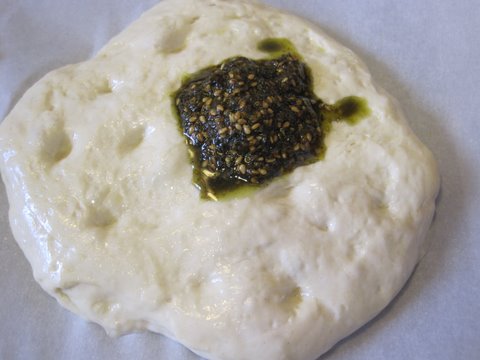
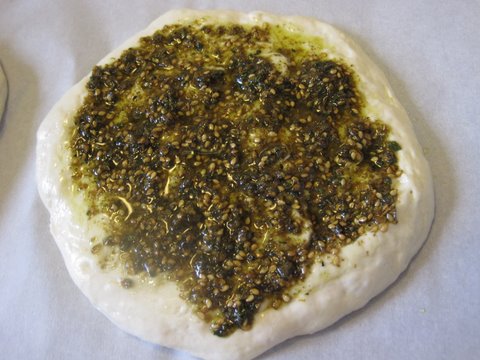
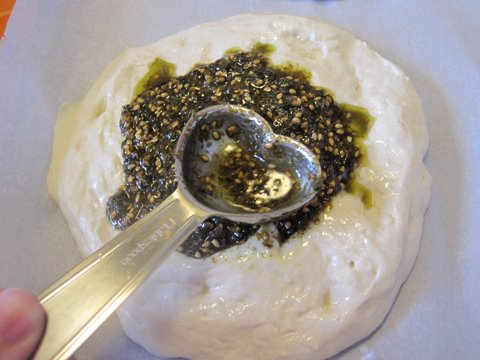
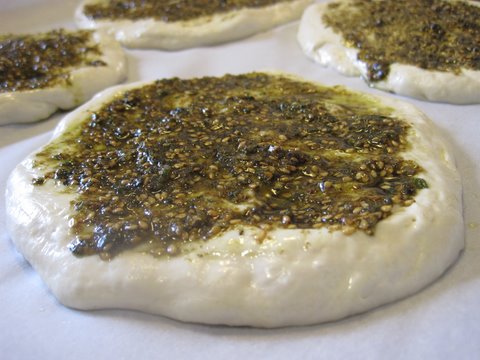
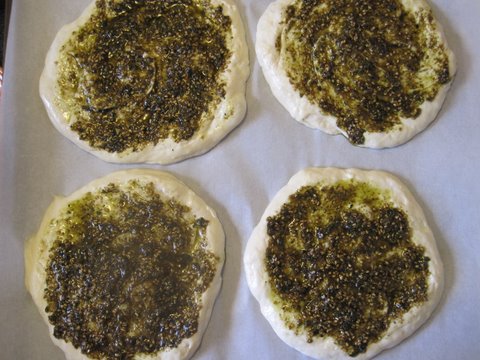
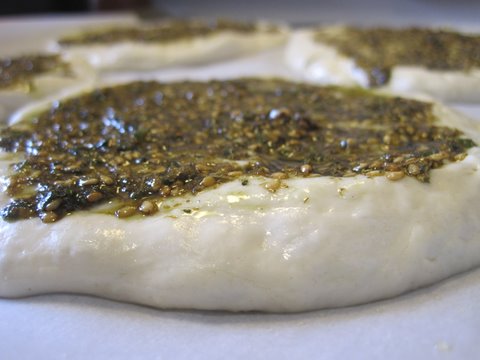
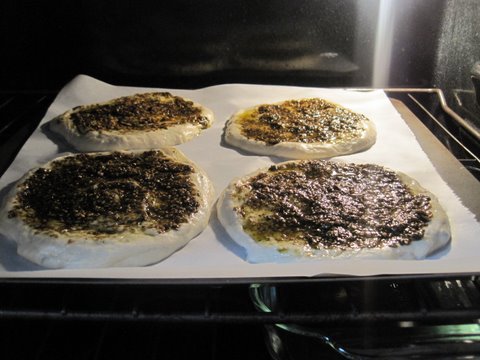
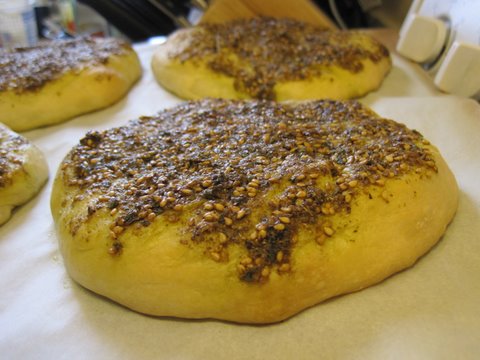
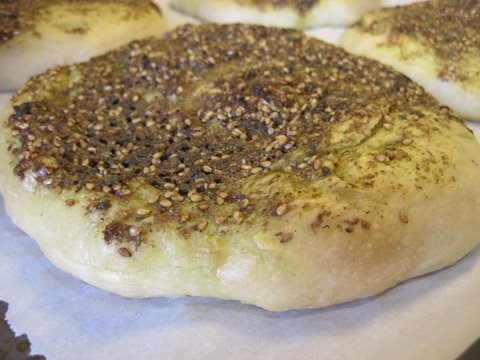
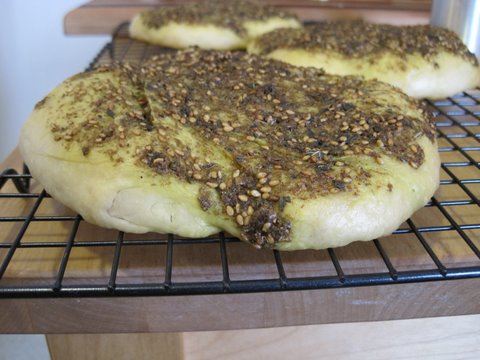
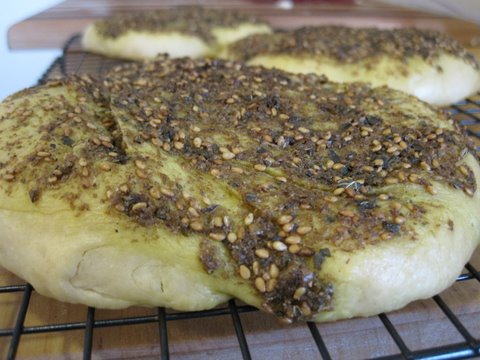
Img_4512Img_4515Img_4516Img_4518Img_4519Img_4522Img_4524Img_4525Img_4526Img_4527Img_4528Img_4529Img_4530Img_4536Img_4537Img_4538Img_4539Img_4540Img_4542Img_4543Img_4569Img_4570Img_4573Img_4574
Okay, so I know I've had this "Zatar Bread Coming Soon" post up for like a month... I've been super busy and haven't had time to write out the recipe. The gallery of pictures above shows the steps I took the first time I made zatar bread myself - the bread came out SO delicious, and the pictures came out pretty great as well, so I really wanted to share the recipe. The only problem with it was that it took FOREVER to make and had way too many steps. It called for letting the bread rise about 5 different times. The bread was really good, though, so I thought that I would keep the recipe and try it again.
Img_4571

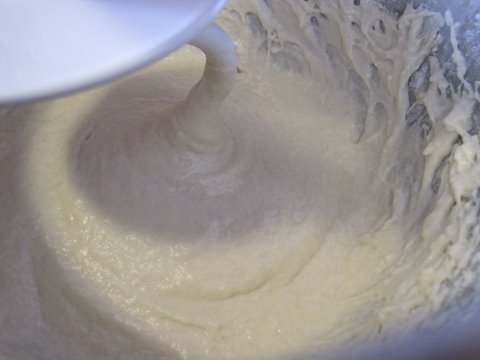
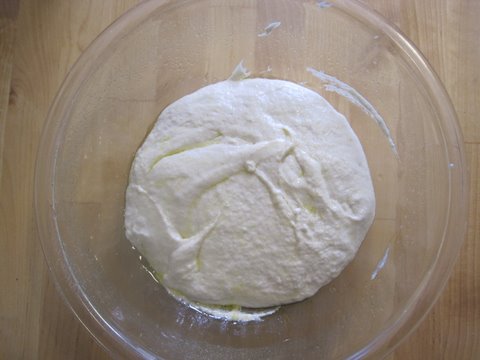
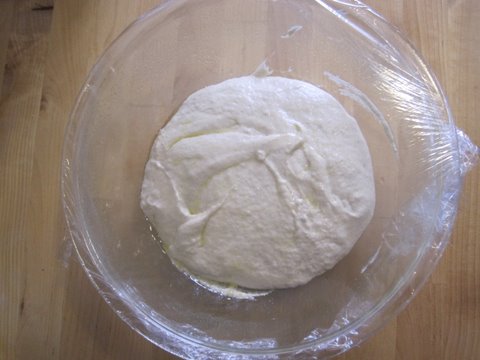
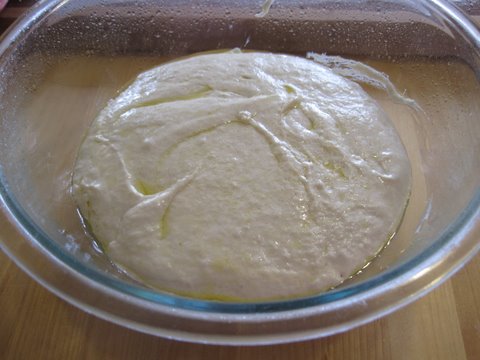
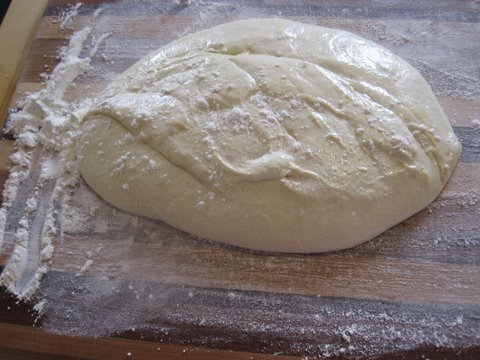
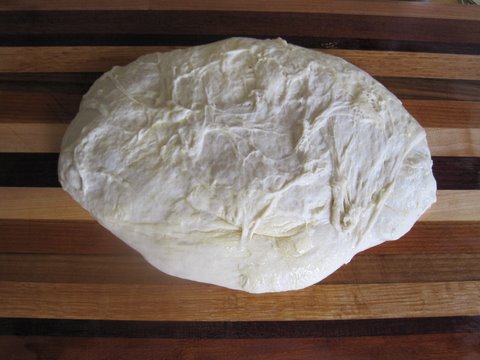
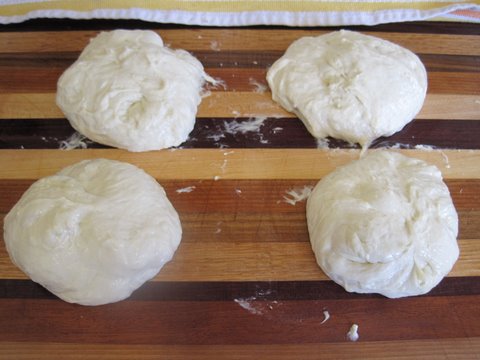
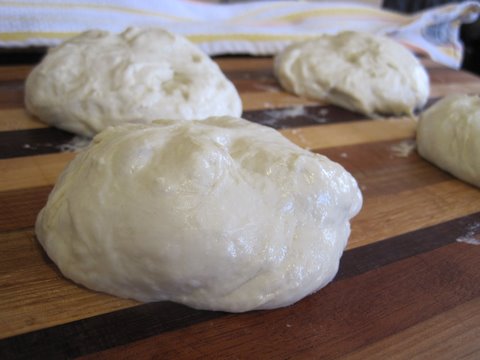
Then, thanks to Lisa, I came across a miracle bread recipe. It is a bread recipe in which you can make a large batch of dough, keep it in the fridge for up to two weeks, and use it throughout those two weeks to make all different kinds of bread. I used the first batch I made to make pita bread, zatar bread, and a baguette - all from the same batch of dough that took me about 10 minutes to make.

I will share the EASY zatar bread recipe soon as well as the other bread recipes I mentioned, as I didn't take pictures the first time I made them and I want a chance to make them again and document the steps with pictures. I adapted the recipes from Artisan Bread in 5 Minutes a Day (click on book title to see book on Amazon), but I adapted the methods used in the book to make them friendly to the tools and equipment I already had on hand in my kitchen. I would highly recommend this book, as I have had great success so far with every recipe I have tried!

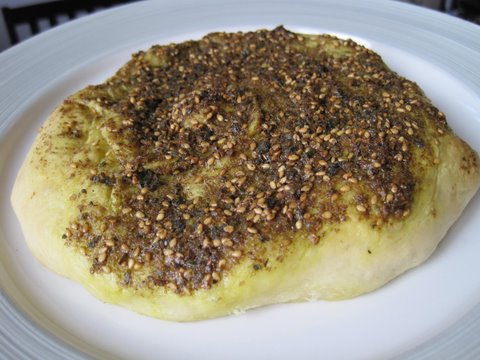
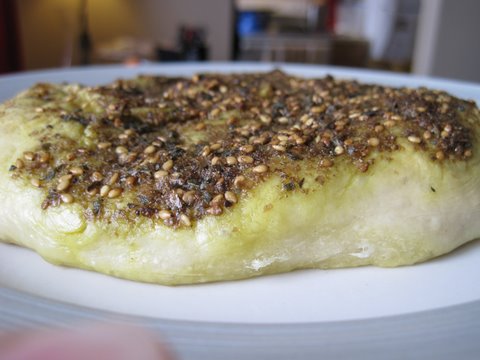
And finally, for those of you who don't know, zatar bread is a Middle Eastern flatbread made with olive oil and zatar (a spice blend). The zatar spice blend I use came from Jamie's family and I am almost out. I probably have enough to make one more batch, so I'll have to get some more! Zatar is a strong spice made from thyme, oregano, and other spices - at first I did not care for it - but it has grown on me and now I enjoy it a lot on flatbread. It is great to dip freshly baked zatar bread into homemade hummus or just eat it by itself!

Img_4572