Monday, May 16, 2011

Strawberry Rhubarb Pie

Img_5680

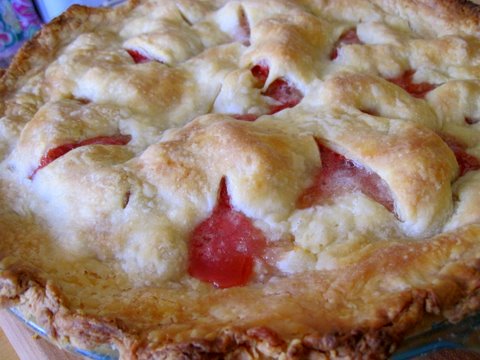
I LOVE strawberry rhubarb pie. I didn't care for pie too much before I tried strawberry rhubarb, but now, I can't get enough of the s-r pie! Last week, when I made this pie, I used a combination of 2 recipes. I made Smitten Kitchen's all-butter, really flaky pie crust (click for link!) filled with my take on Betty Crocker's filling. It turned out great, so here is my method/the recipe.

Img_5654

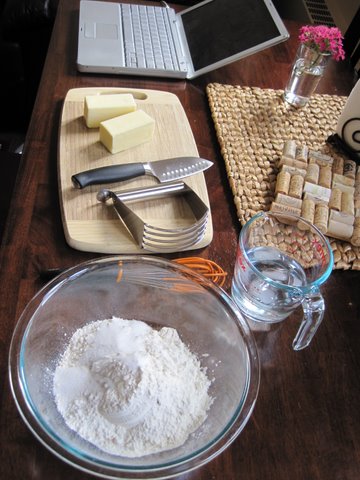
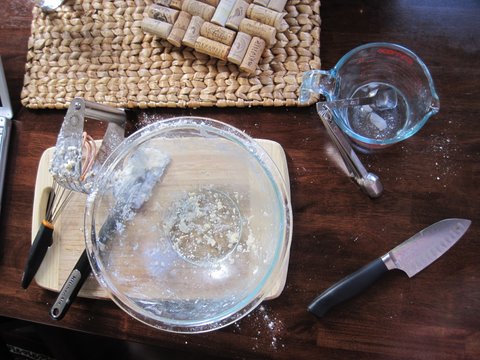
Above is my set-up for the pie dough making. You can see I needed my computer to follow SK's recipe... it's too bad I don't have an iPad hanging in my kitchen for quick access to recipes :)

Img_5655

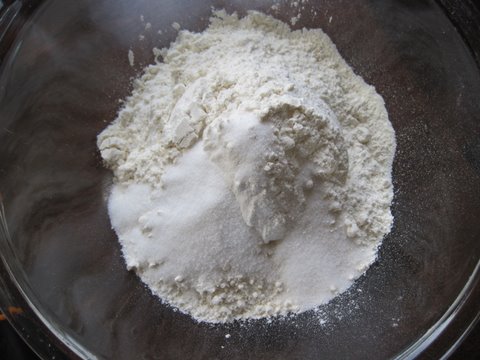
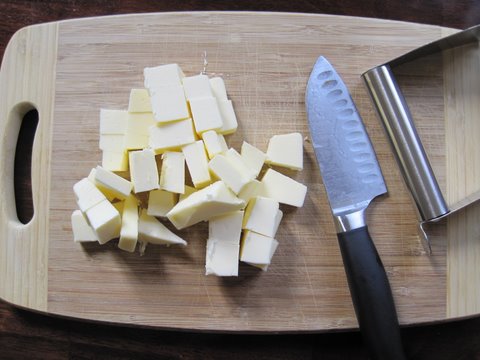
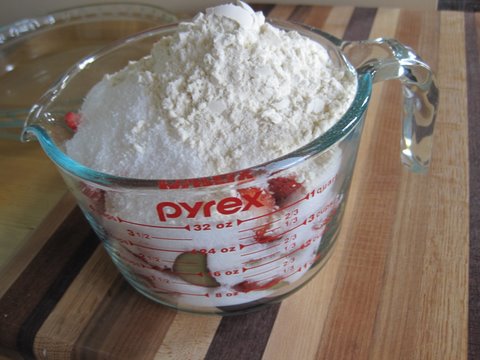
Combine 2 1/2 c. flour, 1 T sugar, and 1 t. salt in a bowl, and chop up 2 sticks (1 cup) of very cold butter.

Img_5656

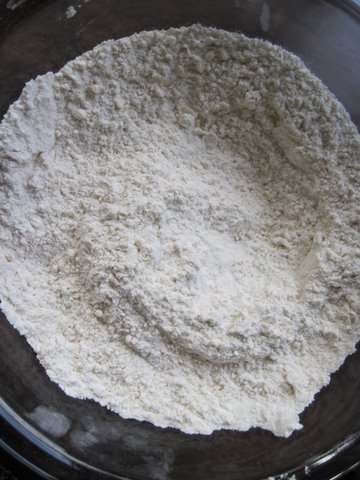
Stir the dry ingredients together,
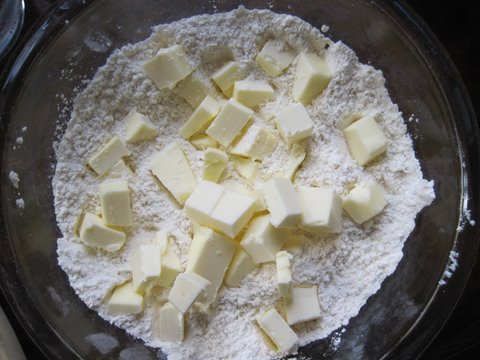
Img_5658

add the butter,

Img_5659

Go to work with a pastry blender...
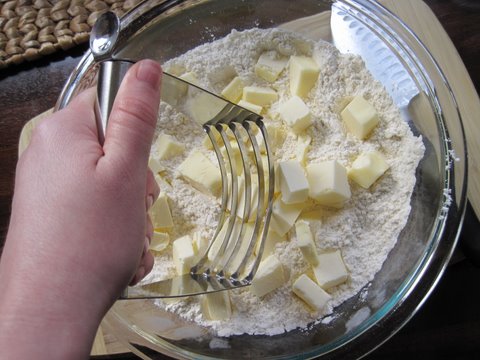
Img_5660

...

Img_5661

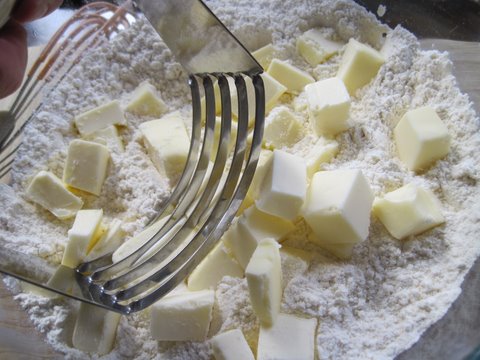
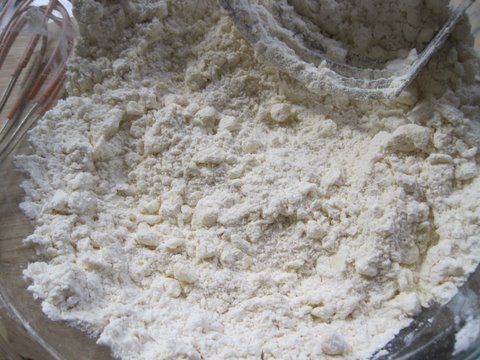
... until little pea-sized balls form throughout.

Img_5662

Pour in 1/2 c. of ice cold water,

Img_5663

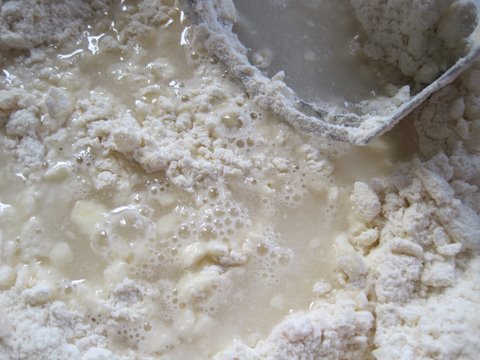
stir, and keep adding water 1 T at a time until all of the flour/butter mixture is incorporated into one ball.

Img_5664

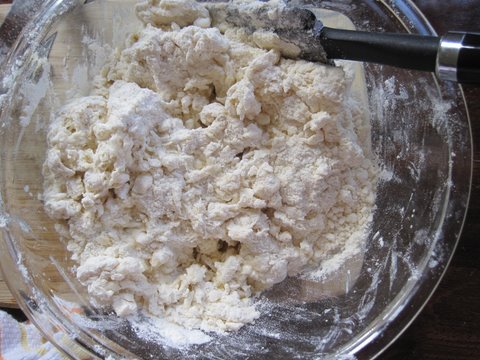
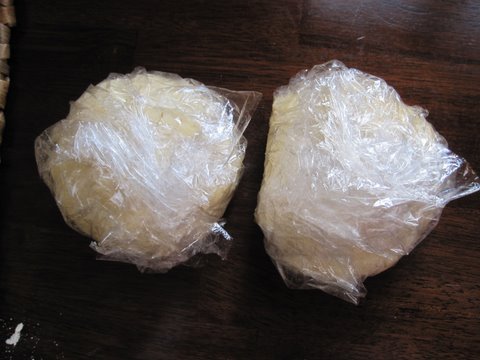
Split the ball into two balls, wrap them in plastic wrap, and place them in the fridge. SK says to chill them for an hour, but I didn't have an hour, so I put them in the freezer for about 15 minutes. That worked just fine.

Img_5665

Look at my mess :)

Img_5666

Now, for the filling, which is SUPER SIMPLE...

Img_5669
Chop 2 c. of strawberries and 2 c. of rhubarb

Img_5670

Stir with 2/3 c. sugar, 2/3 c. Splenda (cuts out a lot of calories and NONE of the yummy taste), and 6 T flour.

Img_5671

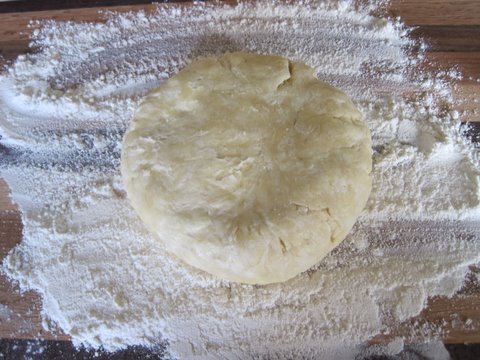
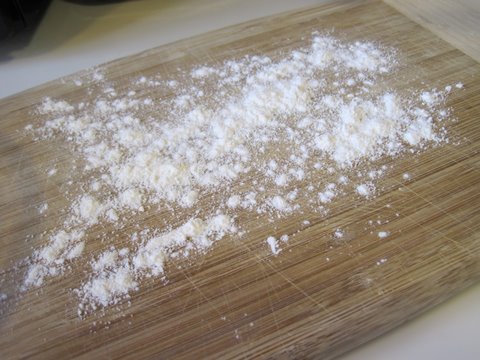
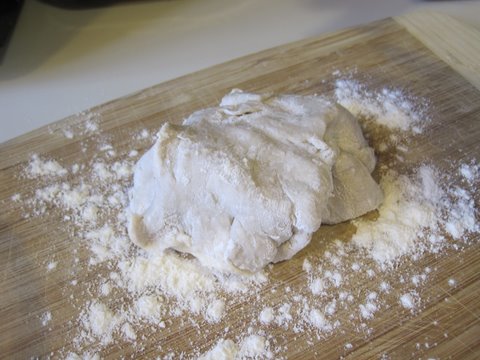
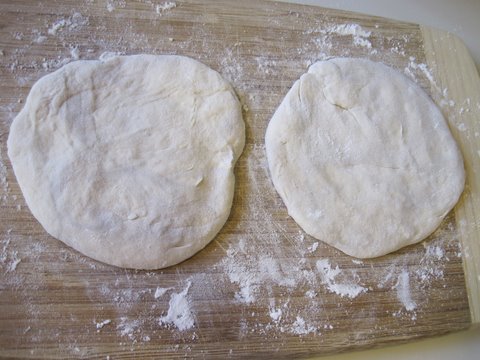
Generously flour a cutting board and shape the ball into a thick disc.

Img_5672

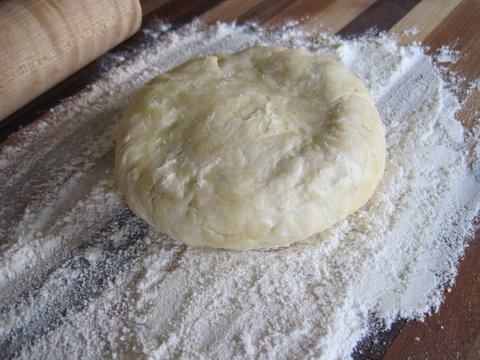
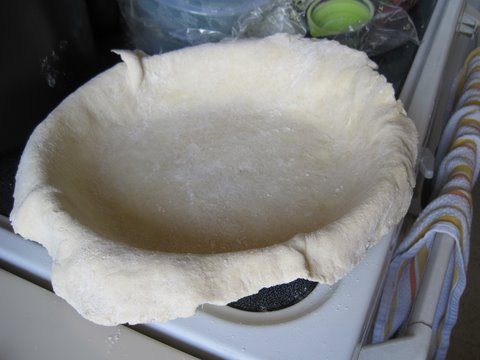
Generously flour the top of the dough, and roll it out until it's huge! You can follow what SK says to do and fold it up into quarters to easily transfer it to the pie pan. I found that worked well.

Img_5674

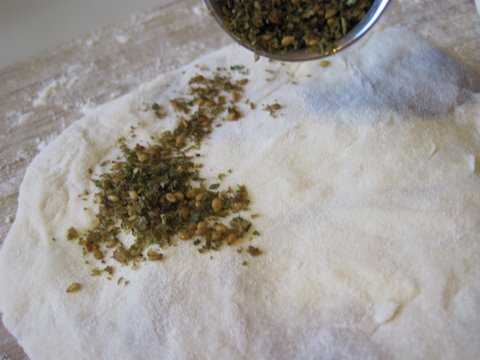
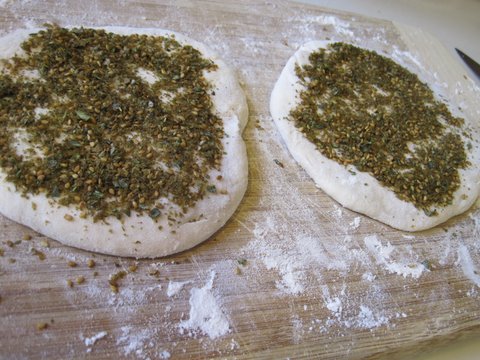
Spread the strawberry-rhubarb-flour-sugar-splenda mixture on top of the dough,

Img_5675

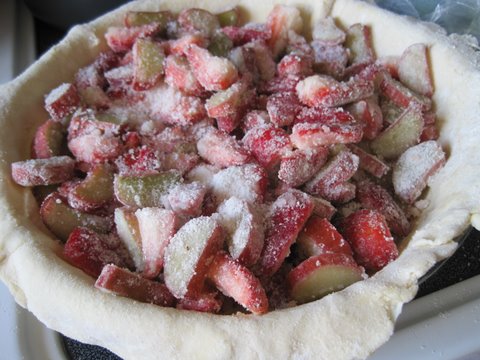
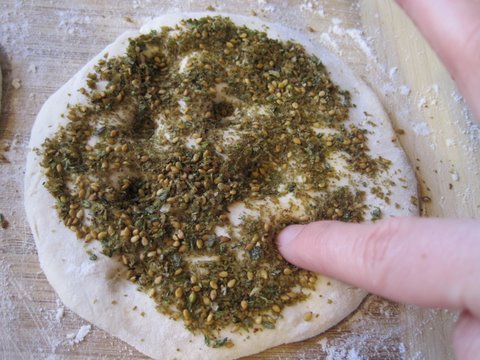
Cut up about 1T of butter into small chunks and sprinkle them on top too.

Img_5676

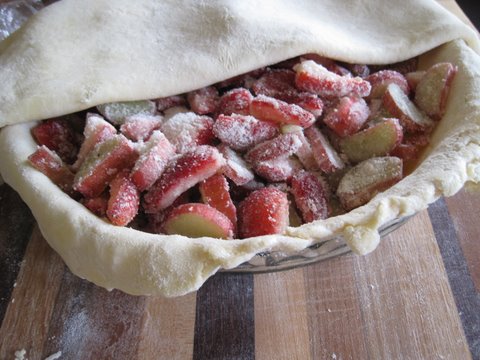
Roll out the top dough, place it on top,

Img_5678

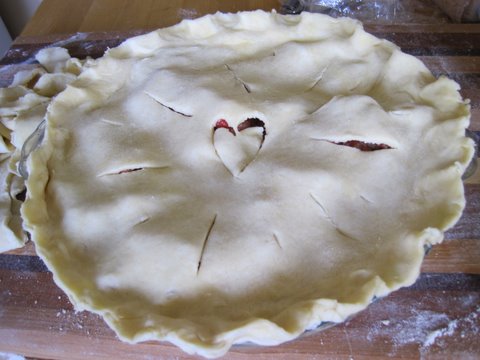
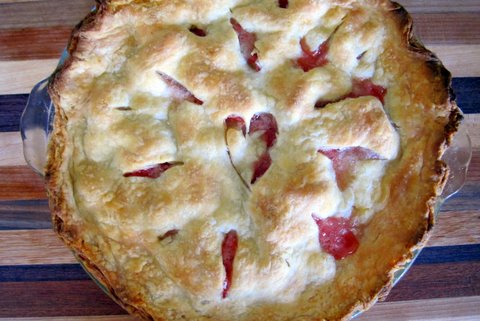
trim the sides, crimp them together, and cut slits/decorations on the top of the pie!

Img_5679

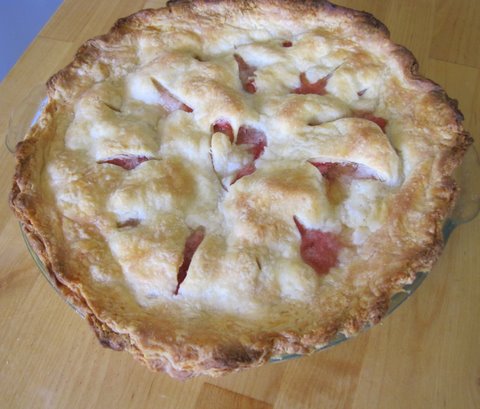
Bake at 375 degrees for 40 to 50 minutes. I would recommend putting foil around the crust, as mine burnt slightly.
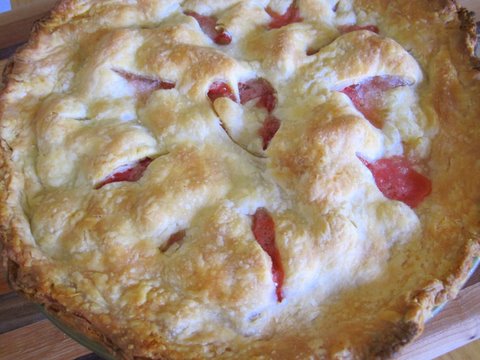
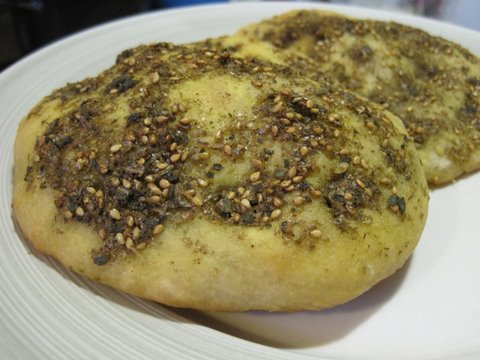
Img_5681

Enjoy this pie!

Img_5682

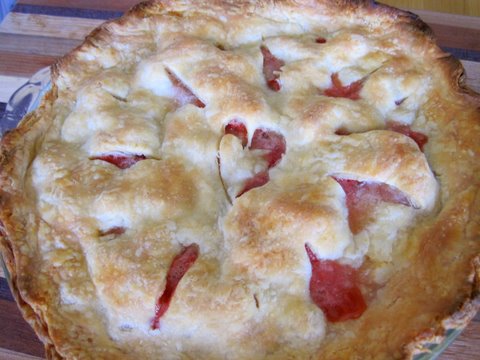
Seriously - it's good...

Img_5685

Fried Halloumi Cheese

Img_5651

Here is how I made the fried cheese to go with our mediterranean-inspired beef empanadas!

I started with halloumi cheese:

Img_5642

I sliced it up into 1/4 inch slices, and heated up some olive oil in a small pan. When the oil was hot, I added the cheese and fried on both sides for about a minute on each side.

Img_5649

When it was golden brown, we ate it. The End.

Img_5650


Beef Empanadas

Img_5647
On Wednesday, I made beef empanadas, mediterranean style! They are so easy to make, and the spices and ingredients could be modified to whatever your favorite flavors are.

I started with store-bought empanada dough. It makes the empanada-making much easier!

Img_5643

Then, I sauteed some diced onions, garlics, and toasted pine nuts.

Img_5637

I added 1 lb. ground beef, cinnamon, white pepper, and salt.

Img_5639

I stirred it all together,

Img_5641

and cooked it until the meat became browned.

Img_5644

Then I scooped a spoonfull of filling, and placed it on the center of each empanada dough piece. I sprayed both the pan and the inside of the empanadas with olive oil spray first.

Img_5645

I wrapped them up and crimped the sides (like a pie!), sprayed them with olive oil spray, and baked them at 350 degrees for about 20 minutes.

Img_5646

We enjoyed them with fried halloumi cheese and salad!

Thursday, May 12, 2011

Easy Zatar Bread!

Img_5496

This bread is SUPER EASY. I'm not kidding you - just try it. It may change your life.

Before making this bread, I had just about given up on bread recipes. I don't like spending time waiting for the bread to rise or having to keep coming back every 20 minutes to do something else to the dough and let it rise again. This recipe is NOT LIKE OTHER RECIPES. It is so simple, and versatile too - you can use it to make this zatar bread, pita bread, baguette, pizza dough, and many more...and everything I have made with this dough so far comes out delicious!

I'm going to explain to you how to make the dough, and then show you how easy it was to turn it into zatar bread.

You will need:

1 1/2 c. lukewarm water

3/4 T yeast

3/4 T salt

3 1/4 cups all purpose flour

Here is what you do to make the generic dough:

Add yeast and salt to water in the bowl of a standing mixer. Using the dough hook attachment, mix in the flour. Mix for a couple of minutes - just until the dough is uniformly moist. Take off the hook, cover the bowl with a towel, and let rise for two to three hours. After the dough has risen, spray a bowl with olive oil spray (or PAM - whatever you have) and transfer the dough to that bowl. Spray the top of the dough with olive oil spray, and then cover with plastic wrap. Put into the refrigerator, and take chunks of dough from it whenever you want within the next two weeks to make whatever bread product your heart desires! 

To turn the dough into zatar bread, you first generously sprinkle a cutting board with flour. The dough is very wet so you must generously sprinkle the flour.

Img_5478

Then, tear off a chunk of dough about the size of an orange.

Img_5479

Separate it into two rounds, and flatten them.

Img_5480

At this point, you should transfer them to a baking sheet. Do what I say, not what I do :)

Img_5481

Sprinkle about 1 T of zatar blend (a meditteranean spice mix) onto the dough.

Img_5484

Press into the dough with your fingers to make indentations all over.

Img_5486

You can wait until now to transfer them to a baking dish, but it will be easier if you do it before sprinkling the zatar on.

Img_5489

Cover the bread pieces with olive oil.

Img_5490

Maybe about 1 T each? It's up to you... You can also sprinkle some salt over the top.

Img_5491

Let the unbaked zatar breads rest for about 20 minutes. Then, bake them in a 450 degree oven for about 15 minutes. Have a broiler pan or other pan in the oven on the rack below where you plan to bake the bread, and when you put the bread into the oven, pour a cup of water into that pan. This will create steam and be good for the bread (I think... I don't really know the science behind it.)

Img_5494

Enjoy your zatar bread!

Img_5497

Thursday, May 5, 2011

Mexican Rice

Img_5470

This mexican rice recipe makes a super-side dish to go along with enchiladas - or any other Mexican meal!

You need:

  • 2 c. rice
  • 1/3 c. oil
  • 1 14-oz can diced tomatoes
  • 1 medium white onion
  • 2 or 3 medium jalapenos, seeded (optional - leave the seeds in if you like it hot)
  • 4 minced garlic cloves
  • 2 c. chicken broth
  • 1/2 c. minced cilantro
  • 1 lime

To make:

Preheat the oven to 350 degrees.

Rinse the rice under cold water for about 2 minutes. Shake to remove excess water.

Heat oil in oven-safe 12 inch pan over medium high heat. Drop a few rice grains in when you think it is ready, and if they sizzle, it is ready. 

Img_5435

Add all of the rice and fry about 6 to 8 minutes.

Img_5436

In the meantime, process the tomato/onion in a processor until smooth,

Img_5437

pour into large bowl or 4 c. measure, and add the chicken stock,

Img_5440

and prepare jalapenos and garlic.

Img_5441

Reduce the heat to medium and add in chopped jalapenos and minced garlic.

Img_5444

Cook, stirring constantly, until fragrant (about 1 - 2 minutes).

Img_5445

Pour in tomato mixture. Stir.

Img_5447

Increase heat to medium high, and

Img_5448

bring to a boil. Then, cover the pan and transfer it to the oven.

Img_5450

Bake for 30 minutes. Stir after 15 minutes. After 30 minutes, stir in cilantro, extra jalapeno if desired, and sprinkle the juice from one lime on top.

Img_5473

Enjoy with enchiladas, quesadillas, or inside of a burrito!

Tuesday, May 3, 2011

Enchiladas Part II

Img_5474

I promised I would post pictures showing how to assemble the enchiladas for which I described how to cook the meat for in this post: Enchiladas Part I. Well, here they are. These enchiladas are absolutely delicious, and I would highly recommend that you make them ASAP.

First, make the meat in this post: Enchiladas Part I.

After the meat has been simmering for about an hour, preheat the oven to 350 degrees.

Img_5453

When the meat is tender, strain it apart from the sauce and tear or chop it up into small pieces. Reserve the sauce.

Img_5455

Mix the meat with 1 c. cheese, about 1/4 c. chopped cilantro, and about 1/4 c. chopped pickled jalapenos.

Img_5456

Spread 3/4 c. sauce into the bottom of a 9 X 13 baking dish. Heat up 6 tortillas in the microwave for 1 minute.

Img_5458

Spread about 1/4 c. beef mixture on each tortilla,

Img_5462

roll up,

Img_5463

and place in pan.

Img_5464

Repeat for all 12 enchiladas.

Img_5465

Pour remaining sauce over the top, 

Img_5467

and sprinkle with 1 cup cheese. 

Img_5469

Wrap with foil and bake about 20 to 25 minutes, until heated through. Remove foil and let cheese brown for 5 to 10 minutes.

Img_5468

Serve with black beans, rice, guacamole, or whatever else you'd like! Enjoy :)

Img_5476