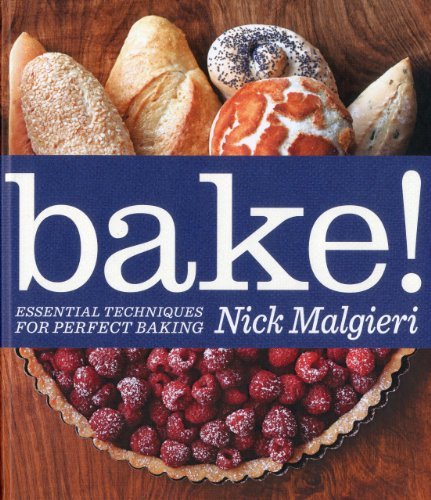
I came across the above book: Bake! by Nick Malgieri at the library a few weeks ago. After scanning through it, I saw he had a couple of pages about meringue layers - something I have desired to perfect so that I can re-create the Swiss Pastry Shop's (in Fort Worth, TX) Black Forest Cake.
I didn't use the exact recipe from the book, but it was a great inspiration and help to my baking of meringues. I have spent hours making meringues, and have learned a lot. I've also used a lot of egg whites! So here goes... my meringue story!
You should also know that making meringue when it is really humid outside just doesn't work. I tried making meringues in the summer when it was hot and humid, and they didn't dry out properly so they became soggy.
You will need:
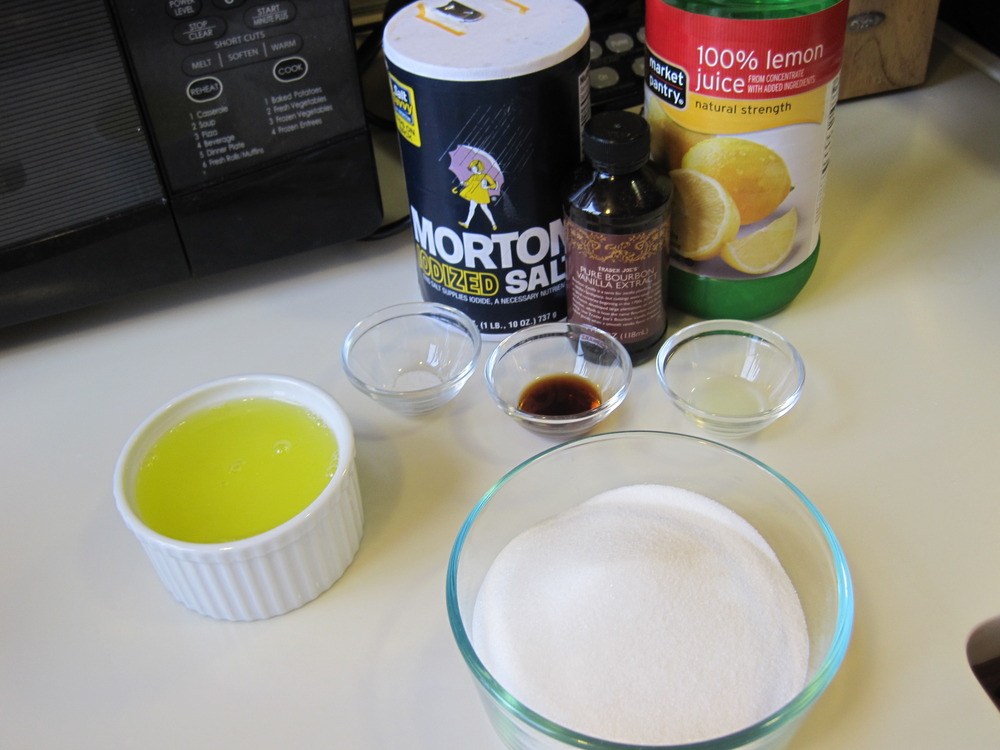
- 4 large egg whites*
- 1 cup sugar, divided into 2/3 c. and 1/3 c.
- 1 t. vanilla
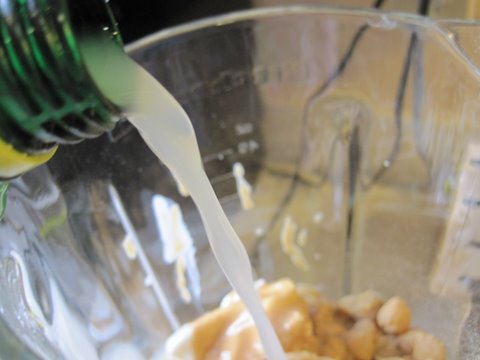
- 1/2 t. lemon juice
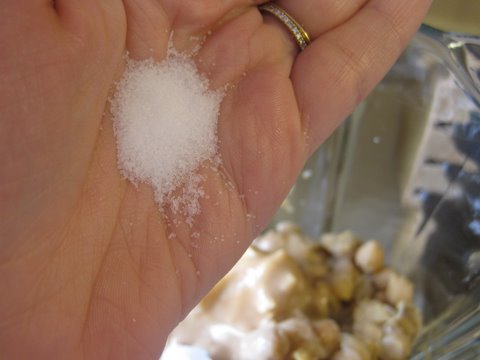
- 1 pinch of salt
*To reach their optimum volume, the egg whites should be sitting at room temperature for about 30 minutes before you use them. Also, they need to be completely free of egg yolks, and the best way to accomplish this is by separating the egg from yolk in a separate bowl and then adding it to the main bowl of egg whites you are using.
To begin, combine egg whites, 2/3 cup of sugar, vanilla, lemon juice, and salt in the bowl of a standing mixer.
Fill a saucepan 1/2 full with water, and bring to a boil.
Place the bowl on top of the water,
and slowly stir with a whisk until
the ingredients reach a temperature of approximately 140 degrees.
At this point, fix the bowl into the mixer fitted with a whisk attachment.
Whisk on medium high speed,
and in the meantime...
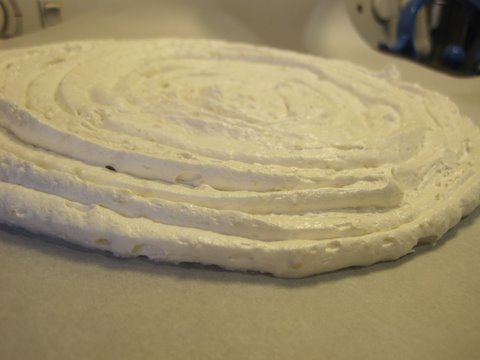
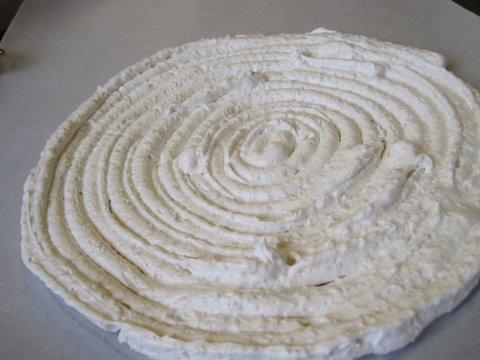
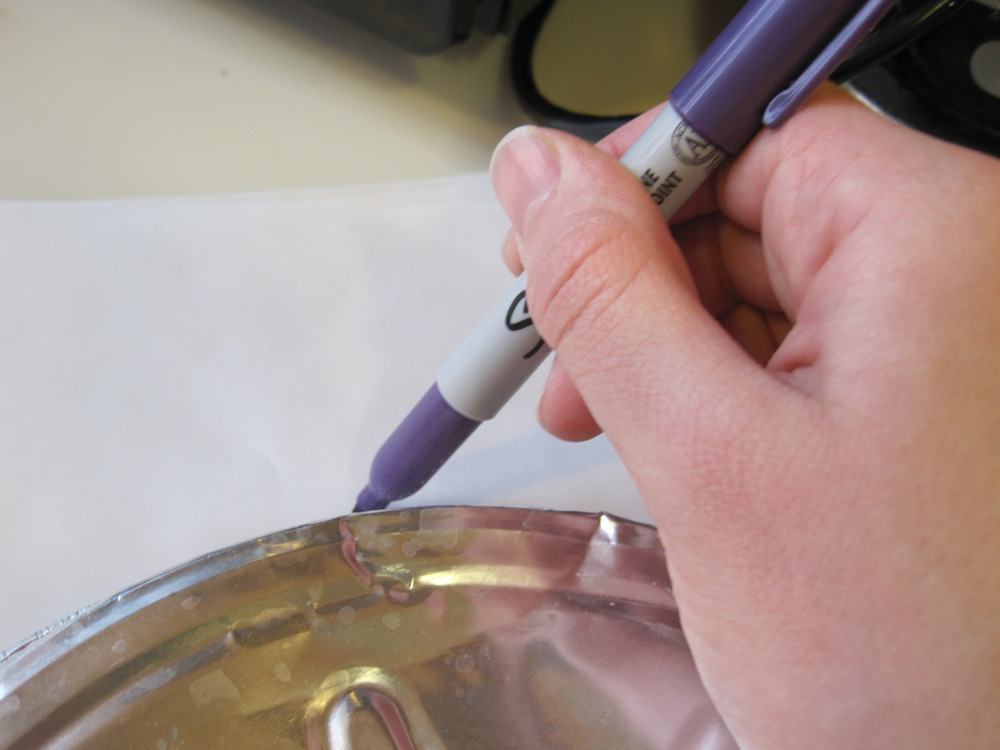
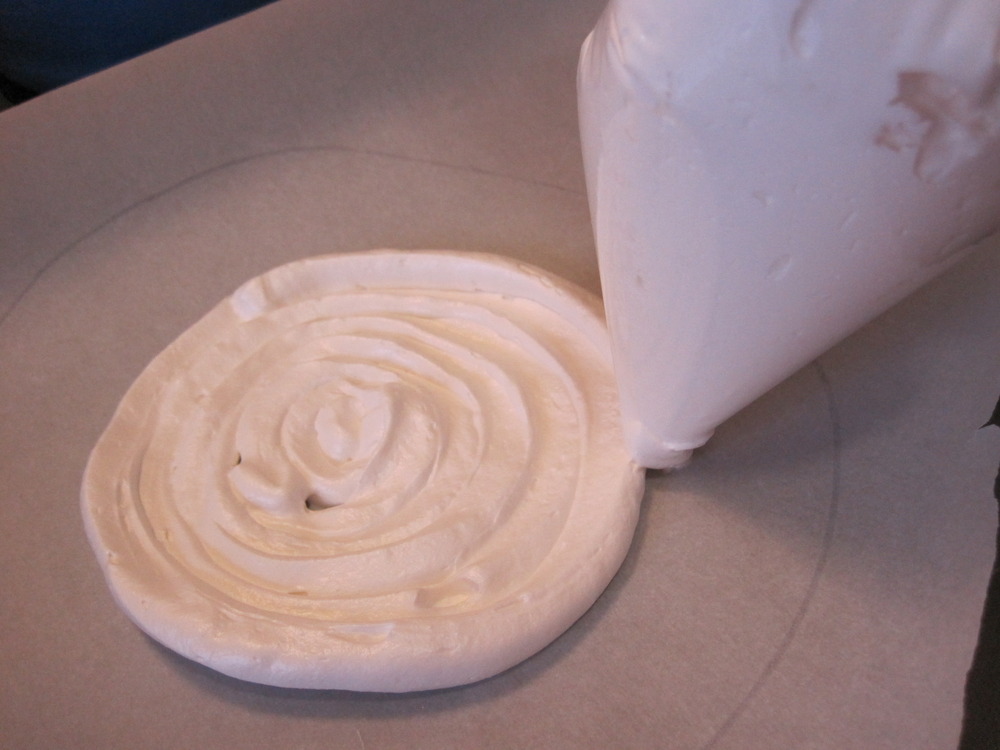
Get your parchment paper ready
by tracing a circle with a thick marker on the underside of the parchment paper.
That way you can see it when you flip the paper over.
At this point your whites are still beating, and you want to let them keep beating until the bowl is no longer warm. So, you have some more time to prepare your piping bag.
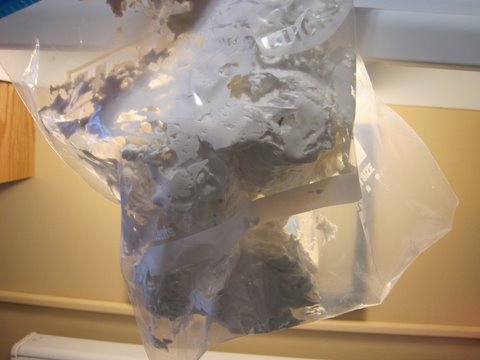
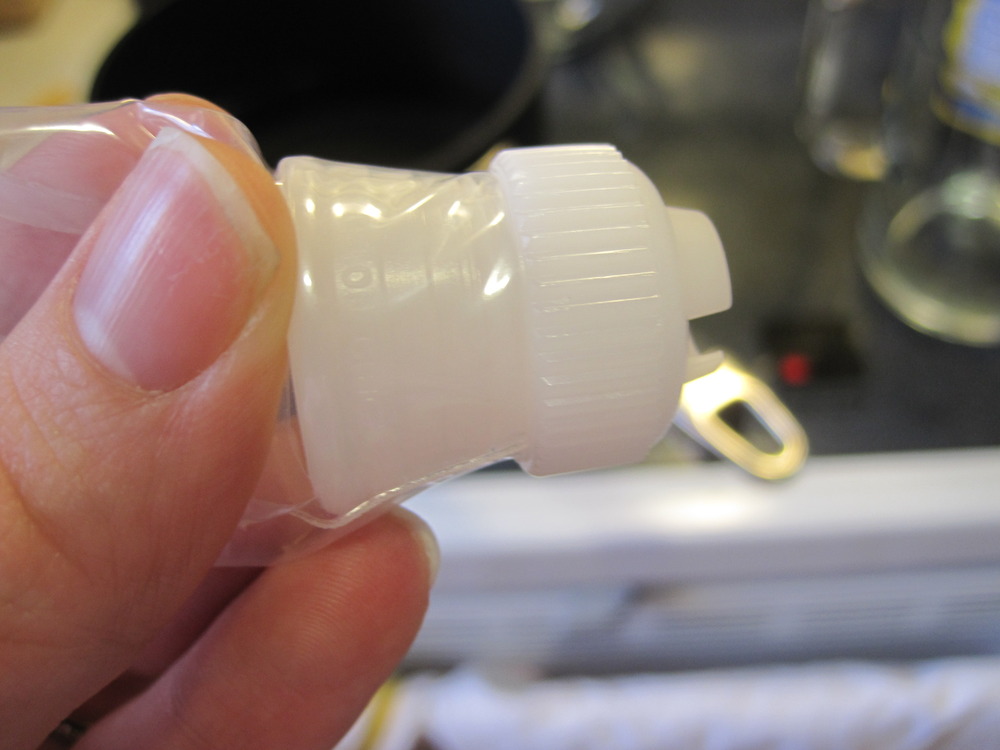
I suggest you DO NOT use this (a piping bag and coupler - it will create a huge mess):
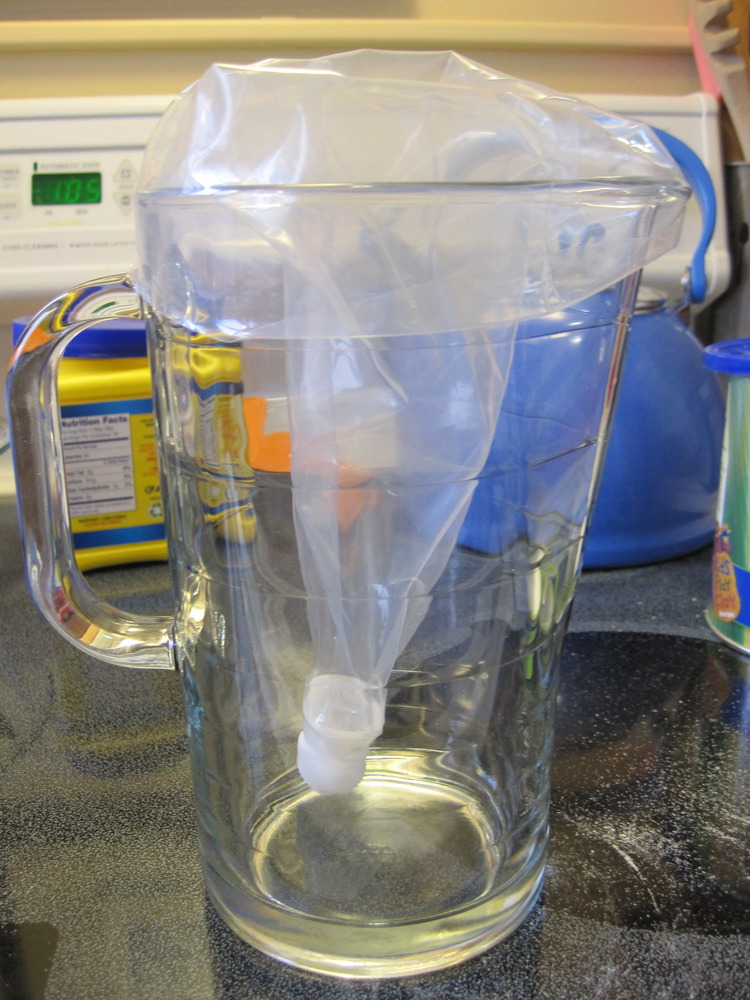
Instead, I suggest you use this:
And all you need to do is snip a tiny corner off of the edge of the bag.
Now, back to the whites, once your bowl is no longer warm, reduce the mixer speed to medium and add the remaining 1/3 c. sugar, about 1 T at a time.
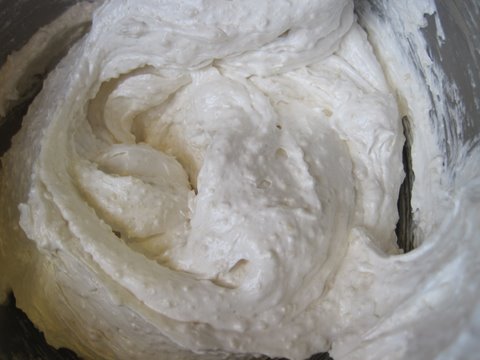
Wow your whites are pretty!
So beautiful!
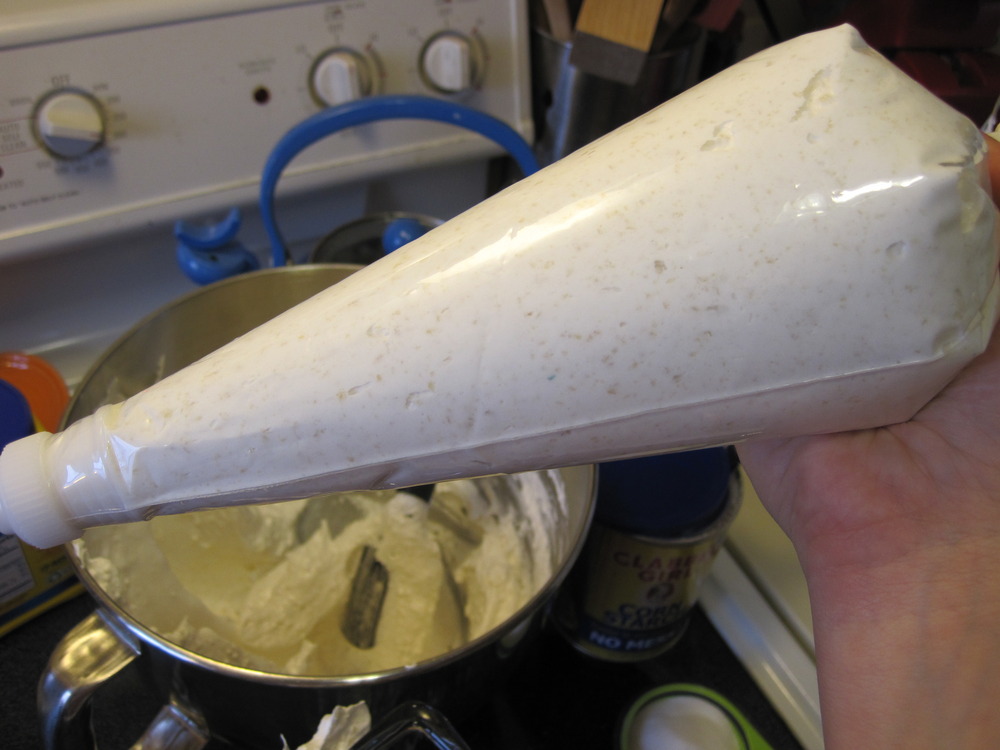
You can easily use a spatula to transfer the meringue into the ziploc bag, making sure to fill the side of the bag you didn't cut first so that nothing spills out of the cut hole. The meringue is pretty stiff so it shouldn't be a problem even if you aren't that careful when filling the bag.
The ziploc bag is a great choice because you can zip up the mess and never worry about it again!
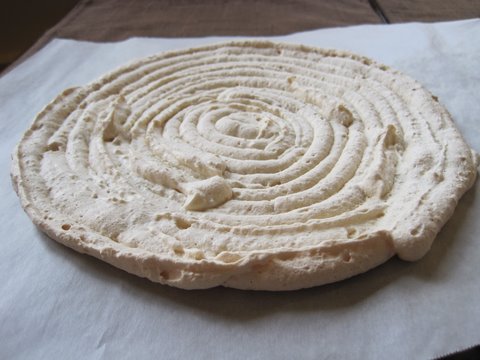
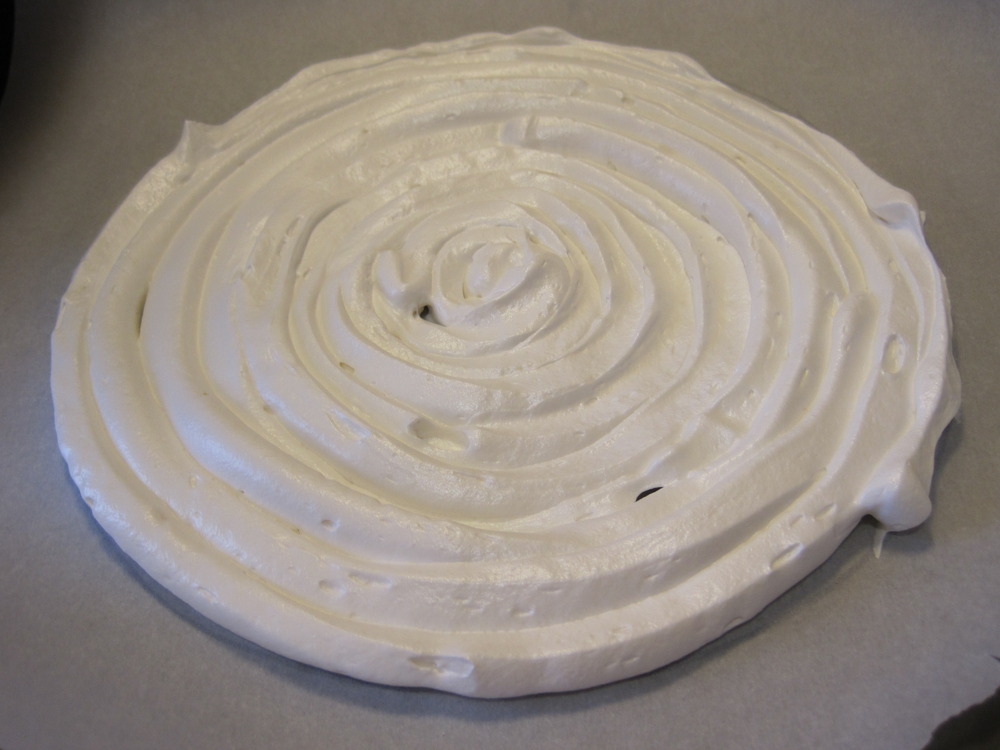
You just use it as you would a regular piping bag to pipe out the meringue in a circular pattern on the parchment. You'll want to first put the parchment onto a cookie sheet.
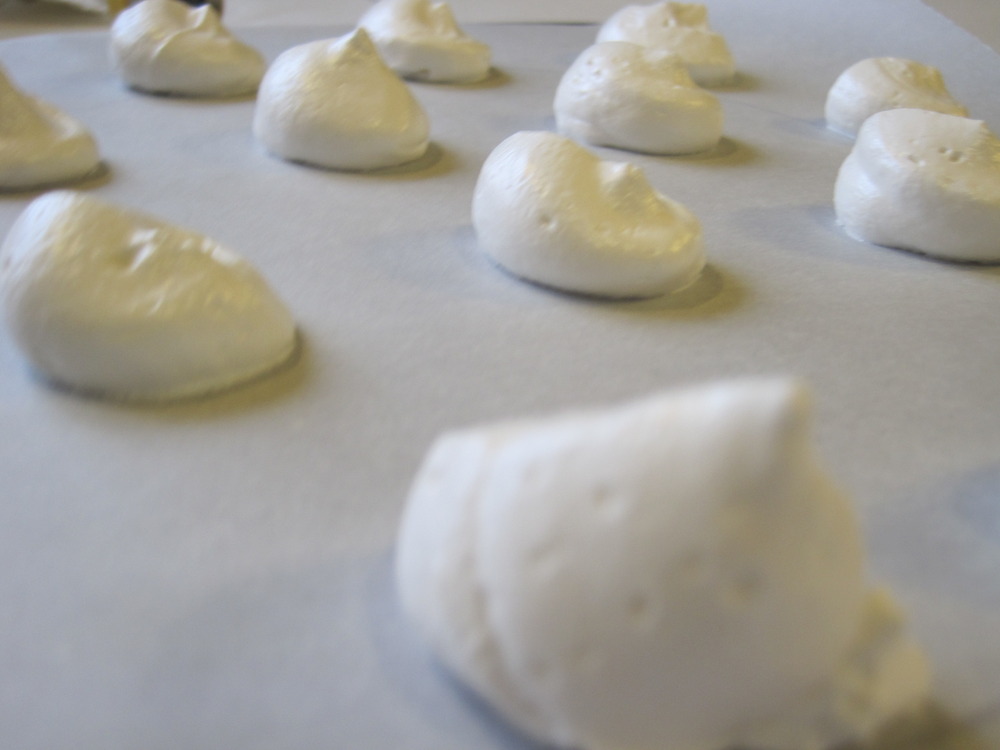
You can also make meringue cookies by placing dollops of meringue on parchment paper:
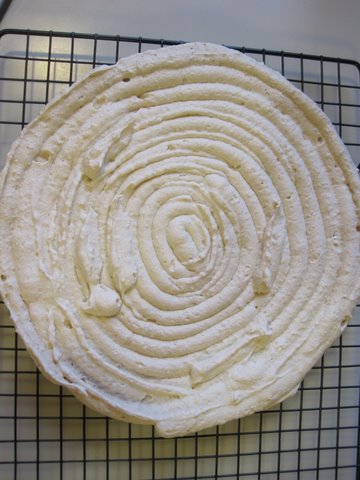
Finally you will bake the meringue at 200 degrees for one and a half to two hours on the upper-most and lower-most oven racks. Check it at one and a half hours and touch the meringue to see if it is hard or not. When the meringue is hard and dried out, it is done. You can taste one of the cookies to see if it is nice and crunchy!
After one and a half hours, remove from the parchment and let cool! Enjoy :)
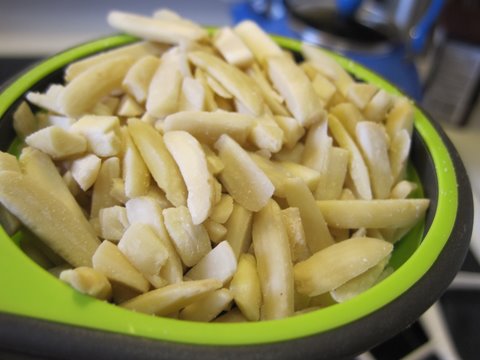
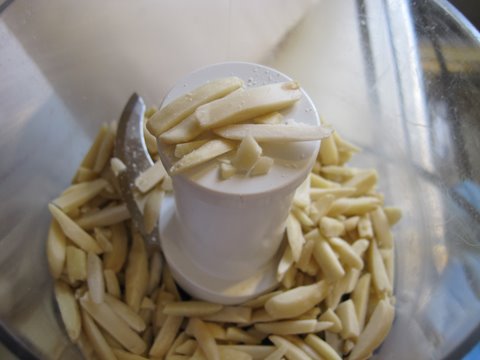
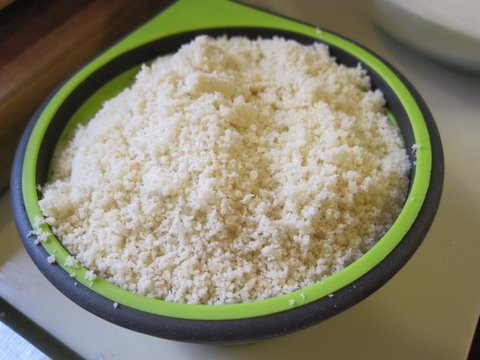
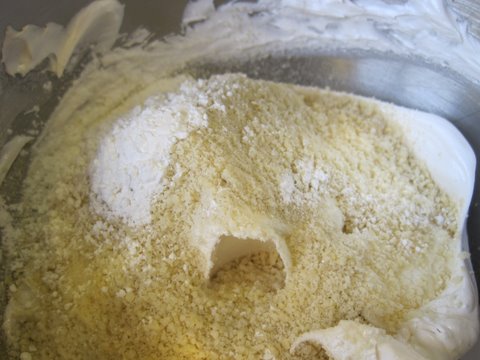
I'll be posting how to make almond meringue and use the meringue layers to make the Swiss Pastry Shop's Black Forest Cake shortly!


