Showing posts with label Dessert. Show all posts

Saturday, October 24, 2015

Pumpkin Banana Chocolate Chip Bread


We're not huge pumpkin fans around here. However, I love pumpkin chocolate chip muffins. So a few weeks ago, I ordered a huge can of pumpkin with our Prime Pantry no-rush shipping credit :) 

I pretended to make "bread" this morning to avoid the pumpkin scowl, so when I added the chocolate chips, Jamie was like, are you making cookies? No, I'm making bread! Why are you adding chocolate chips? You'll see when it's done, I told him. I told him I was testing a new recipe to take to the Halloween party next weekend :) 

It turned out delicious, so here is the recipe I used, adapted from this recipe on All Recipes

Ingredients

2 ripe bananas, mashed 
2 eggs 
1/3 cup vegetable oil 
1 1/3 cups canned pumpkin puree 
1/2 cup maple-agave syrup blend (original recipe called for honey)
1/2 cup white sugar
2 1/2 cups all-purpose flour 
1 teaspoon baking powder 
1 teaspoon baking soda 
1/2 teaspoon salt 
1 teaspoon ground cinnamon
1/2 cup chocolate chips

Instructions

Preheat oven to 350 degrees. Grease an 9x5 inch loaf pan.
In a standing  mixer, stir together the mashed banana, eggs, oil, pumpkin, maple-agave blend and sugar. Add in the flour, baking powder, baking soda, salt, and cinnamon, and stir until just combined. Finally, add chocolate chips if desired. Pour batter into the prepared pan.

Bake at 350 for 50 to 55 minutes, or until a toothpick inserted into the center of the loaf comes out clean. Cool loaf in the pan for 10 minutes before moving to a wire rack to cool completely.

Friday, August 2, 2013

Easy Fudge


This is one of the easiest desserts I have ever made. And it's delicious. I opened a can of sweetened condensed milk to make a Vietnamese coffee recipe, and I had no idea what to do with the rest. Considering the nutrition facts, I wanted to just throw it away, but I figured as long as I didn't use the WHOLE can, it would be okay to eat it. So, I used part of it in this fudge and it was delicious!

The pecans and white chocolate chips are optional and could be replaced by other items you may want to eat in your fudge. If I had marshmallows, I would have added them to make a rocky road fudge, but I didn't have any.

Note: This recipe makes one very small batch of fudge. If you want to make a lot for gifts or for a large party, double or triple the recipe.

Ingredients

4 to 5 oz. sweetened condensed milk
1 c. semi-sweet chocolate chips
1/2 t. vanilla
pinch of salt
1/4 c. chopped pecans
1/4 c. white chocolate chips.

Instructions

1. Over low heat, melt chocolate chips and sweetened condensed milk. Stir in a pinch of salt. Remove from heat. Stir in nuts, white chocolate chips, and vanilla.

2. Spread into parchment-lined small loaf pan (mine is probably 2"x4" or something similar). Chill 2 hours or until firm. Slice, eat, and enjoy!

Wednesday, July 31, 2013

Strawberry Rhubarb Ice Cream


We rarely make homemade ice cream. I find that the ingredients are usually expensive, and it is time consuming to make. However, when I tasted Strawberry Rhubarb Ice Cream while we were in Munich, I knew I would be making a batch when I got home. The combination of strawberry and rhubarb is one of my favorite summer flavors, and I had never seen the two combined in an ice cream before.

I found a recipe online, here. The website listed two recipes, one for an ice cream and one for a sorbet. I made the ice cream. I followed the directions but made a few changes. First, I put the entire batch of "strawberry rhubarb puree" into the ice cream. Second, I blended the custard base in a blender before adding the puree because it became a strange consistency after heating. Custards can be challenging, and I'm not sure if I over-whisked the yolks, over-heated the cream, or over-heated the mixture of the two of them. Whatever it was, the Ninja saved the day! I just poured the mixture in, whipped it up, and the result was a perfect ice cream base.

I liked that this recipe used half and half instead of cream both because it has less fat and is less expensive. Also, it called for a lot of egg yolks, so I will be making another dessert soon with meringue/marshmallow frosting... my favorite! Or maybe I should make homemade marshmallows? we'll see!

Here is the recipe for the Strawberry Rhubarb Ice Cream:

INGREDIENTS

  • Strawberry Rhubarb Puree

    • 3 stalks rhubarb, ends trimmed and sliced
    • 2 cups sliced hulled strawberries
    • 1/4 cup water
    • 1/4 cup sugar
  • Strawberry Rhubarb Ice Cream

    • 1 3/4 cup half and half
    • 5 egg yolks
    • 1/2 cup sugar
    • 1 3/4 cup strawberry rhubarb puree

INSTRUCTIONS

  • Strawberry Rhubarb Puree

    1. In a large saucepan, combine the rhubarb, strawberries, water and sugar over low heat. Cover and cook, stirring occasionally, until the rhubarb and strawberries have broken down and the liquid is thick, 20-25 minutes.
  • Strawberry Rhubarb Ice Cream

    1. Heat the half and half on medium heat in a medium saucepan. While the cream is heating, whisk the egg yolks and 1/2 cup sugar together. Be careful not to over-whisk. Once the cream is simmering, slowly pour it into the egg yolks and sugar while whisking.
    2. Pour back into the saucepan and turn the heat down to medium low. Stir in a figure 8 motion for several minutes until the mixture is thick enough to coat the back of a wooden spoon. If the consistency is not creamy, pour mixture into a blender and blend. Stir in the strawberry rhubarb puree.
    3. Allow to chill completely in the refrigerator. Prepare in an ice cream machine. Enjoy!

Tuesday, February 19, 2013

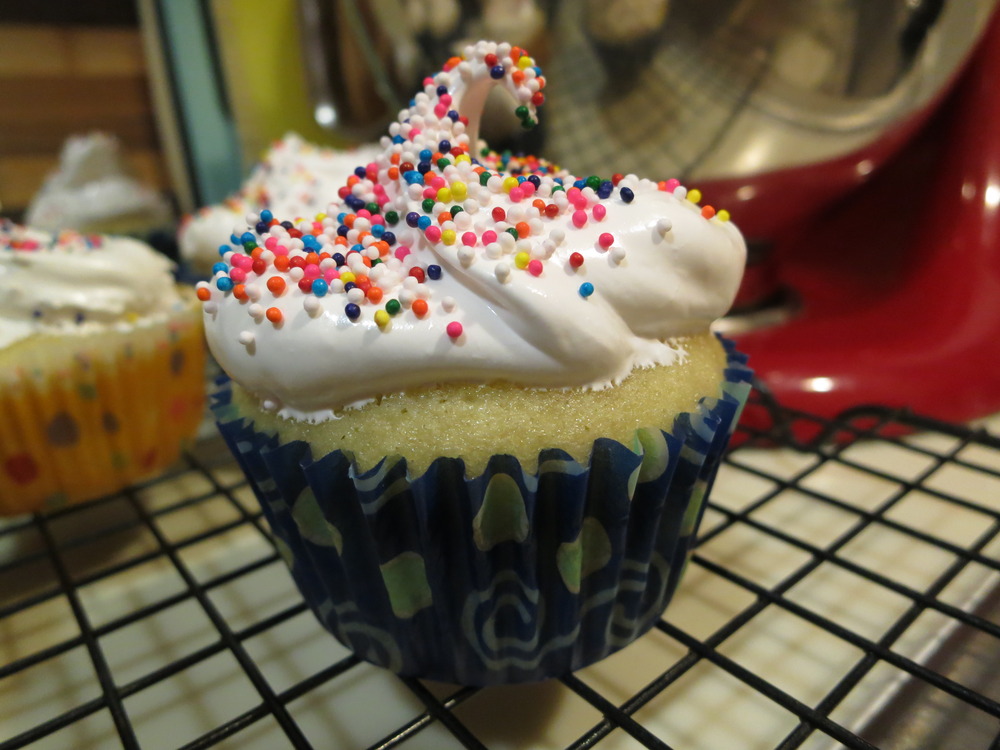
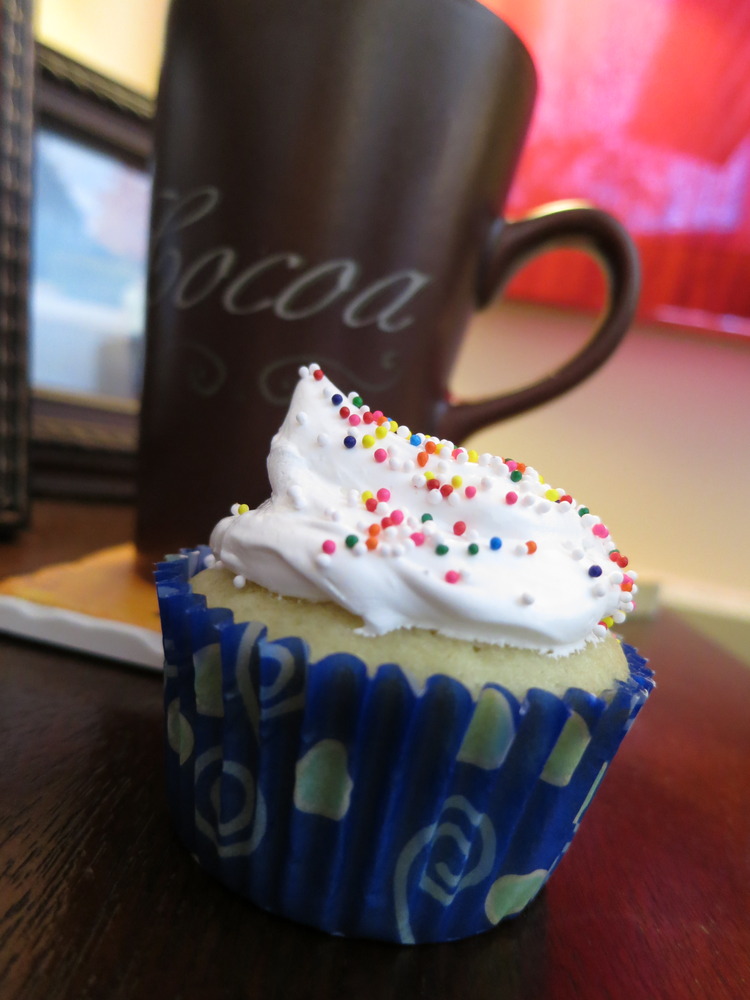
Vanilla Cupcakes with Marshmallow Frosting

Img_0126

I love cupcakes. Love them, love them, love them.

These were delicious! This recipe makes only 11 cupcakes, so it is perfect when you don't want too many cupcakes.

Moist Vanilla Cupcakes

1/2 c. butter
1/2 c. water
3/4 c. sugar
1 egg
1/4 c. sour cream
1 t. vanilla
1 c. flour
1/4 t. salt
1/4 t. baking soda

Boil butter and water. Add sugar. Stir until dissolved. Let cool. Add egg, sour cream, and vanilla. Stir. Add flour, salt, and baking soda. Stir until combined. Pour into lined muffin tins and bake at 350 for 18 minutes. Enjoy!

Marshmallow Frosting

2 egg whites
1/4 t. cream of tartar
1/2 c. sugar
1/2 t. vanilla

In a double boiler (or using a heatproof bowl set over a pan of simmering water) combine the egg whites, sugar, and cream of tartar. Whisk the mixture frequently until it is very frothy and measures approximately 160 degrees. Carefully add the egg whites to the bowl of a stand mixer fitted with the whisk attachment. Whisk on high speed until the egg mixture holds stiff peaks and is a light texture (several minutes). Carefully fold the vanilla into the egg whites mixture.

Img_0139

Tuesday, November 13, 2012

Oatmeal Cookies

Img_4510

These are grandma's oatmeal cookies... the best.

Ingredients

  • 1 c. butter
  • 1 c. brown sugar
  • 1 c. sugar
  • 2 beaten eggs
  • 1 t. vanilla
  • 1/2 c. flour
  • 1 t. salt
  • 1 t. soda
  • 3 c. quick oats
  • 1/2 c. chopped nuts (optional) 
  • coconut (optional) 

Instructions

Thoroughly cream butter and sugars. Add eggs and vanilla. Beat well. Add sifted dry ingredients. Add oatmeal and nuts if using. Divide dough in half on parchment or waxed paper, and shape in rolls (long cylinders). Wrap and chill overnight and freeze. Slize 1/4 inch thick and bake on an ungreased cookie sheet in a 350 degree oven for about 10-12 minutes. 

Sunday, July 1, 2012

Fruit Tart

Img_3616

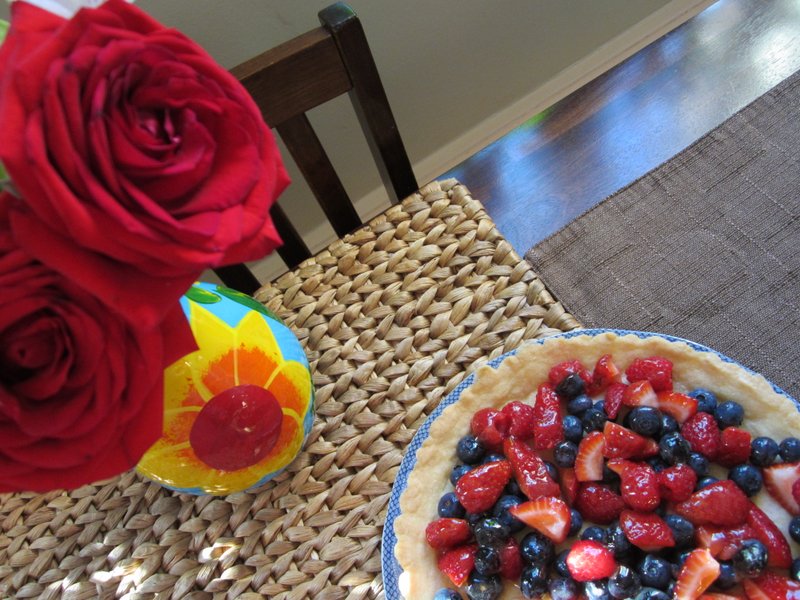
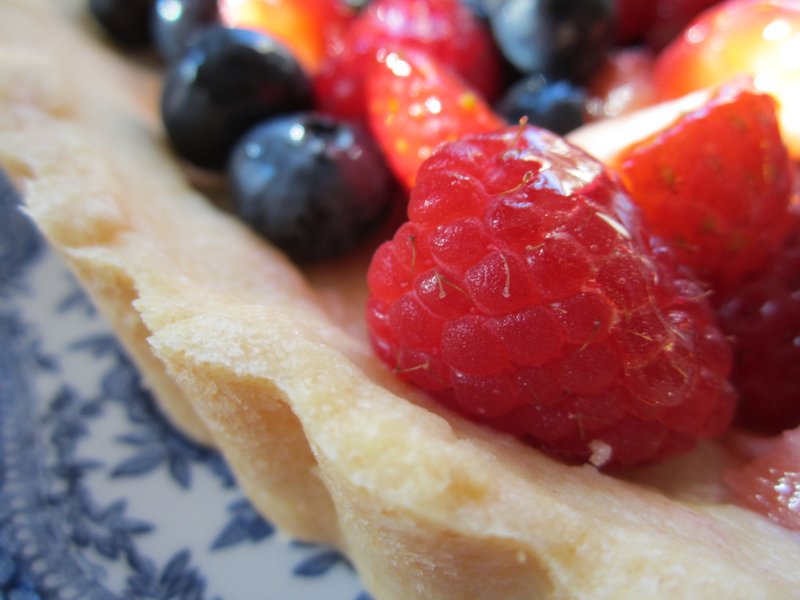
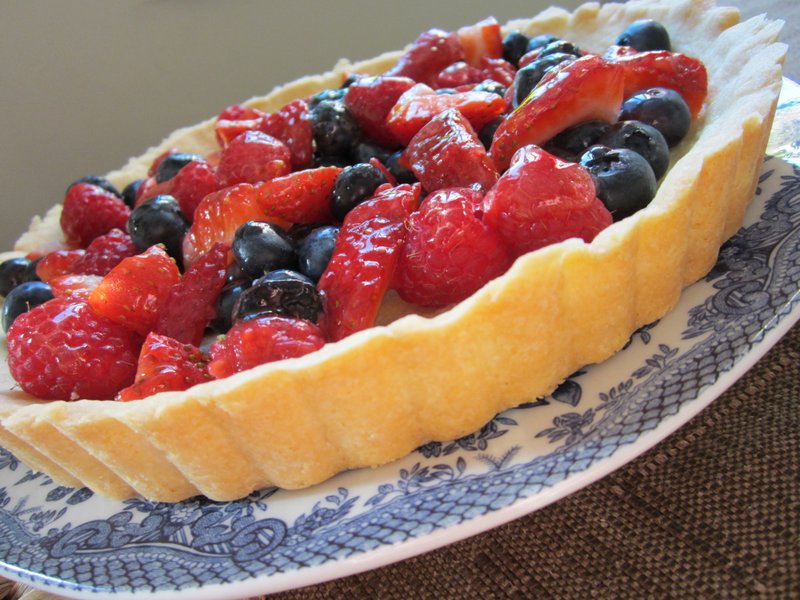
This fruit tart is so simple and delicious! It can be made with a mix of berries, or a single type of berry. My original recipe (from Kate Carr :)) says to just use strawberries, but I had a medley of berries I needed to use up, so I used strawberries, blueberries, and raspberries. Perfect for the Fourth of July! 

Img_3618

All you need is:

2 c. fresh fruit
1/2 c. butter
1/4 c. sugar
1 1/4 c. flour
pinch of salt
1/2 c. apple jelly 

Img_3620Img_3629
And all you need to do is:

1. Cream the butter and sugar. Add flour and salt to form soft dough. Press into bottom and sides of a 9" tart pan. Bake at 325 degrees for 20 minutes or until lightly browned. Let cool.

2. Wash fruit. Heat apple jelly in a small saucepan.

3. Place berries on the cooled crust and brush with apple jelly. Chill and serve with whipped cream or ice cream (optional).

Img_3617
Cheers to Summer! 


Tuesday, April 24, 2012

Oatmeal Peanut Butter Sandwich Cookies

Photo

All I can say is... YUM!

These are like those peanut butter sandwich Girl Scout cookies, only 100 times better than that. 

Recipe adapted from Joy the Baker. Enjoy!

Ingredients

For the Cookies

1/2 cup (1 stick) unsalted butter, softened

cup brown sugar, packed

1 large egg

1 teaspoon vanilla extract

1 1/4 cups oatmeal

1 cup all-purpose flour

1/2 teaspoon baking powder

1/2 teaspoon baking soda

1/2 teaspoons salt

1 teaspoon ground cinnamon

For the Filling

3 tablespoons unsalted butter, at room temperature

1/2 cup smooth peanut butter

2/3 cup powdered sugar

3 to 4 tablespoons milk

Instructions
    1. Preheat oven to 350 degrees F. Line two baking sheets with parchment paper and set aside.
    2. Beat the sugar and butter in the bowl of a stand mixer fitted with a paddle attachment. Beat until creamy, about 3 to 4 minutes. Add egg and beat on medium speed for about 1 minute. Add the vanilla extract and beat until blended.
    3. In a medium bowl, whisk together the oats, flour, baking powder, baking soda, spices, and salt. Add the dry ingredients to the butter and egg mixture slowly beating on low speed until just incorporated.
    4. Scoop about 1 heaping teaspoon of cookie dough into your hand. Roll into a ball and place on the prepared cookie sheet. Keep cookies about 1 1/2-inch apart on the baking sheet.
    5. Bake for 10 to 13 minutes or until they’ve reached your desired doneness. Transfer to a wire rack to cool completely.
    6. To prepare the filling, beat butter, peanut butter, and powdered sugar on medium speed. Add milk one tablespoon at a time until you’ve reached your desired consistency. The filling should be easily spreadable.
    7. When cookies are completely cool, spread filling on the bottom side of half of the cookies. Top each cookie with a similarly sized cookie. Enjoy! 

    Tuesday, April 17, 2012

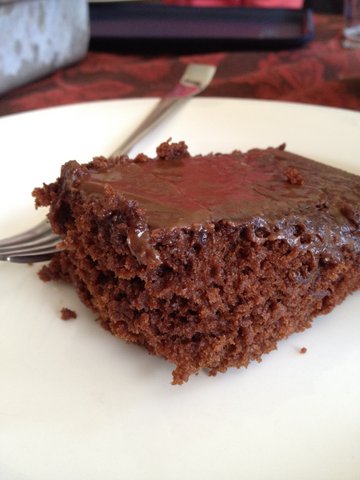
    Easy Chocolate Cake

    Img_0162

    I love my grandma's chocolate cake, but sometimes I want a just as delicious, smaller, one bowl chocolate cake to satisfy my craving. 

    This recipe, also from my grandma, does just the trick! 

    Ingredients

    • 1 1/2 c. flour
    • 1 c. sugar
    • 1/3 c. cocoa
    • 1 t. salt
    • 1 t. baking soda
    • 1/2 c. buttermilk or sour milk (you can sour your own with lemon juice)
    • 1/2 c. oil 
    • 1 egg
    • 1 t. vanilla
    • 1/2 c. boiling water

    Method

    Preheat oven to 350 degrees.

    Sift flour, sugar, cocoa, salt, soda. (Grandma says sifting is not necessary, so just combine!)

    Add milk, oil, egg, vanilla, and beat until blended. Then add hot water.

    Pour in cake pan  and  bake at 350. The time depends on the pan size. I did it in a 9 X 12 and checked after 20 minutes. Grandma says a 9" square pan takes 30 minutes.

    For the icing, melt 1/2 stick butter in saucepan over medium-low heat. Add 2 T milk, 2 T cocoa, and 1/2 t. vanilla. Add powdered sugar a little bit at a time until icing thickens. I would guess you probably add about 2 c. powdered sugar, but don't measure. Just add until you get a thick consistency. Taste and add more milk or powdered sugar if necessary.  

    Enjoy! 

    Tuesday, October 18, 2011

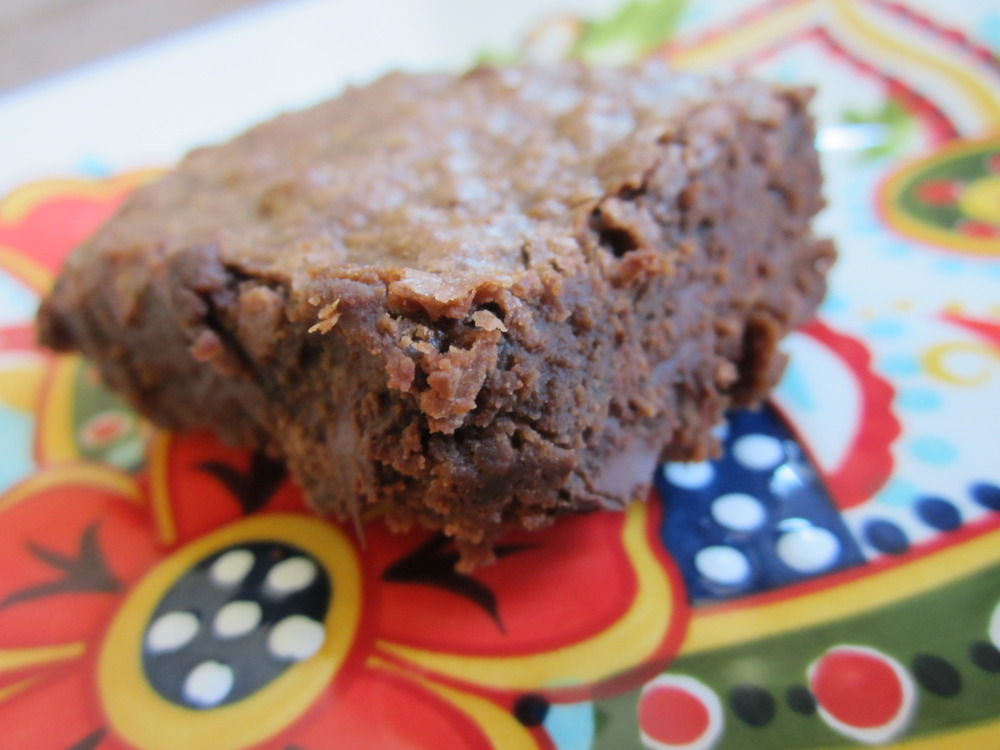
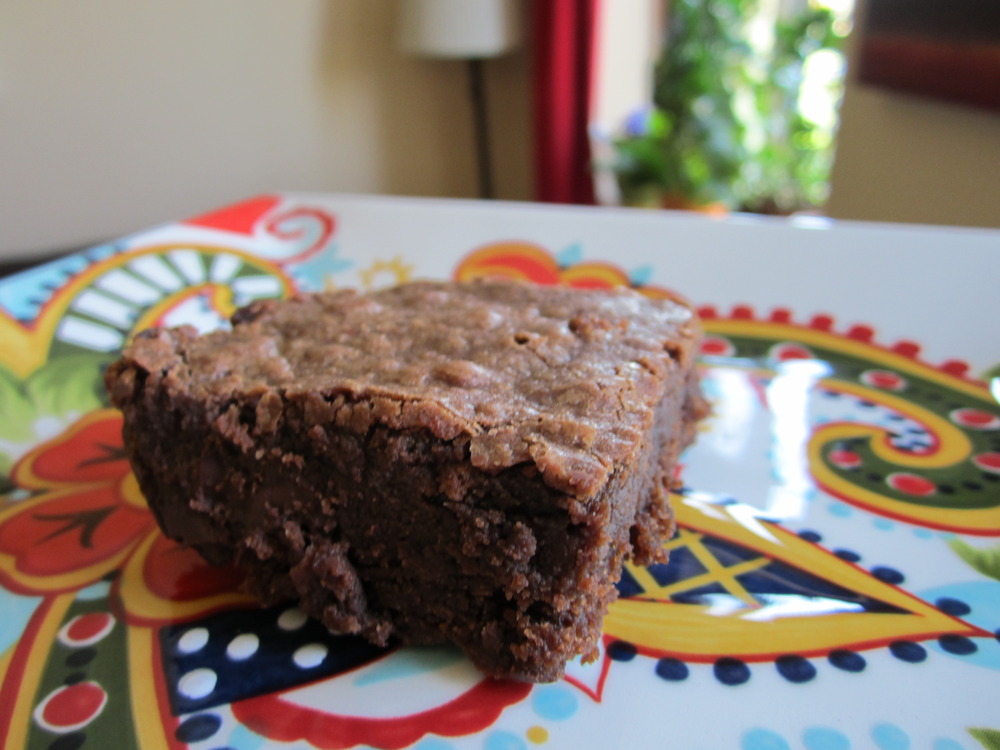
    Brownies

    Img_1091
    America's Test Kitchen took on Copley Square in Boston with the question of, "Which is better: homemade or boxed brownies?". To their dismay, they found that people preferred the taste of boxed brownies to homemade, largely because the boxed variety were much chewier, more moist, and overall just better. They also determined that the ratio of saturated to unsaturated fat really matters, claiming that homemade brownies usually have too much butter and not enough vegetable oil. And as always, they said that the chocolate flavor of boxed brownies is not chocolatey enough for them.

    Boxed brownies will usually satisfy me - especially the Ghiradelli brand, whose boxed brownies are AMAZING. But I wanted to try the ATK recipe just for kicks AND I like knowing what is in my brownies, so I do prefer homemade when I have the time. They came out really good, and they aren't too crazily complicated, like some of the ATK recipes can be.

    Here is the recipe, slightly modified from the original version.

    Ingredients

    • 1/3 cup cocoa  
    • 1 teaspoon instant coffee
    • 1/2 cup plus 2 tablespoons boiling water
    • 2 ounces unsweetened chocolate, finely chopped
    • 4 tablespoons butter, melted
    • 1/2 cup plus 2 tablespoons vegetable oil
    • 2 large eggs
    • 2 large egg yolks
    • 2 teaspoons vanilla extract
    • 2 1/2 cups sugar
    • 1 3/4 cups flour
    • 3/4 teaspoon table salt
    • 6 ounces bittersweet chocolate , cut into 1/2-inch pieces

    Instructions

    1. Adjust oven rack to lowest position and heat oven to 350 degrees. Line a 13X9 pan with 2 pieces of foil, so that the foil hangs over all four sides of the pan, creating handles by which you can lift the brownies out of the pan with. Spray the foil with nonstick cooking spray. 

    2. Whisk cocoa, instant coffee, and boiling water together in large bowl until smooth. Add unsweetened chocolate and whisk until chocolate is melted. Whisk in melted butter and oil. Add eggs, yolks, and vanilla and continue to whisk until smooth. Whisk in sugar until fully incorporated. Add flour and salt and mix with rubber spatula until combined. Fold in bittersweet chocolate pieces.

    3. Scrape batter into prepared pan and bake until toothpick comes out with just a few moist crumbs attached, 30 to 35 minutes. Transfer pan to wire rack and cool for at least 30 minutes to an hour.

    4. Using foil overhang, lift brownies from pan. Return brownies to wire rack and let cool completely, about 1 hour. Cut into 2-inch squares and serve.

    Img_1100

    Saturday, October 8, 2011

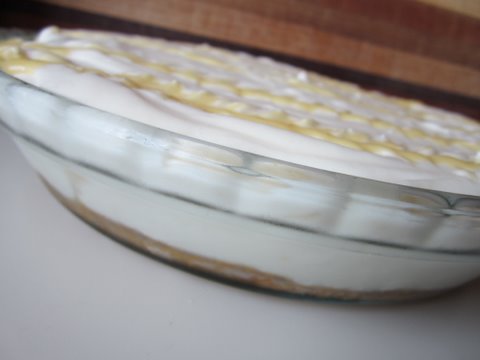
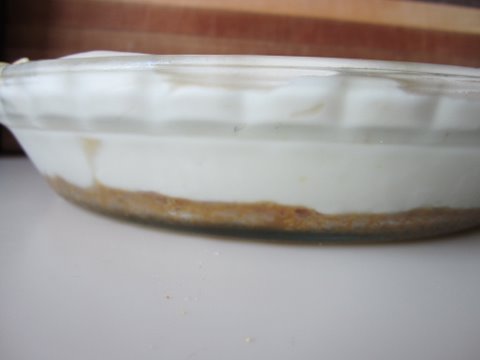
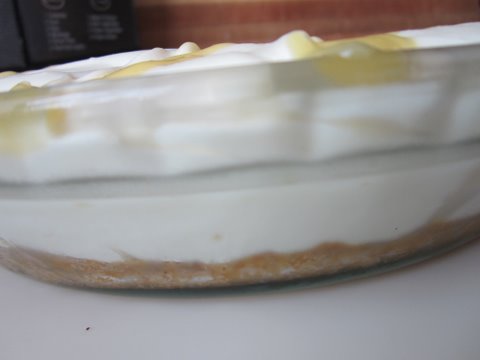
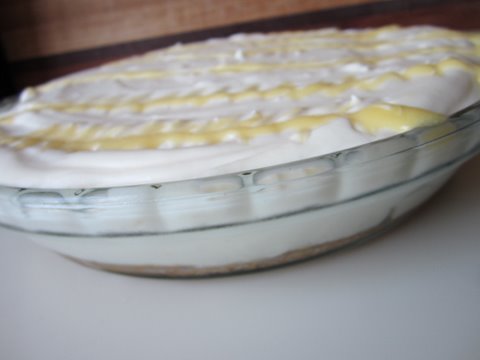
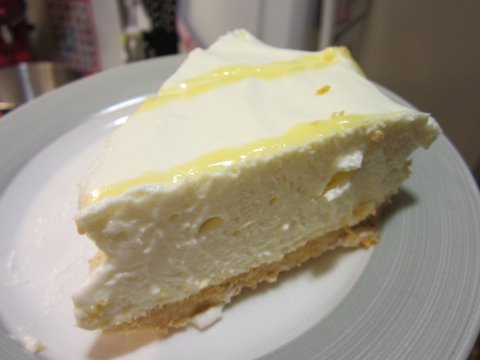
    Lemon Cheesecake

    No-bake Lemon Cheesecake! Yum!

    Img_1066

    I made this cheesecake in honor of those C5ers who listed cheesecake as their favorite dessert. We like to have our freshmen students over for dinner every fall, and I like to make their favorite desserts if I can. I don't normally make or even really like cheesecake - it is not one of my favorite desserts - but this cheesecake was GOOD. I liked it, and I decided that I would make it again, so I decided to share it here.

    The recipe is adapted from Cook's Country's Lemon Icebox Cheesecake. I had to make it in a pie dish instead of a cheescake pan but it worked out okay. Next time, I would just make sure to spray the pan before putting the crust in because it was a pain to get the crust out of the pan! Seriously, it was very difficult.

    Img_1063

    Here is the recipe:

    Ingredients

    Crust

    15 lemon sandwich cookies, processed in a food processor

    3 T melted butter

    1 t. (or so) grated lemon zest.

    Curd

    1 large egg

    1 egg yolk

    1/4 c. sugar

    pinch of salt

    2 T lemon juice

    1 T butter

    1 T heavy cream

    Filling

    1 envelope unflavored gelatin

    1/4 c. lemon juice

    1 1/2 pounds cream cheese

    3/4 c. sugar

    pinch of salt

    1 1/4 c. heavy cream

    Img_1076

    Preparation Instructions

    Crust Heat oven to 350 degrees. Mix together cookies, butter, and zest either in the food processor or in a bowl. Press the mixture into the bottom of a greased 9 inch pie dish or cheesecake pan. Bake until lightly browned, about 10 to 15 minutes. Cool completely.

    Curd Whisk egg, egg yolk, sugar, and salt together in a small saucepan. Add lemon juice and cook over medium to medium low heat, stirring constantly, until mixture is thick and pudding like. This will take about 3 to 5 minutes. If it doesn't start thickening after 4 minutes, turn the heat up a bit but keep stirring constantly. Remove from the heat and stir in the butter and cream. Strain the curd to get out any clumpy parts, and refrigerate until you need it in the next step.

    Filling First soften the gelatin by mixing the lemon juice and gelatin in a small bowl and letting it sit for about 5 minutes. After 5 minutes, microwave about 30 seconds, or until the gelatin has dissolved. Set the gelatin aside. Then, beat cream cheese, sugar, and salt until smooth and creamy, for about 2 minutes. Slowly add the cream and beat until light and fluffy, about 2 more minutes. Then add gelatin mixture and 1/4 c. of the curd. Increase speed to medium-high and beat until smooth and airy, about 3 minutes.

    Pour the filling into the cooled crust and smooth out the top. Put the rest of the curd in a small ziploc baggy and cut a small slit in the corner of the bag. Pipe lines of curd on top of the cake and lightly drag a knive or skewer through the lines to create a marbled appearance.

    Refridgerate at least 6 hours. Serve!

    Img_1069

    Enjoy!

    Img_1080

    Monday, September 12, 2011

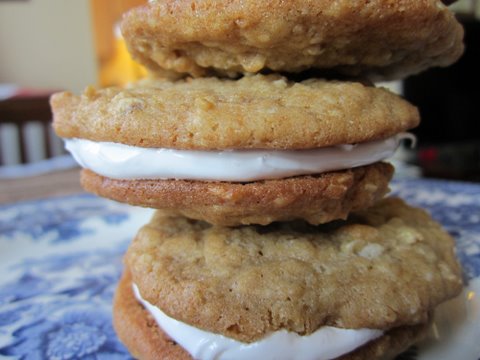
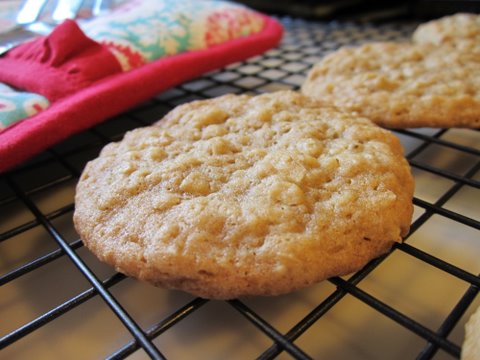
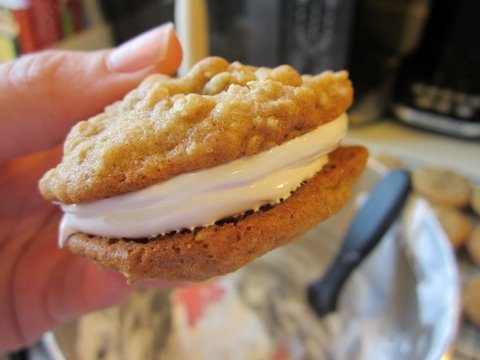
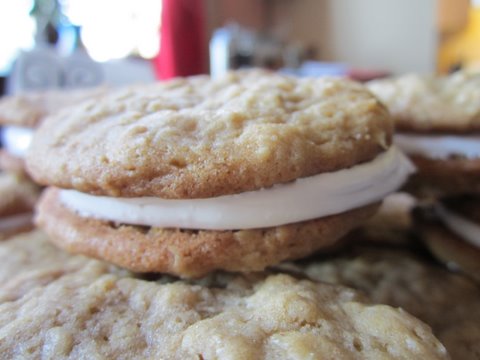
    Oatmeal Cream Pies

    Img_0854

    When I was a kid, I loved Little Debbie Oatmeal Cream Pies.

    Img_0842

    I came across a recipe for Oatmeal Cream Pies, and decided to give it a try.

    Img_0846
    These cream pies are 100 times better than the ones I fell in love with as a kid. 

    Img_0858

    Note: For me, the recipe made about 40 cookies and enough filling to make 14 cream pies.The cookies are good on their own, though, so I think it turned out well.

    INGREDIENTS

      For the cookies:

      3/4 cup dark brown sugar
      1/2 cup sugar
      1 cup unsalted butter, at room temperature
      2 large eggs
      1 tsp vanilla extract
      1 tbsp honey
      1 3/4 cup all purpose flour
      1 tsp baking soda
      1/2 tsp salt
      1/8 tsp cinnamon
      1 1/2 cups quick cooking oats

        For the marshmallow frosting:

        2 egg whites
        1/4 tsp cream of tartar
        1/2 cup sugar
        1/2 tsp vanilla


          INSTRUCTIONS

            1. Preheat the oven to 350 degrees Fahrenheit and cover baking sheets with parchment paper. Set the baking sheets aside.
            2. In the bowl of a stand mixer fitted with the paddle attachment (or using a hand mixer) cream the butter, sugar, and brown sugar together until light and fluffy. Add the eggs, vanilla, and honey and beat until the ingredients are incorporated.
            3. In a separate mixing bowl, whisk together the flour, salt, cinnamon, and baking soda. Slowly add the flour mixture to the butter mixture, stirring just until incorporated. Carefully stir in the oats until evenly distributed. Transfer the dough to a large bowl and chill in the refrigerator for 15 minutes.
            4. Remove the bowl from the fridge and drop 1 tbsp size pieces of dough onto the prepared baking sheets. Bake the cookies 8-10 minutes or until the edges begin to brown. The cookies will be soft and appear slightly undercooked in the middle when removed from the oven; however, they firm as they cool. Cool on a baking sheet until they set and then move the cookies to a wire rack to cool completely.
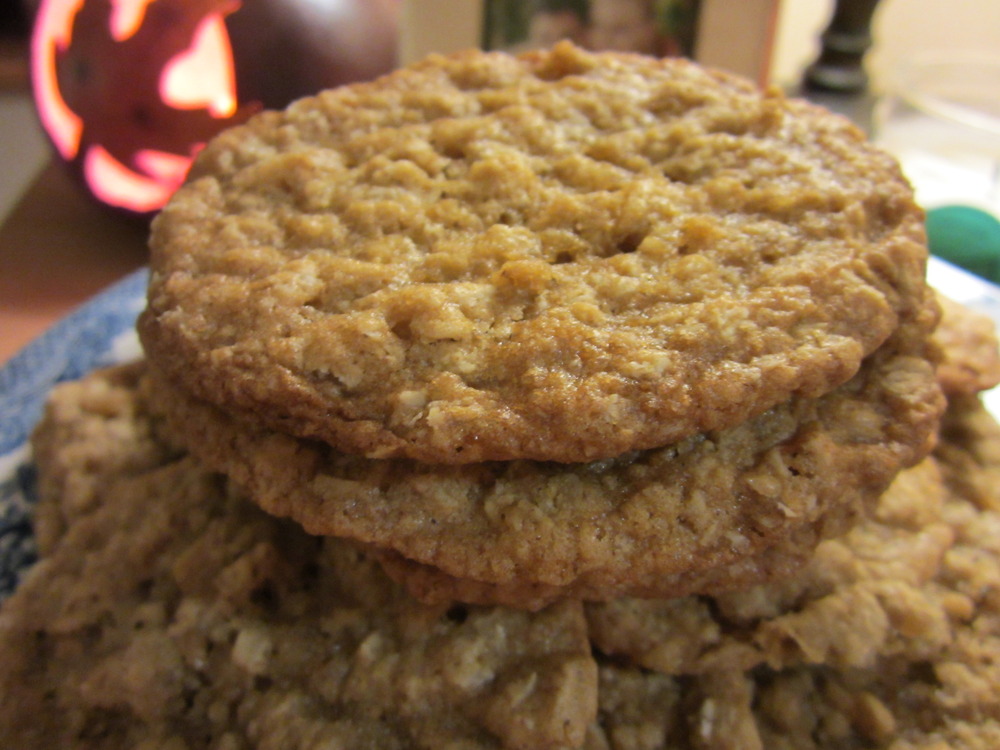
            5. While the cookies are cooling, prepare the marshmallow frosting. In a double boiler (or using a heatproof bowl set over a pan of simmering water) combine the egg whites, sugar, and cream of tarter. Whisk the mixture frequently until it is very frothy and measures approximately 160 degrees. Carefully add the egg whites to the bowl of a stand mixer fitted with the whisk attachment. Whisk on high speed until the egg mixture holds stiff peaks and is a light texture (several minutes). Carefully fold the vanilla into the egg whites mixture. Add the frosting to the underside of one cookie and assemble.

            Friday, September 2, 2011

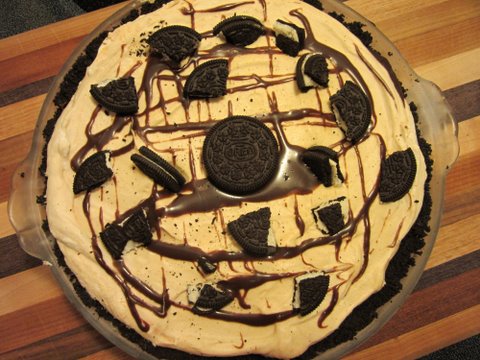
            Peanut Butter Oreo Ice Cream Pie

            Img_0591

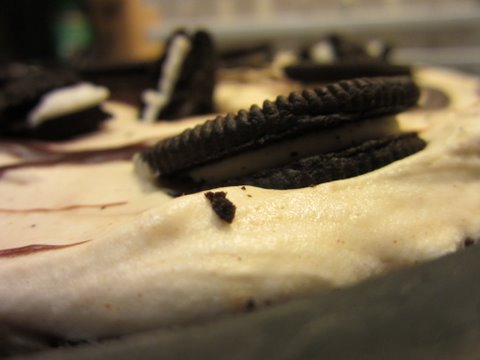
            This pie was seriously one of the best desserts I have ever eaten, and it was super simple to make. The only difficult part was waiting 6 hours to eat it! The recipe is from Amanda of kevinandamanda.com. Check out her beautiful photos of the pie here.

            Here is the recipe:

            1 box Oreo cookies
            6 T melted butter
            2 cups cold heavy cream
            1 (14 oz) can sweetened condensed milk
            1/2 cup peanut butter
            1/2 teaspoon vanilla extract
            1 bottle Trader Joe's Hot Fudge

            Finely crush about 25 Oreos in a food chopper. Mix with melted butter and spread in the bottom of a 9″ round pan for the crust. Freeze for about 10 minutes. Meanwhile, lightly crush the remaining Oreos into large pieces. Whisk sweetened condensed milk, peanut butter, and vanilla in large bowl and set aside. Whip the heavy cream to stiff peaks, then fold the whipped cream into the sweetened condensed milk mixture. Pour half of the peanut butter ice cream mixture on top of the frozen Oreo crust. Heat up some hot fudge, and pour some of the fudge in a layer over the ice cream.  Add the remaining ice cream, hot fudge (use the whole bottle at your own risk - I used about 1/4 of the bottle), and top with the Oreo cookie pieces. Freeze for at least 6-8 hours before serving. Enjoy!

            Img_0589

            Sunday, August 28, 2011

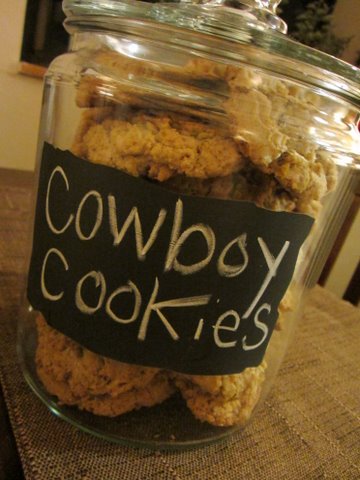
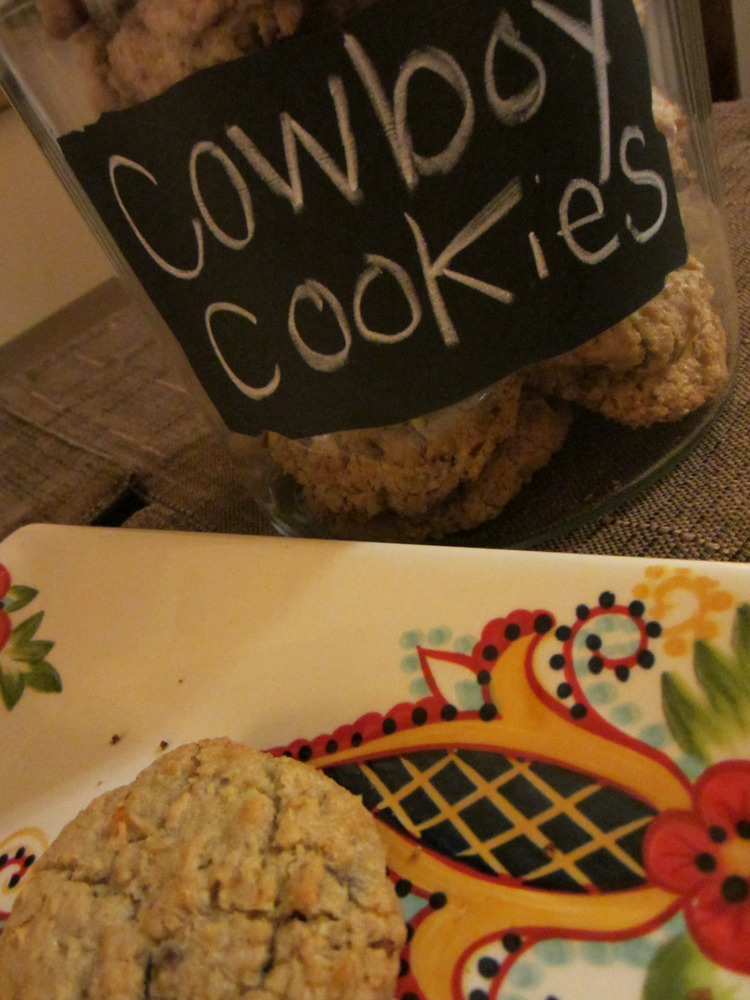
            Cowboy Cookies

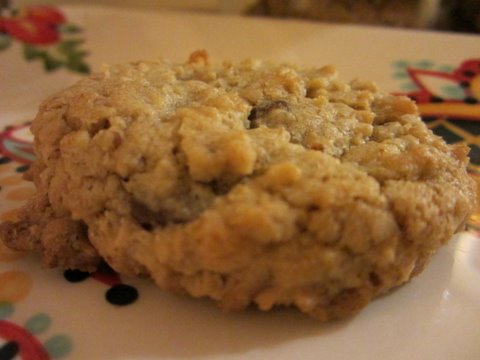
            These cookies were a BIG hit around here :) Enjoy!

            Img_0672

            Ingredients

            1 cup butter
            1 cup sugar
            1 cup brown sugar
            2 eggs
            1 teaspoon vanilla
            2 cups flour
            1 teaspoon baking soda
            1 teaspoon salt
            1/2 teaspoon baking powder
            2 cups quick oats
            1/2 cup chopped pecans
            6-ounces chocolate chips
            1/2 cup shredded coconut

            Img_0678
            Directions

            Preheat oven to 350 degrees.

            Cream the butter, sugar, and brown sugar. Add eggs and vanilla and beat until well blended. Stir in the flour, baking soda, salt, and baking powder. Add oats, nuts, chocolate chips and coconut and mix until combined. Spoon cookie mixture onto baking sheet. Bake for 10 to 12 minutes. Transfer the cookies to a wire rack to cool.

            Img_0676

            Saturday, July 30, 2011

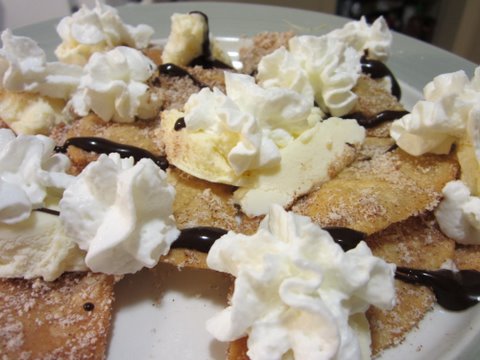
            Dessert Nachos

            Img_0058

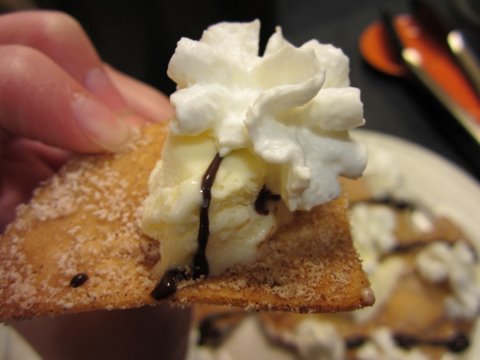
            With all of the Mexican food we've been chowing down on lately, I developed a craving for dessert nachos. Abuelo's (one of my favorite Mexican food restaurants) used to serve these for dessert and they are so delicious.

            They consist of cinnamon chips topped with vanilla ice cream, whipped cream, and chocolate syrup. I make cinnamon chips from scratch by frying up quarters of corn tortillas and then sprinkling cinnamon and splenda on them. Freshly fried chips are so good - I dare you to try making them. Make some plain ones with salt for dipping in guacamole and then make some cinnamon sugar ones for dessert nachos. You won't regret it :) I promise.

            Img_0061

            Monday, July 18, 2011

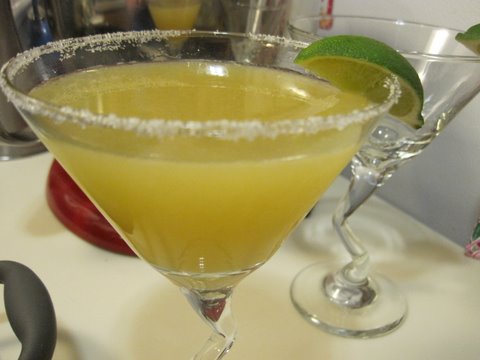
            The Best Margaritas

            Img_6150
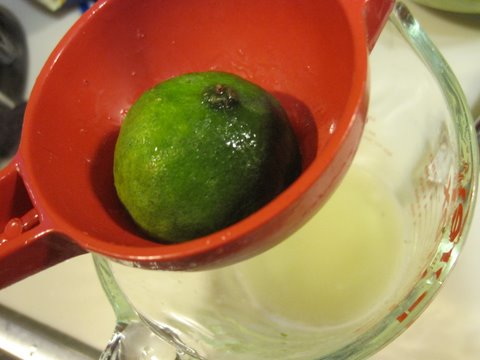
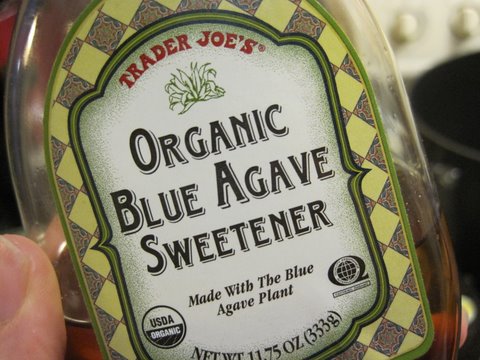
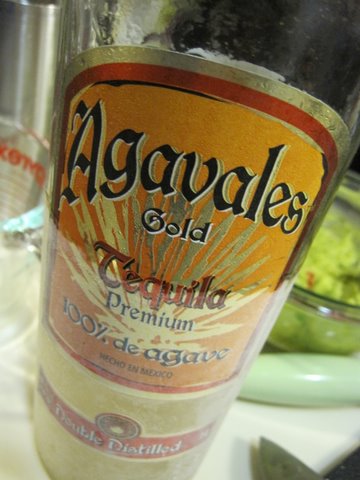
            Since moving to Massachusetts, I've mourned the loss of my favorite drink in Austin - the Mexican Martini. I've settled on the following method of margarita making to satisfy my margarita cravings when they come. It is a simple recipe that requires only four ingredients:

            Freshly Squeezed Lime Juice

            Img_6132

            Agave Syrup

            Img_6134

            Tequila (100% de agave is best)

            Img_6139

            Orange Juice

            Img_6138

            We don't use triple sec because we never have it and I prefer not to buy it.

            You need a few other things to make the margaritas:

            Img_6136

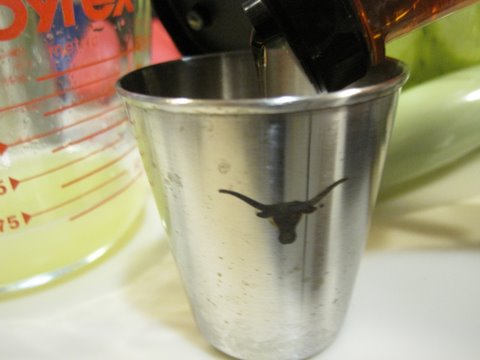
            A shotglass (preferably with a longhorn on the front), a shaker, fresh lime slices, ice, and martini glasses.

            Img_6154

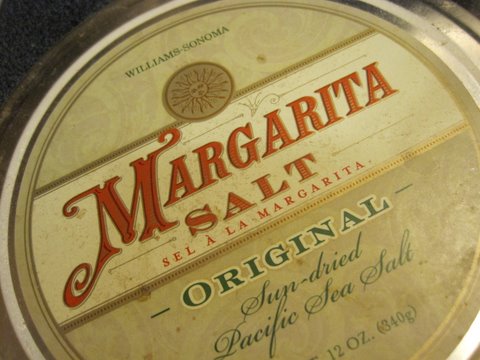
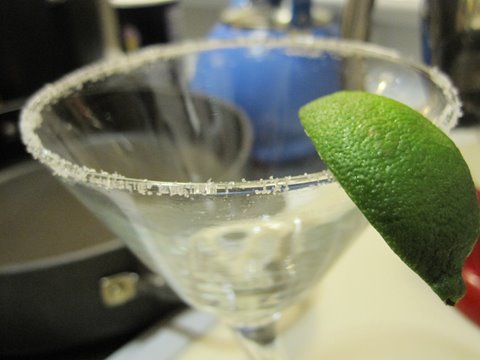
            Oh yeah, and you need salt too!

            Img_6144

            Get your glasses ready. This recipe makes 2 margaritas.

            Shake together the following ratio of ingredients over ice:

            3 shots tequila

            1 shot agave syrup

            1 shot orange juice

            2 shots lime juice

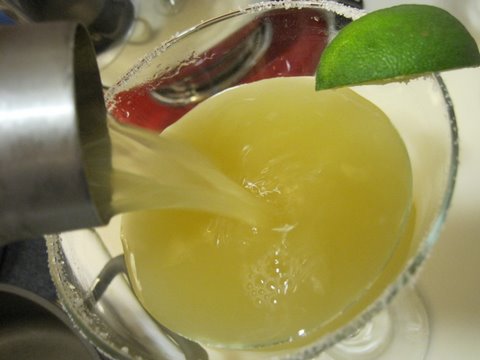
            Shake, shake, shake, and then pour...

            Img_6146
            Img_6147
            Img_6148

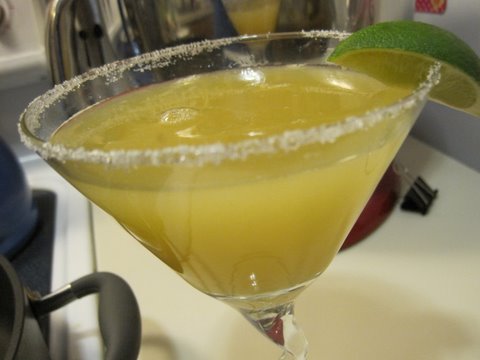
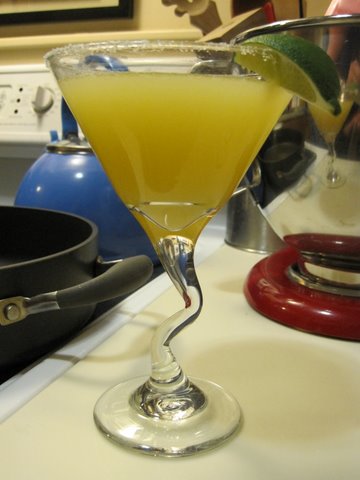
            ... and enjoy!

            Thursday, May 19, 2011

            A Simple Treat

            Img_5795

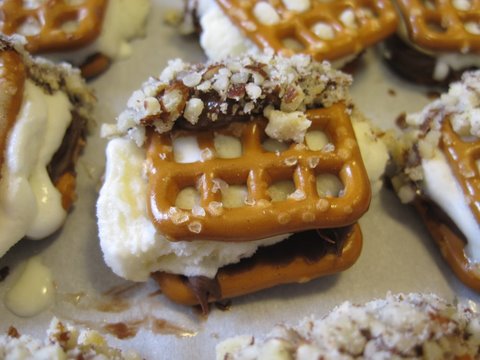
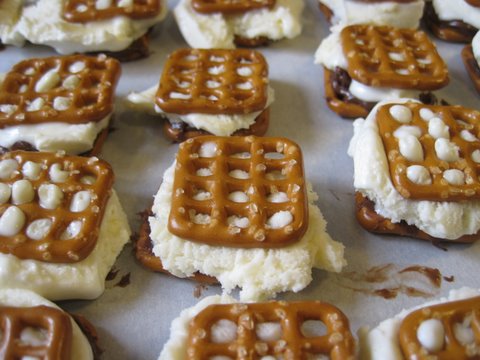
            I was inspired by Tasty Kitchen and Perry's Plate to make these Pretzel Nutella Ice Cream Bites, and they turned out delicious! They are also very simple - they only require 4 ingredients - and they don't require any baking/cooking!

            Img_5775

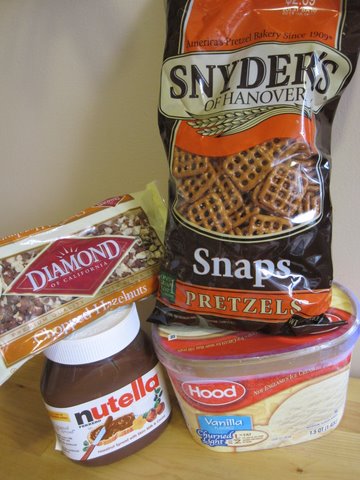
            First, gather the four ingredients - pretzel snaps, vanilla ice cream, hazelnuts, and nutella.

            Img_5777

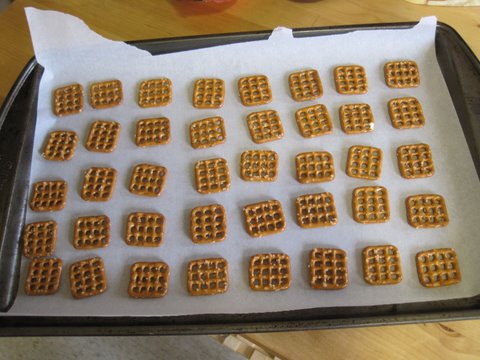
            Lay the pretzels out on parchment paper.

            Img_5781

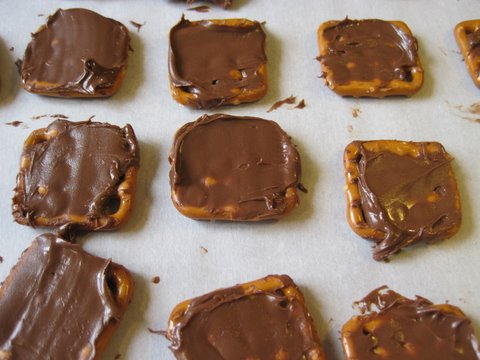
            Spread nutella over each one.

            Img_5784

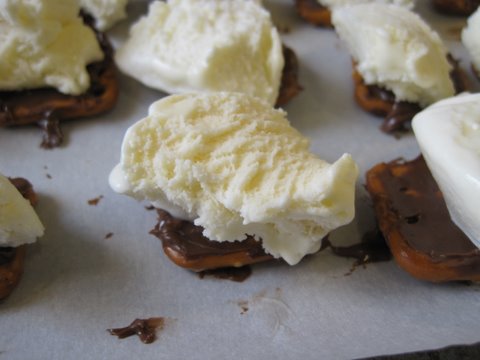
            Scoop a bit of ice cream on top of the nutella. Work quickly because it will melt quickly!

            Img_5786

            Top them all with pretzels, and put the tray in the freezer for about an hour.

            Img_5792

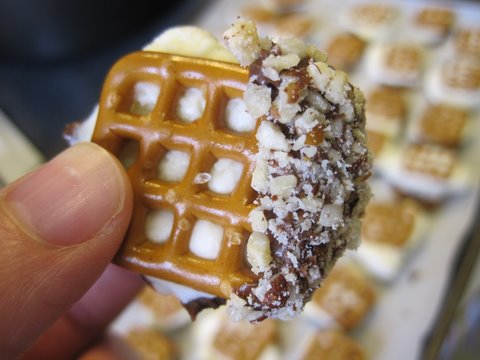
            After they are frozen, smear some more nutella on the edge and dip in crushed hazelnuts. Enjoy!

            Monday, May 16, 2011

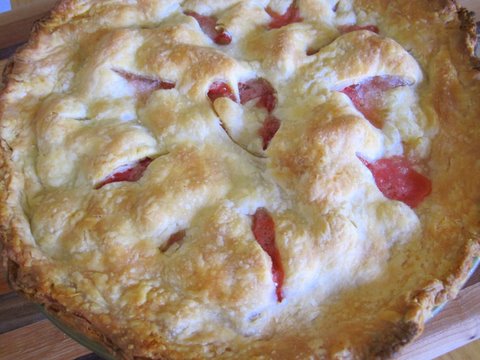
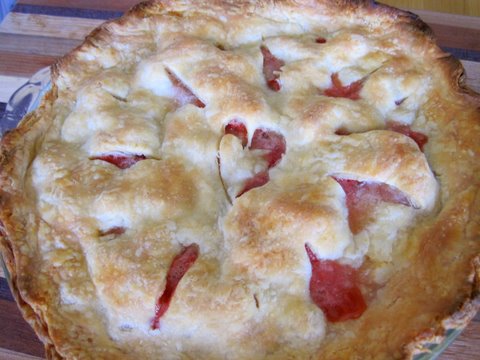
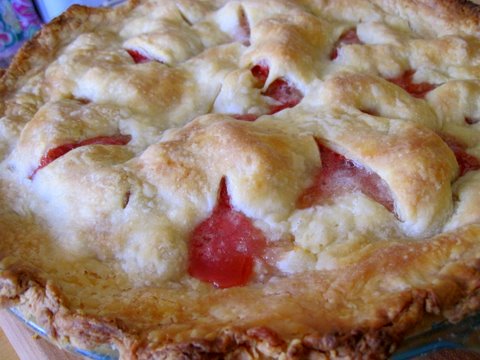
            Strawberry Rhubarb Pie

            Img_5680

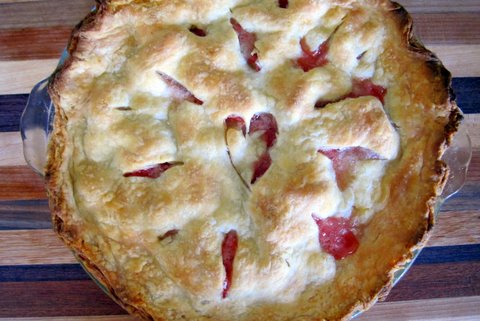
            I LOVE strawberry rhubarb pie. I didn't care for pie too much before I tried strawberry rhubarb, but now, I can't get enough of the s-r pie! Last week, when I made this pie, I used a combination of 2 recipes. I made Smitten Kitchen's all-butter, really flaky pie crust (click for link!) filled with my take on Betty Crocker's filling. It turned out great, so here is my method/the recipe.

            Img_5654

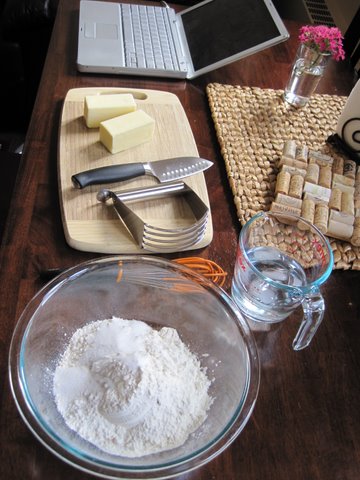
            Above is my set-up for the pie dough making. You can see I needed my computer to follow SK's recipe... it's too bad I don't have an iPad hanging in my kitchen for quick access to recipes :)

            Img_5655

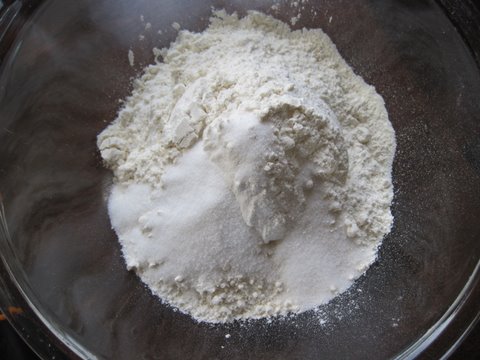
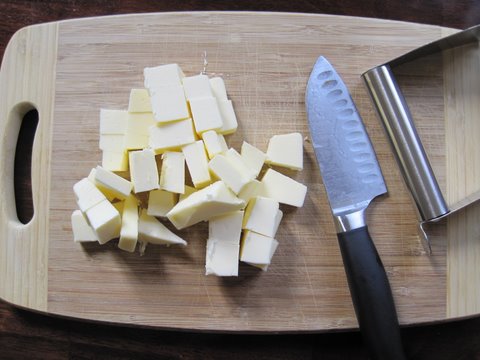
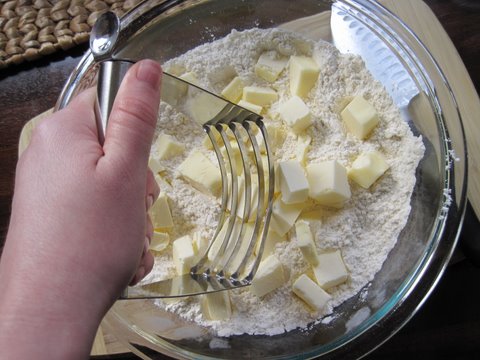
            Combine 2 1/2 c. flour, 1 T sugar, and 1 t. salt in a bowl, and chop up 2 sticks (1 cup) of very cold butter.

            Img_5656

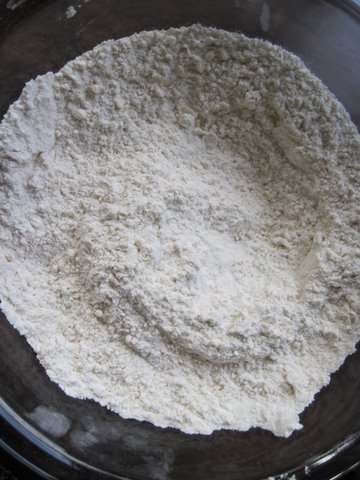
            Stir the dry ingredients together,

            Img_5658

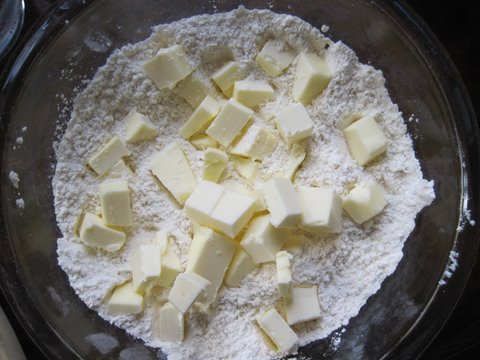
            add the butter,

            Img_5659

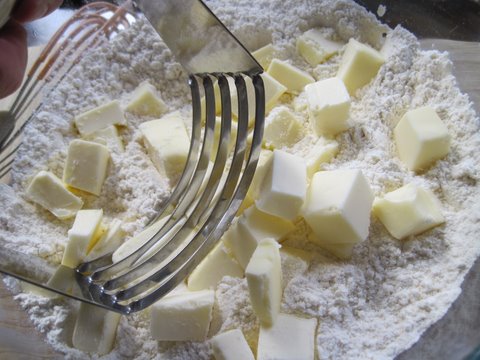
            Go to work with a pastry blender...

            Img_5660

            ...

            Img_5661

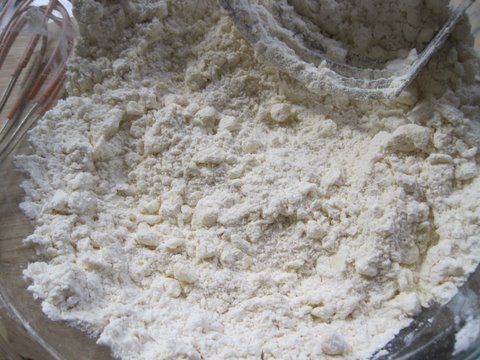
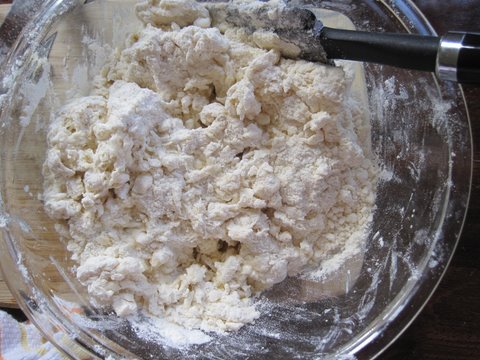
            ... until little pea-sized balls form throughout.

            Img_5662

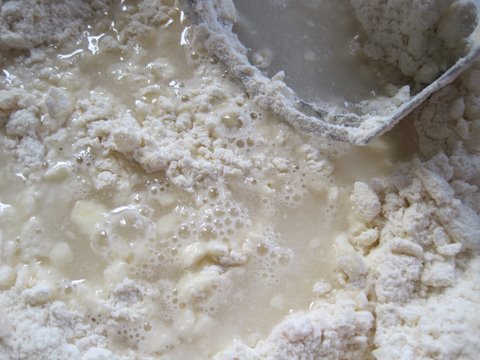
            Pour in 1/2 c. of ice cold water,

            Img_5663

            stir, and keep adding water 1 T at a time until all of the flour/butter mixture is incorporated into one ball.

            Img_5664

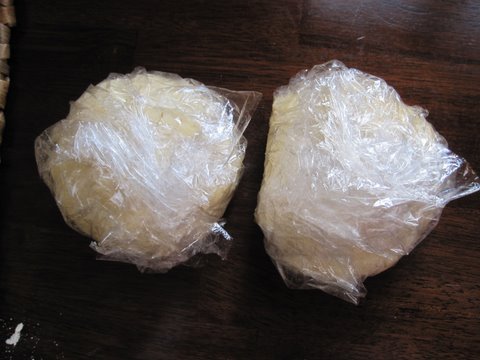
            Split the ball into two balls, wrap them in plastic wrap, and place them in the fridge. SK says to chill them for an hour, but I didn't have an hour, so I put them in the freezer for about 15 minutes. That worked just fine.

            Img_5665

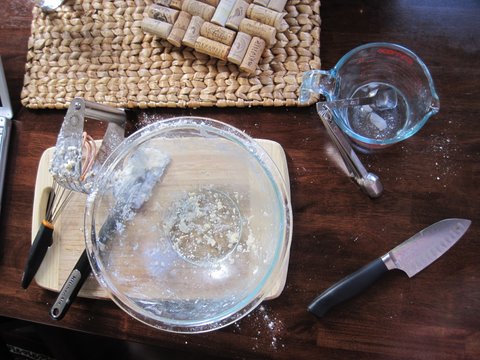
            Look at my mess :)

            Img_5666

            Now, for the filling, which is SUPER SIMPLE...

            Img_5669
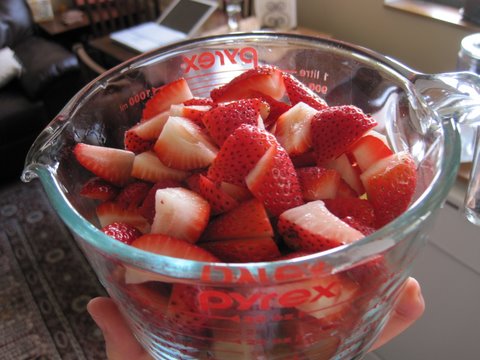
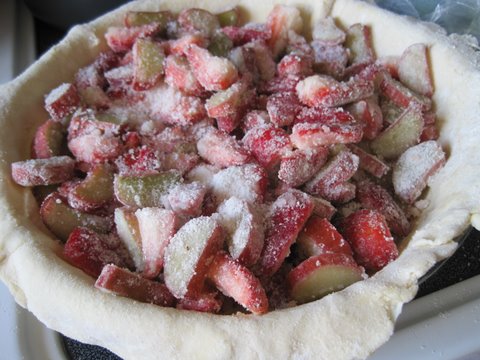
            Chop 2 c. of strawberries and 2 c. of rhubarb

            Img_5670

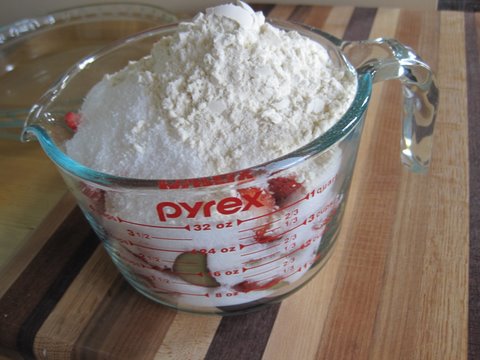
            Stir with 2/3 c. sugar, 2/3 c. Splenda (cuts out a lot of calories and NONE of the yummy taste), and 6 T flour.

            Img_5671

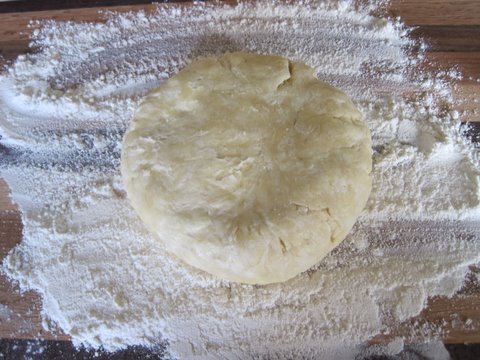
            Generously flour a cutting board and shape the ball into a thick disc.

            Img_5672

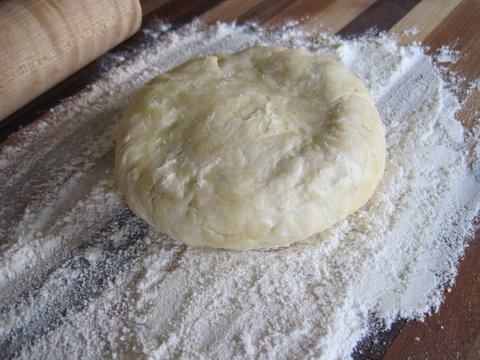
            Generously flour the top of the dough, and roll it out until it's huge! You can follow what SK says to do and fold it up into quarters to easily transfer it to the pie pan. I found that worked well.

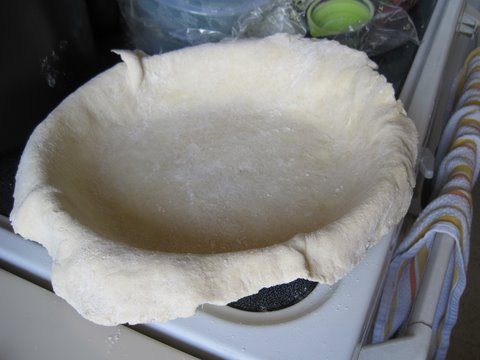
            Img_5674

            Spread the strawberry-rhubarb-flour-sugar-splenda mixture on top of the dough,

            Img_5675

            Cut up about 1T of butter into small chunks and sprinkle them on top too.

            Img_5676

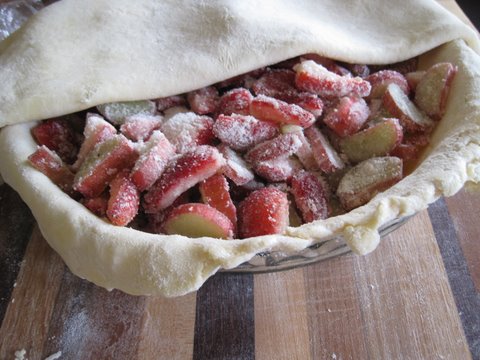
            Roll out the top dough, place it on top,

            Img_5678

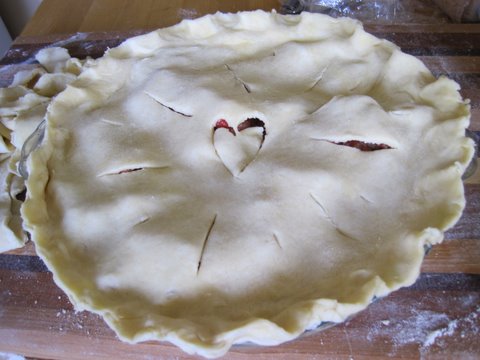
            trim the sides, crimp them together, and cut slits/decorations on the top of the pie!

            Img_5679

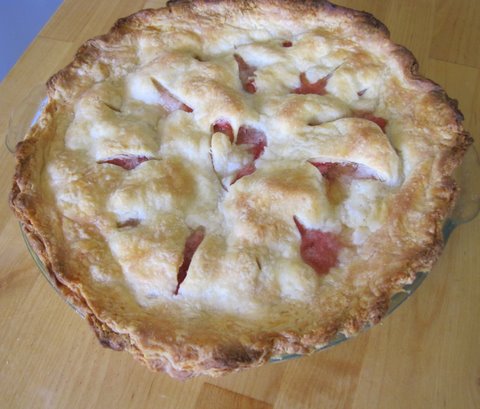
            Bake at 375 degrees for 40 to 50 minutes. I would recommend putting foil around the crust, as mine burnt slightly.
            Img_5681

            Enjoy this pie!

            Img_5682

            Seriously - it's good...
            Img_5685