Showing posts with label Crafty. Show all posts

Thursday, July 28, 2011

A Baby Shower

Img_0241

My good friend and neighbor Susan is having a baby! If you've talked to me in the last 8 months, you already know because I'm so excited that I talk about it all the time. I am super excited to have a little baby girl downstairs!

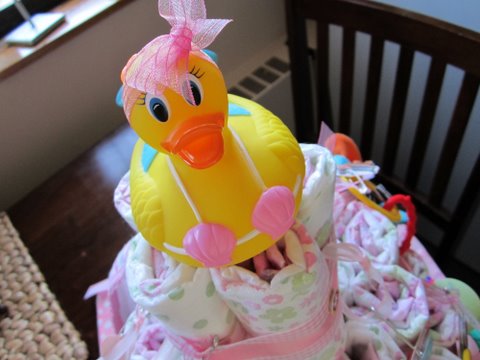
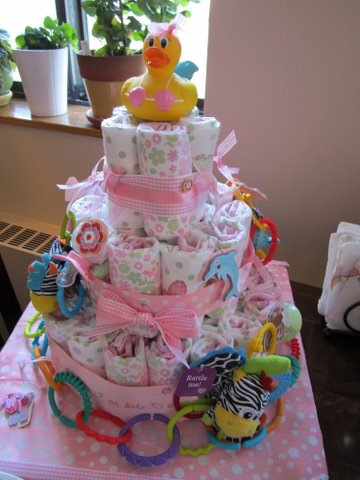
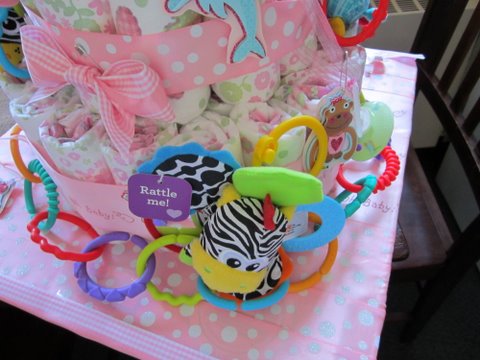
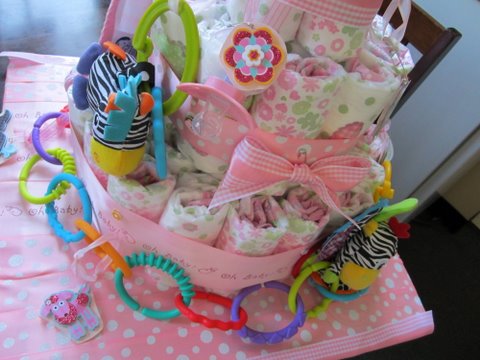
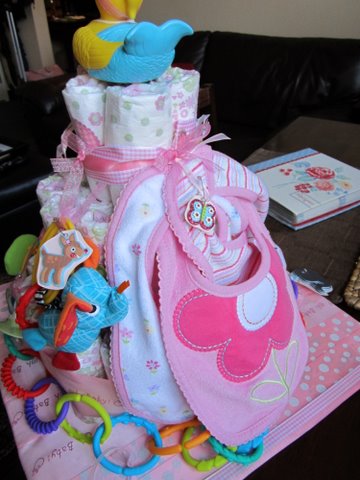
A few weeks ago, my friend Lisa and I made Susan a diaper cake as a shower gift:

Img_0253

It was fun to make and it turned out pretty good looking. We rolled up about 60 newborn diapers, assembled them into the form of a cake, and adorned the sides with ribbons, rattles, pacifiers, other baby toys, and bibs...

Img_0242
Img_0243
Img_0244

At the shower, I made some other baby girl themed things:

Img_0252

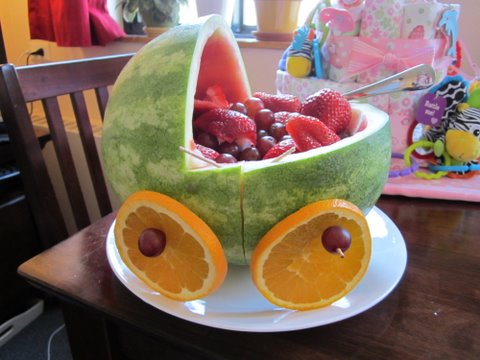
A watermelon baby buggy,

Img_0256

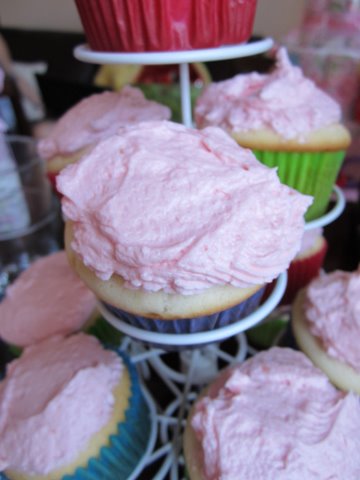
pink and white cupcakes,

Img_0257

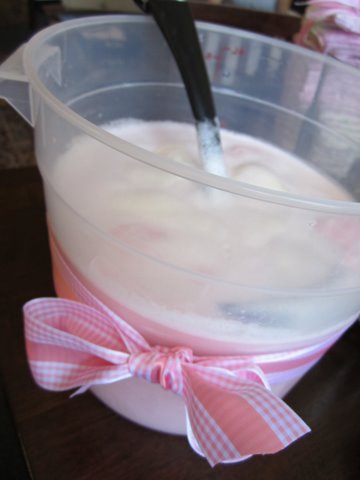
and pink lemonade punch.

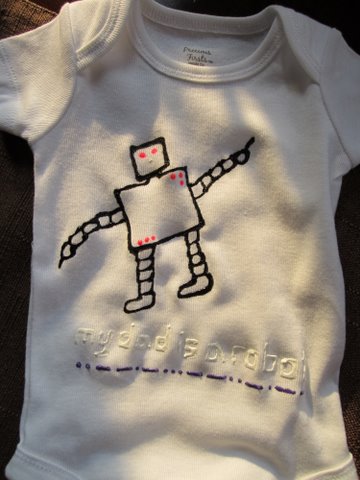
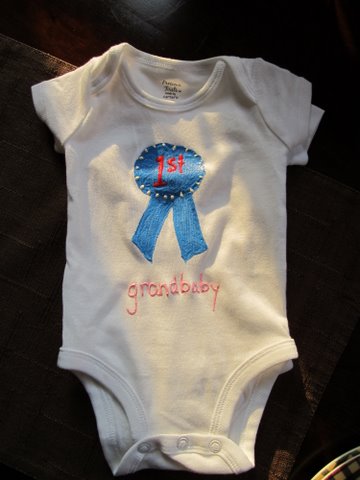
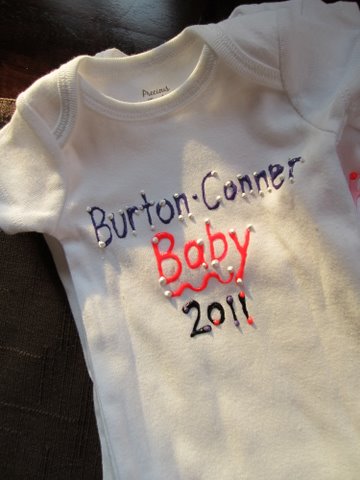
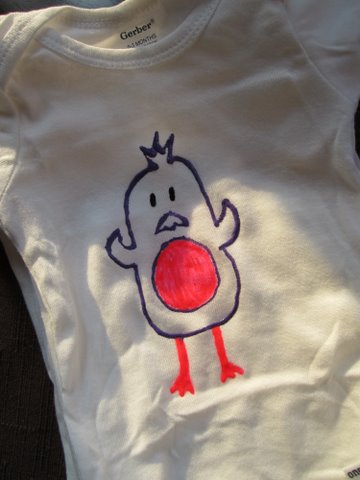
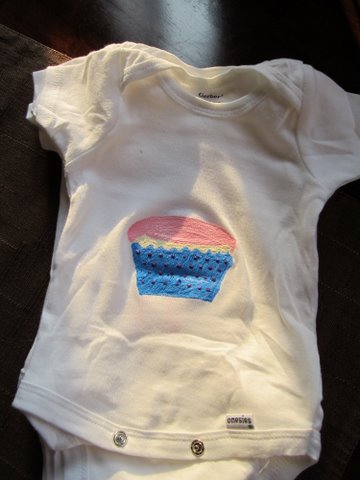
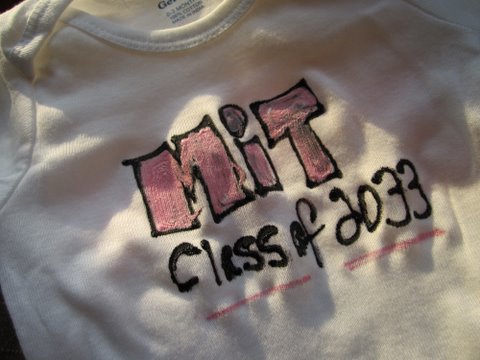
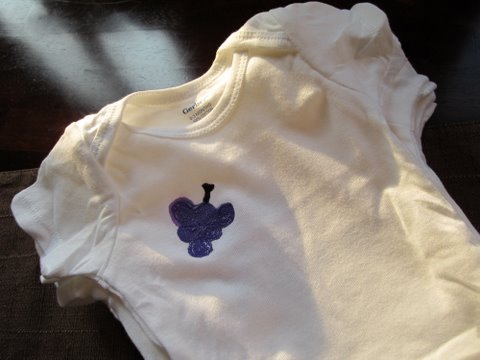
At the party, we made unique onesies for Susan's soon to be delivered bundle of joy. Check them out:

Img_0305
Img_0307
Img_0310
Img_0311
Img_0312
Img_0315
Img_0316

Babies are so much fun!

Sunday, January 23, 2011

Laptop Sleeve... Step by Step!

Img_4367

Today (Sunday) = sewing day! I thought I would share my project, as this is the 5th one of these I have made for friends and family, and I was finally able to take pictures of the process (sort of - some steps are definitely lacking in the picture-area). They're pretty easy, and fun to make - the part that is the hardest for me is sewing on the buttons :)
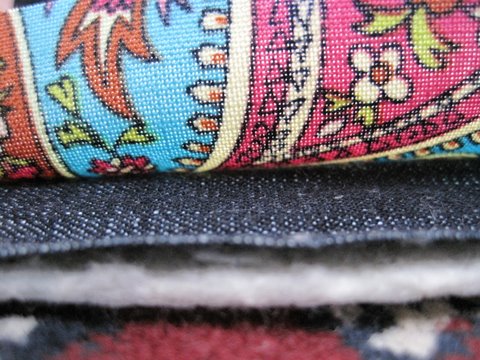
Img_4336

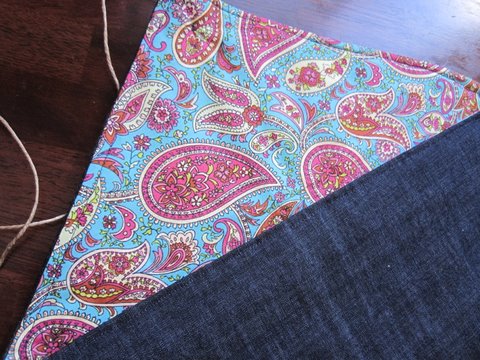
I started with three layers of fabric: one denim, one cute print, and one batting layer. I placed the denim and print fabrics right-side together, and then placed the batting on the bottom of the two layers. See the photo above. I then cut a large rectangle the size I needed. The laptop I made this for had the dimensions 14" W X 10.5" L X 1.5" H, so I calculated that the finished case should be 15.5" X 13" (by adding 1.5" to the W and L dimensions), added some extra fabric to the sides for the hems, multiplied the L by 2.5 (to account for the back of case and fold-down section), and cut my piece to 17" X 35". Yes, it is very confusing, and it is a miracle any of these cases end up fitting the laptops they're supposed to fit!

Img_4337

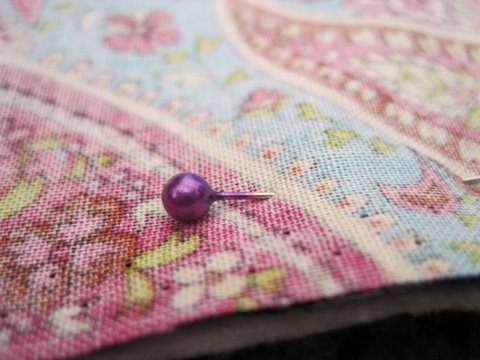
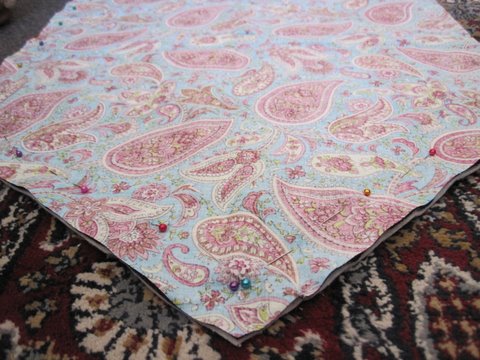
So I pinned around the edges,

Img_4343

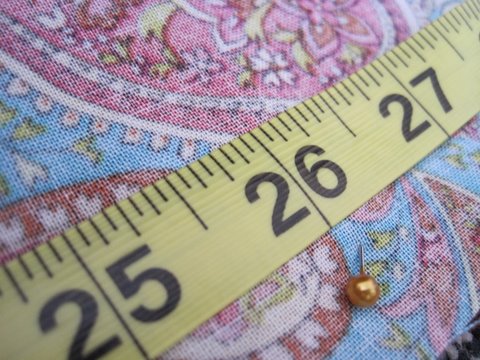
measured 26" from where the bottom seam will be to the top, and arranged the pins at that point to go inward, to create a triangle at the top, then I cut along the pins, leaving an inch or so extra:

Img_4345

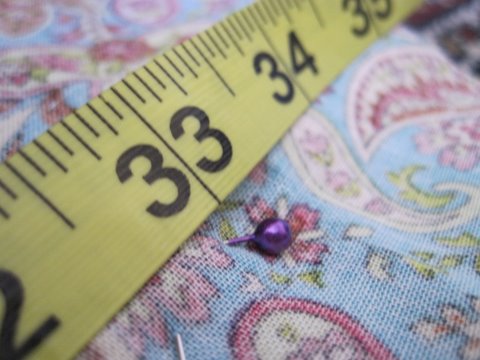
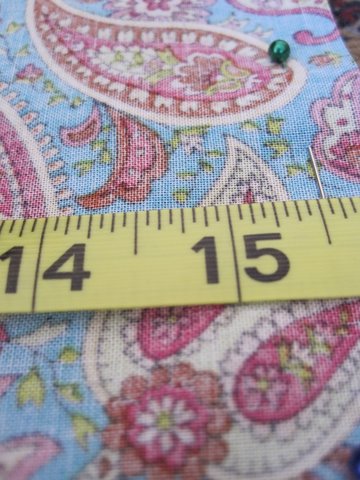
I checked all of my measurements:

Img_4339
Img_4342

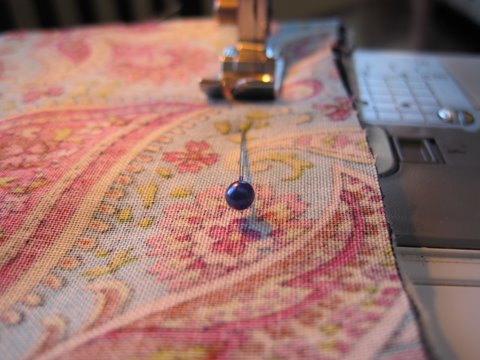
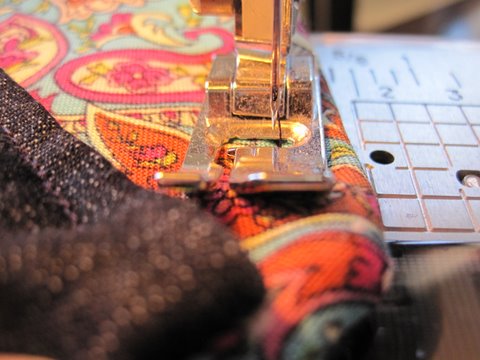
and started sewing..

Img_4347

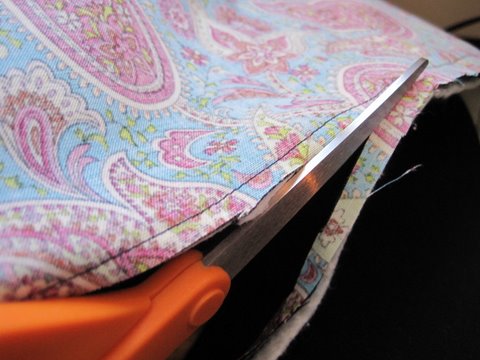
Once I sewed the perimeter of the piece (leaving the flat edge at the bottom un-sewed), I trimmed the edges, so they wouldn't be too bulky in the finished piece:

Img_4349

See, they're nice and trimmed (but not perfect!):

Img_4350

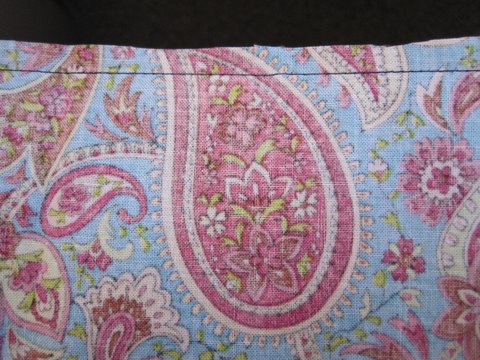
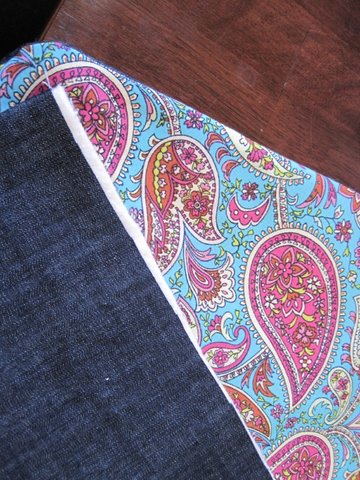
I flipped the whole piece inside out, and here is what I had:

Img_4352

So, I folded down the bottom un-sewn side, and sewed it shut:

Img_4355

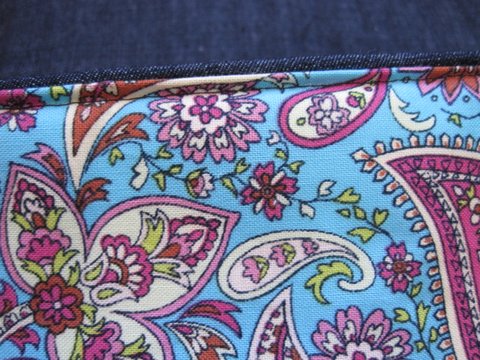
Here is what the seam looks like:

Img_4357

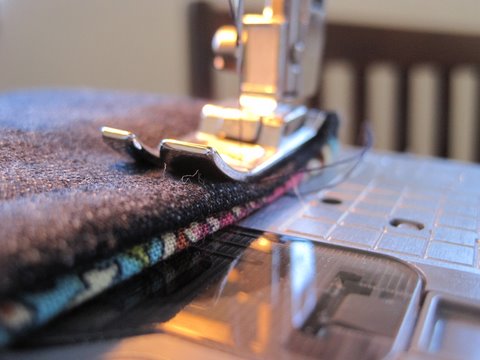
The next step was to sew the whole thing together. I folded it up, leaving the triangular top part exposed, and sewed around all of the edges.

Img_4359

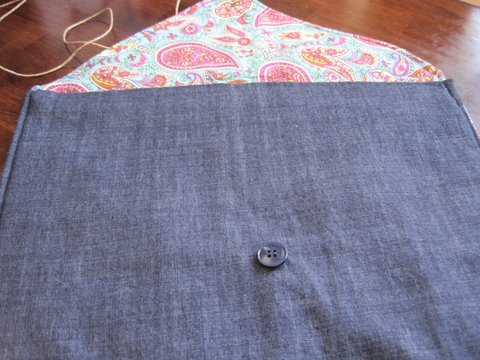
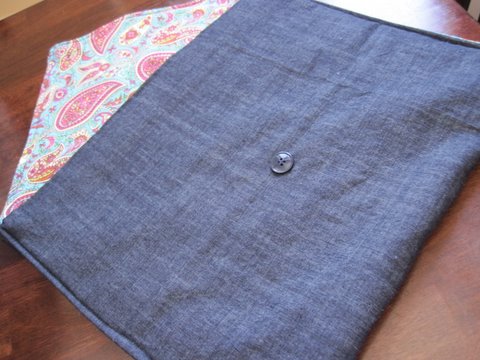
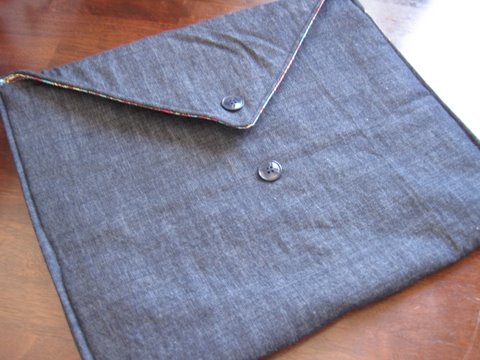
I sewed on the buttons and here is what I had:

Img_4360

Pretty cool, huh?

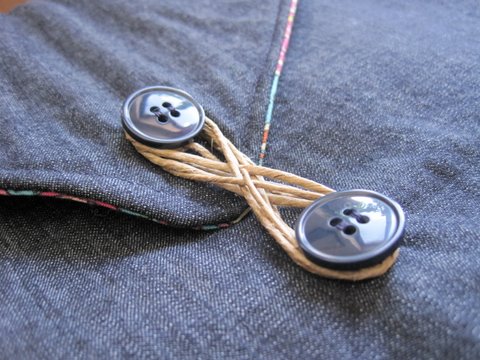
Img_4361

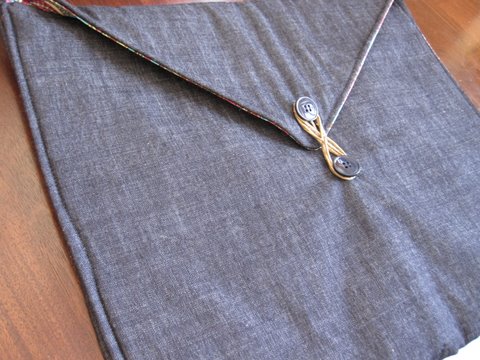
I tied some twine to one of the buttons so that it can be wrapped around them to close the case!

Img_4363

The finished product:

Img_4364

So pretty!
Img_4365

Monday, November 29, 2010

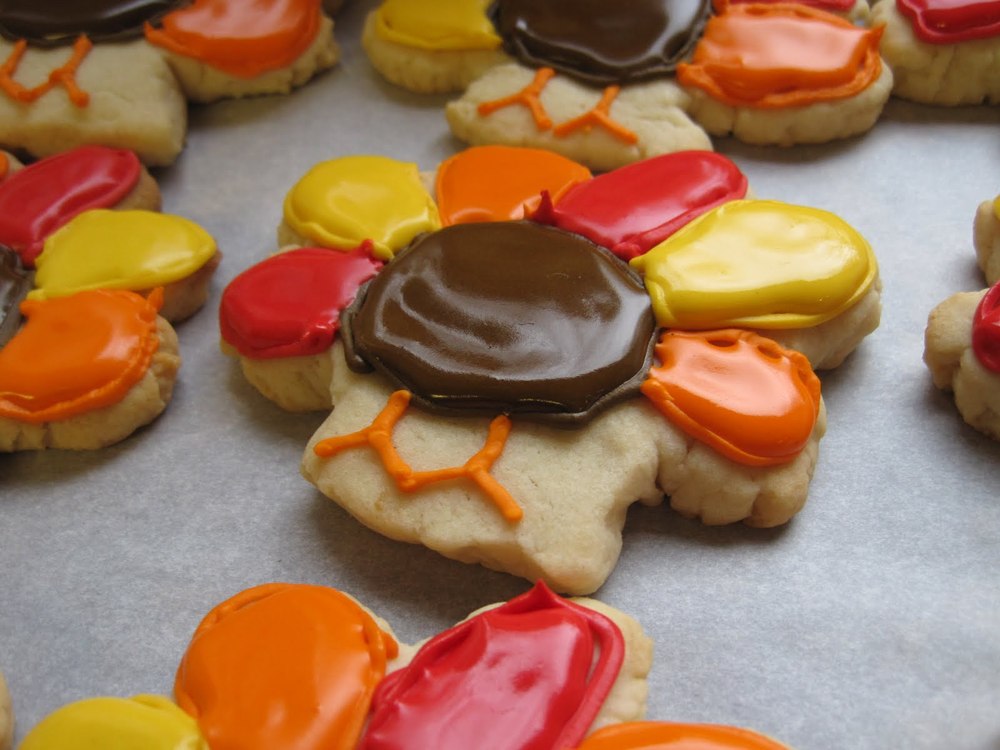
Turkey Cookies

Img_3687

For Thanksgiving, my sister Joellen had the idea to make some really cute sugar cookies decorated like turkeys. She got the idea from a really cute cookie blog: Bake at 350.

Img_3696

To start, we followed Paula Deen's recipe for Snowflake Cookies. When the dough was finished, we covered it with plastic wrap and let it chill for about an hour.

Img_3656

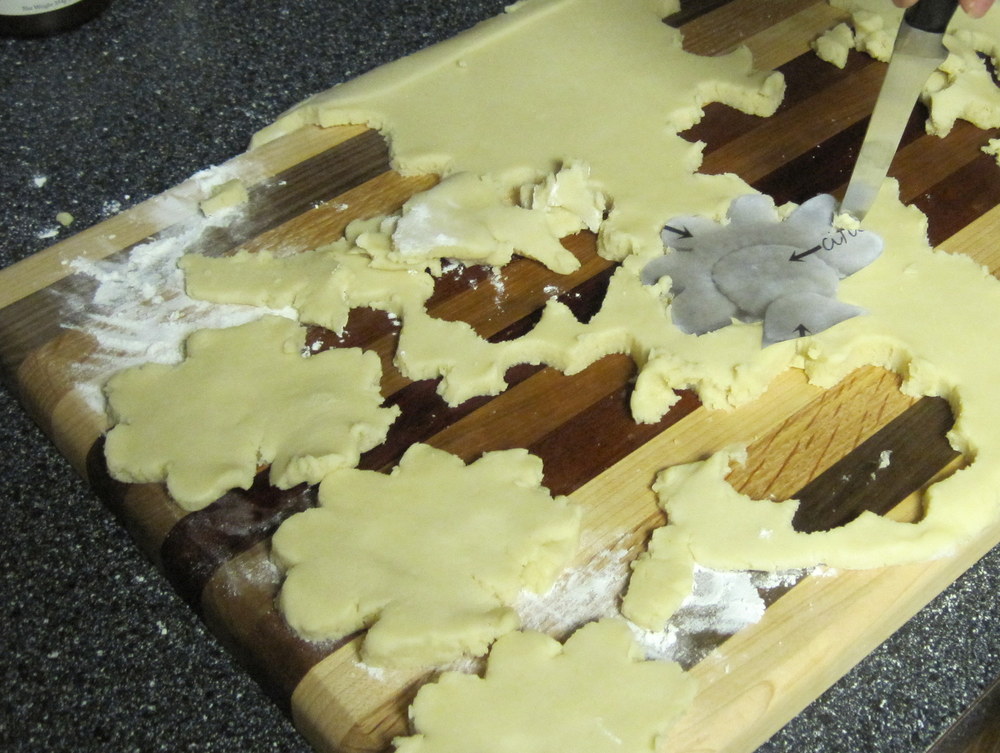
We rolled it out, and used a knife to cut around the turkey cutout we printed from the website I can't remember the name of.

Img_3659

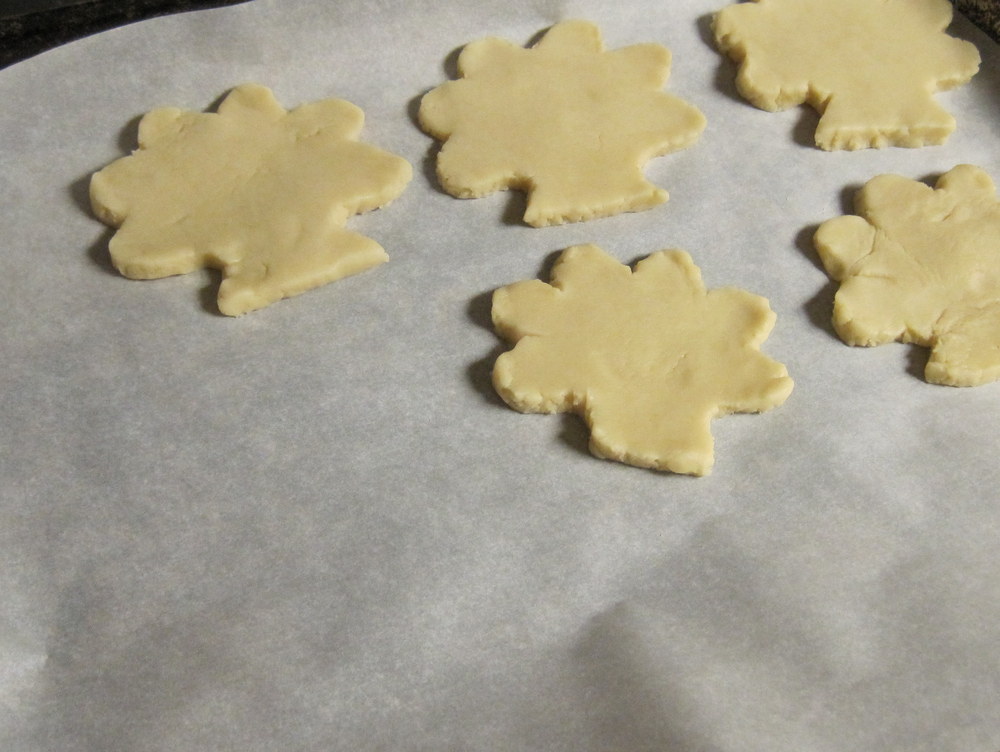
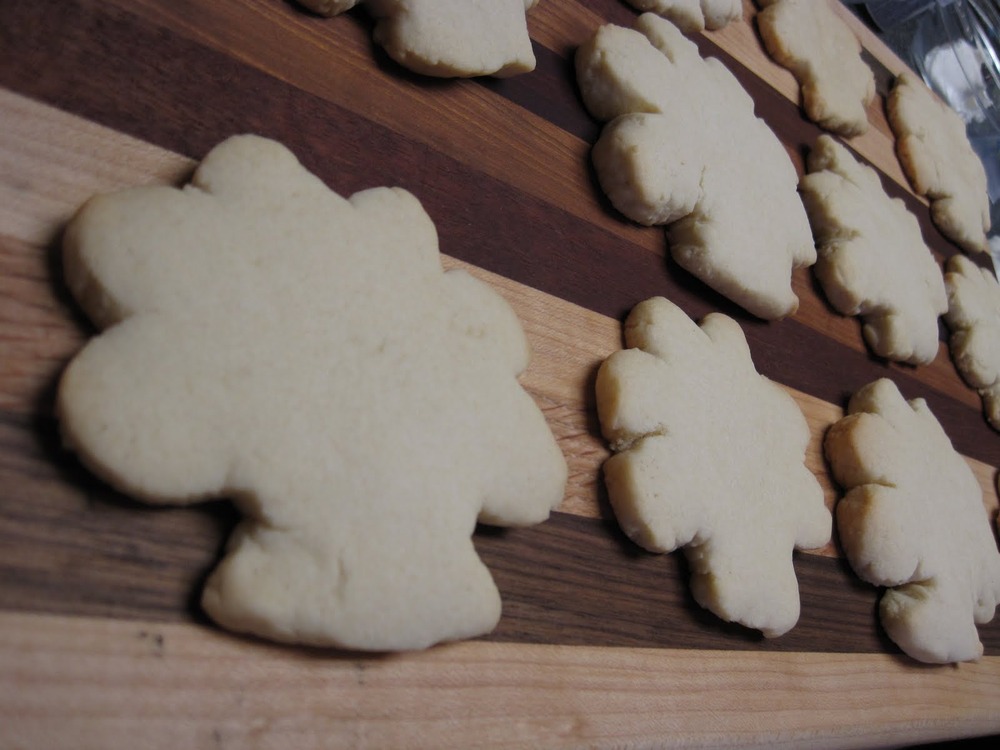
We arranged them on top of parchment paper on the cookie sheet, and baked them.

Img_3670

They looked great!
We made royal icing and mixed in the different food color gels!

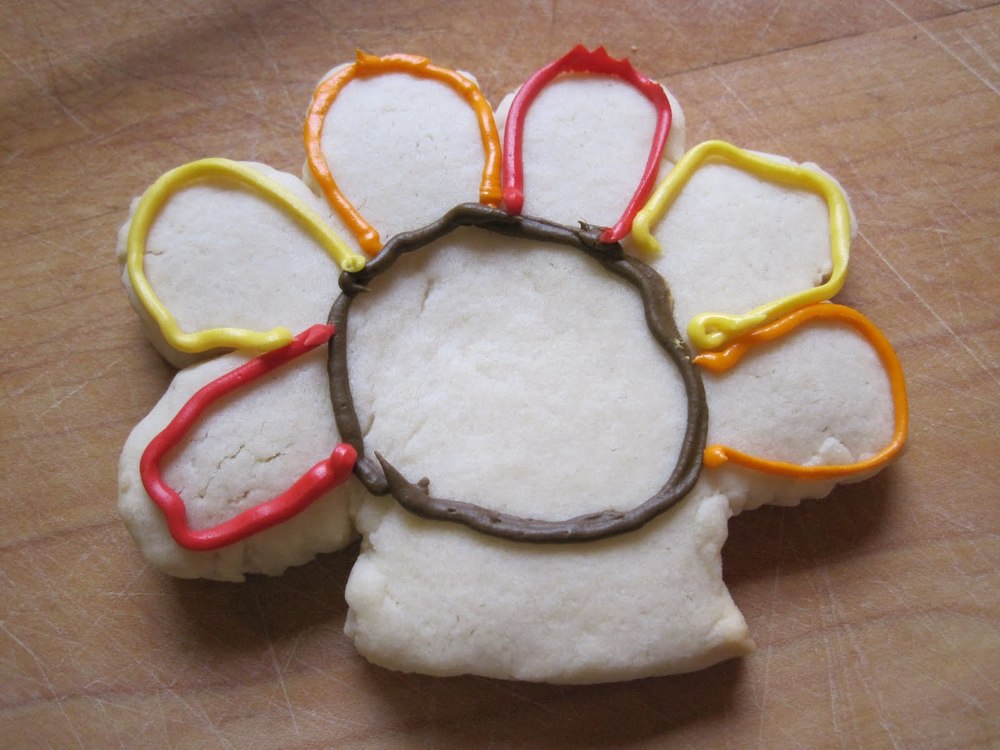
Icing the cookies was fun! First, we piped the outline of the turkey shape,

Img_3679

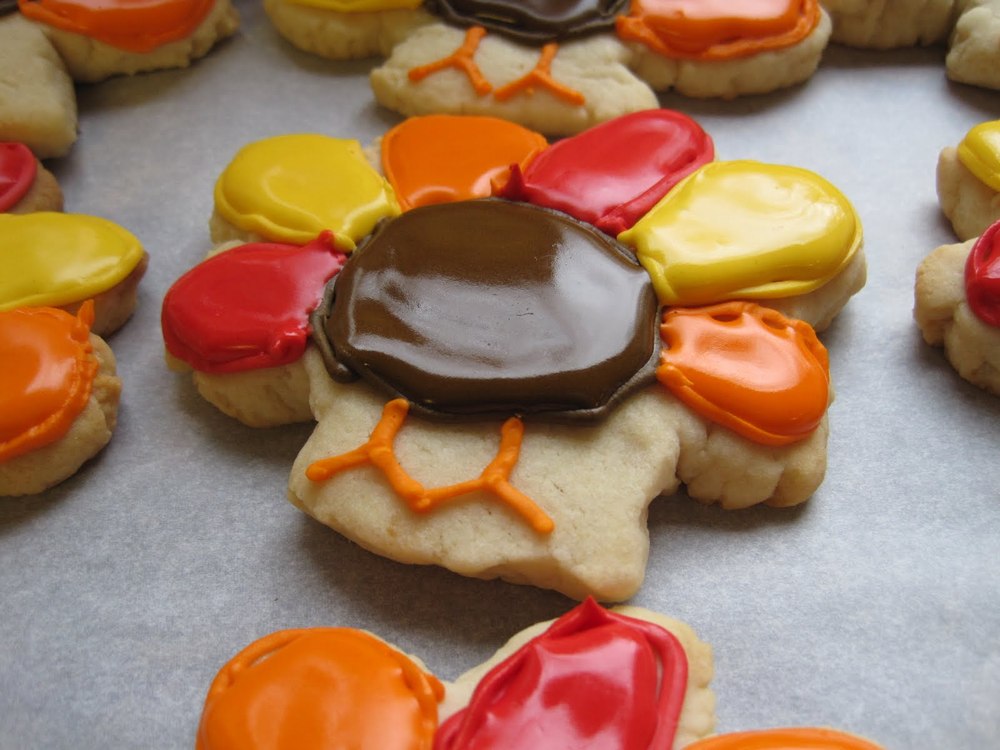
and then we filled in the outline by "flooding" the area with slightly thinner icing.

Img_3686

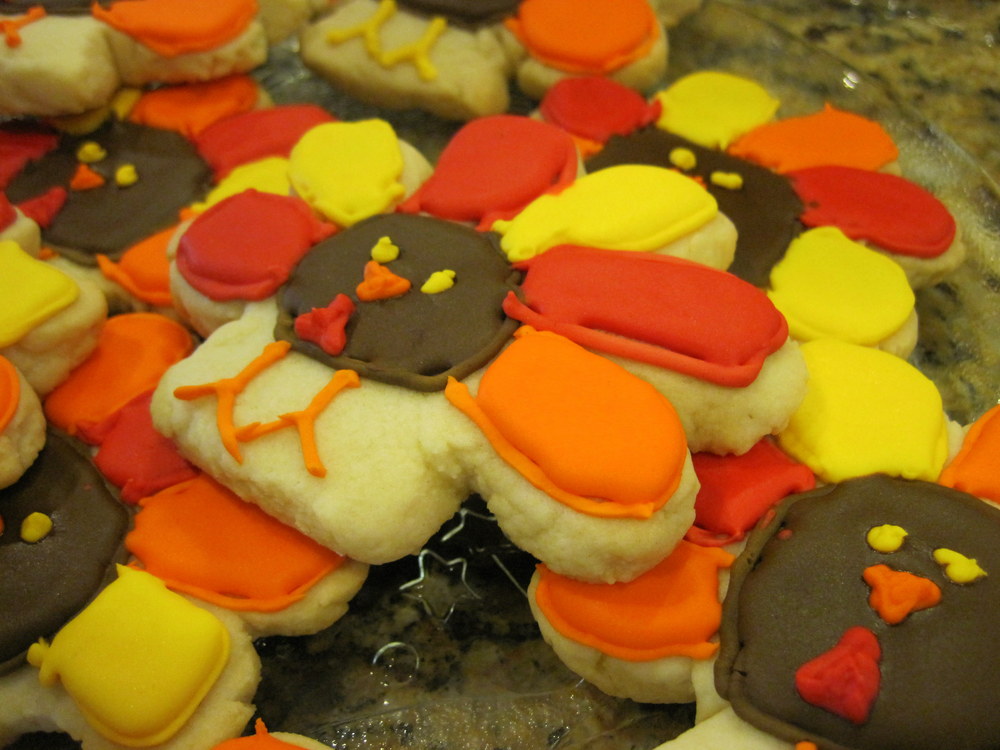
Joellen added the turkey face and they were complete!

Img_3690

They were delicious too!

Sunday, October 31, 2010

Pig Costume

A couple of days ago, I got the idea to be "pigs in a blanket" for Halloween. It is perfectly appropriate for Jamie and me, since we love to make pigs in a blanket for people. See the page about our Pigs in a Blanket Factory if you don't know what I'm talking about.

It is also the perfect costume because I was able to make it for $1.00. That's my kind of costume! I don't like spending a lot of money on Halloween costumes - you only wear them one time, and they aren't very comfortable anyways.

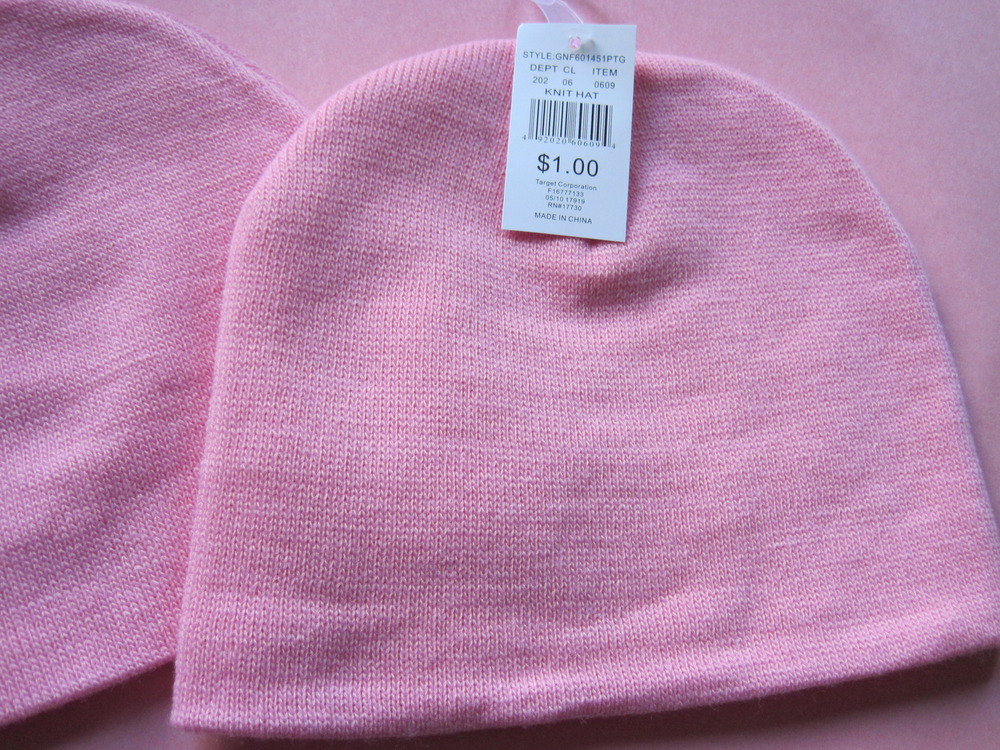
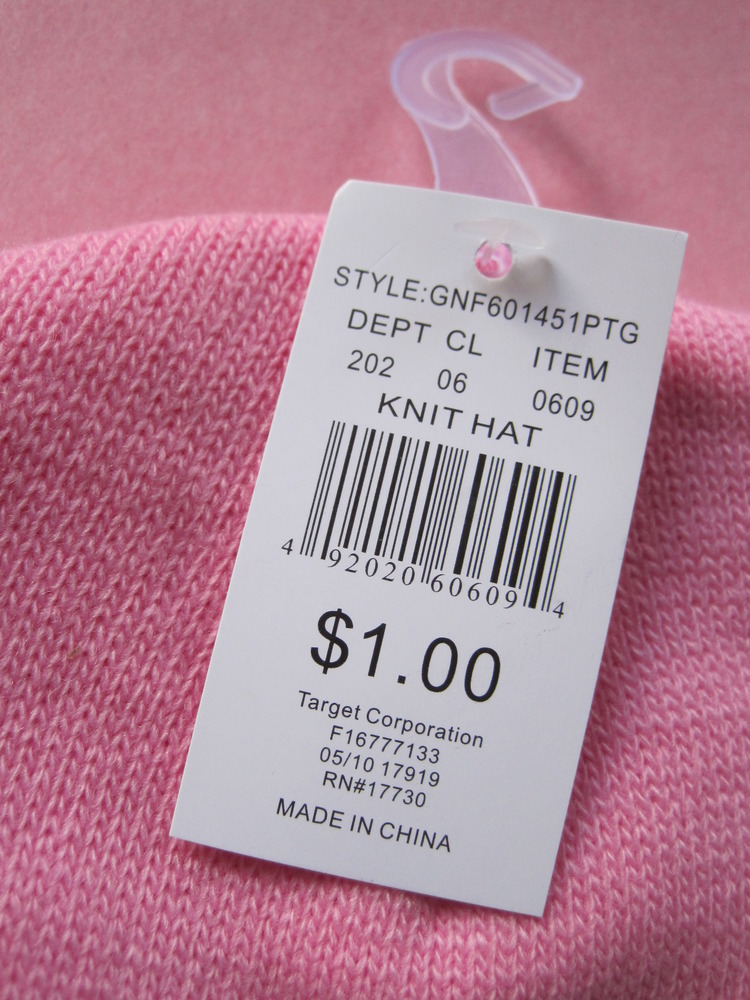
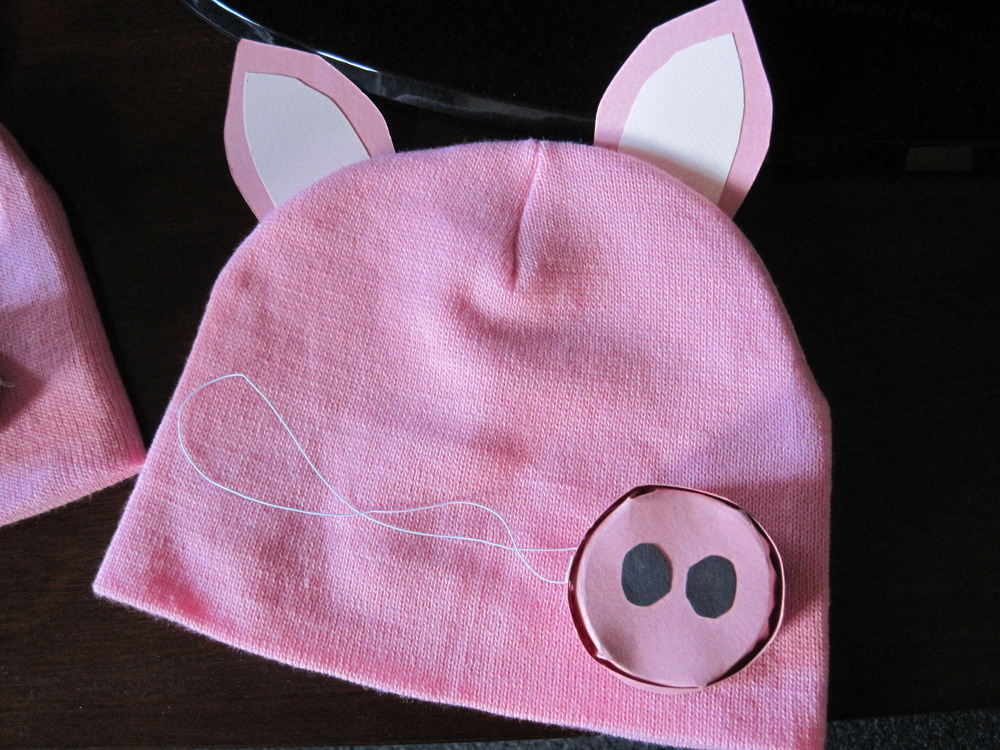
I started with these beanie hats I found in the girls' section at Target.

Img_3444

And, they really were only $1.00!

Img_3446

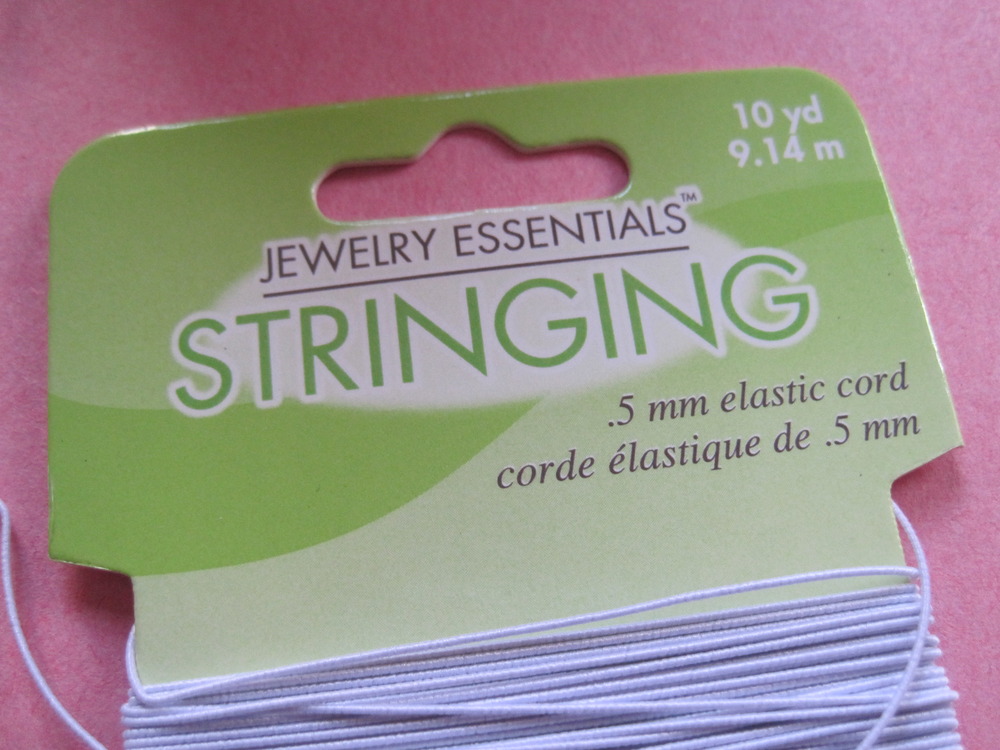
All I needed was the beanies, pink and black construction paper, small cups, and elastic string. The tools I used were scissors, tape, a glue stick, and a single hole puncher.


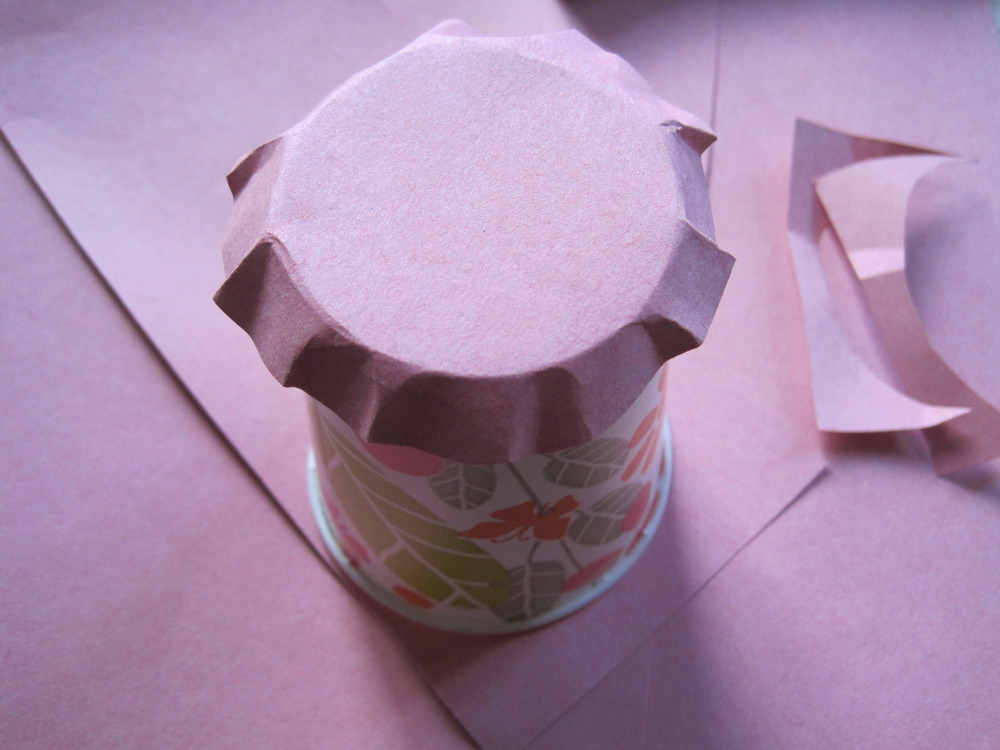
I cut pink paper to fit around the top of the cup, and taped it down:

Img_3450

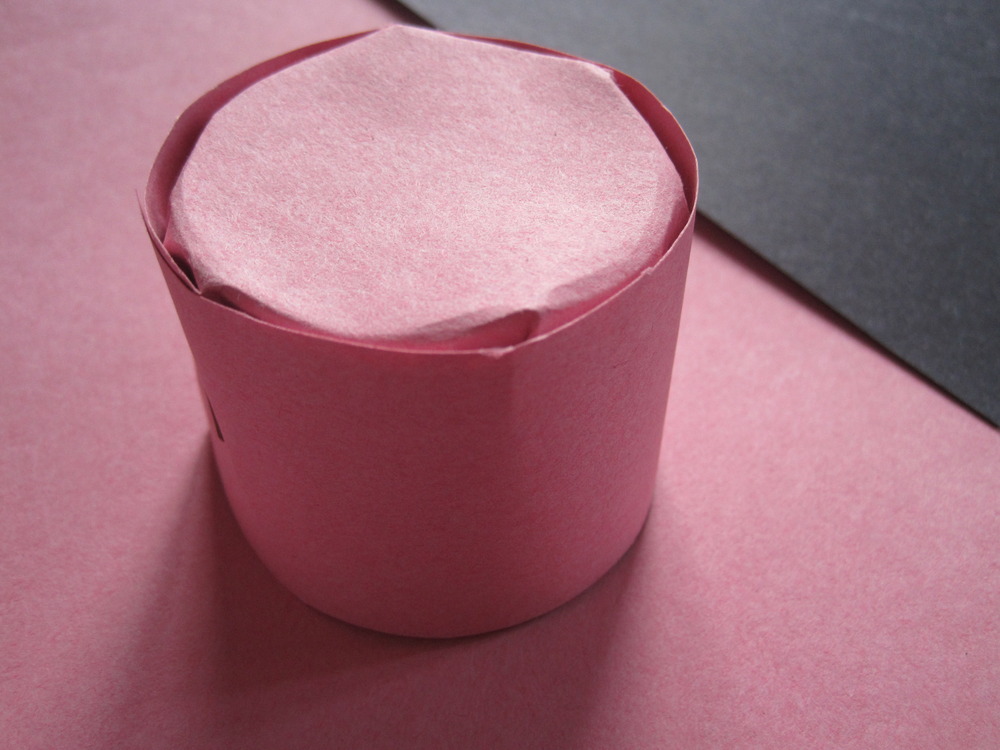
Then, I cut pink paper to fit around the sides of the cup, and cut the whole thing down to the size I wanted:

Img_3452

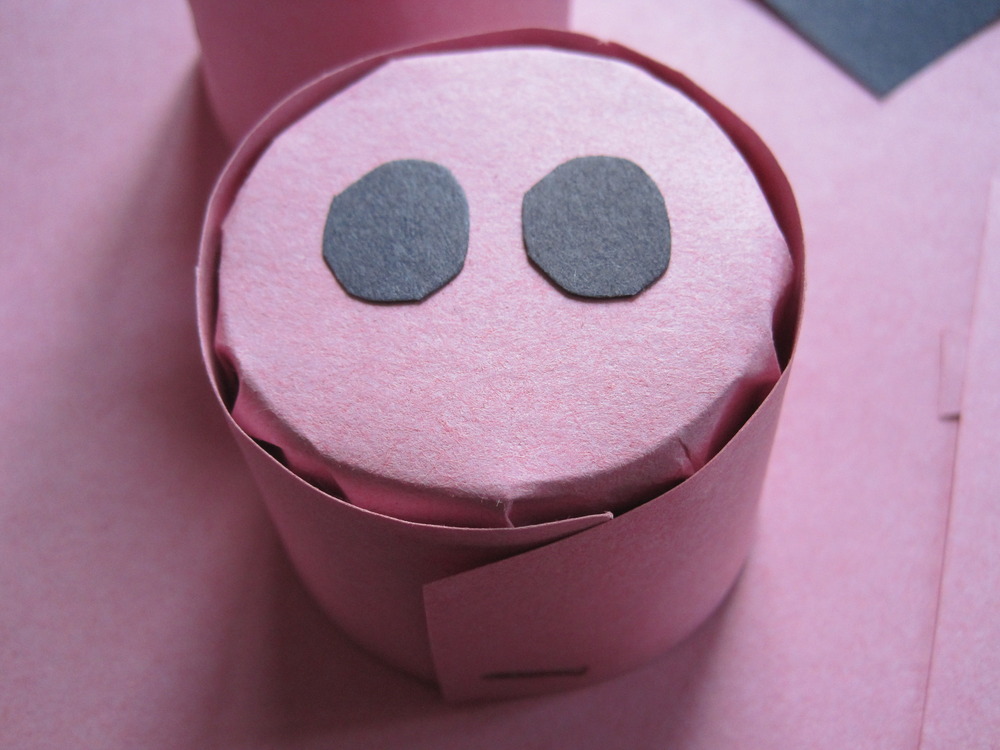
And, I cut black circles for the nose holes, and glued them on:

Img_3453

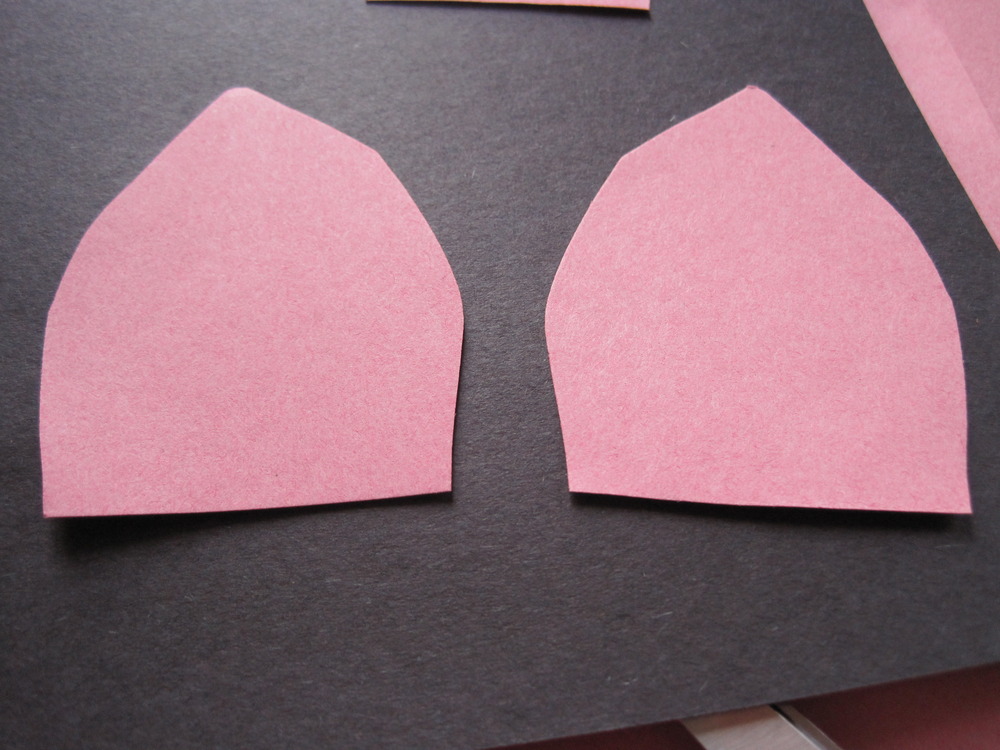
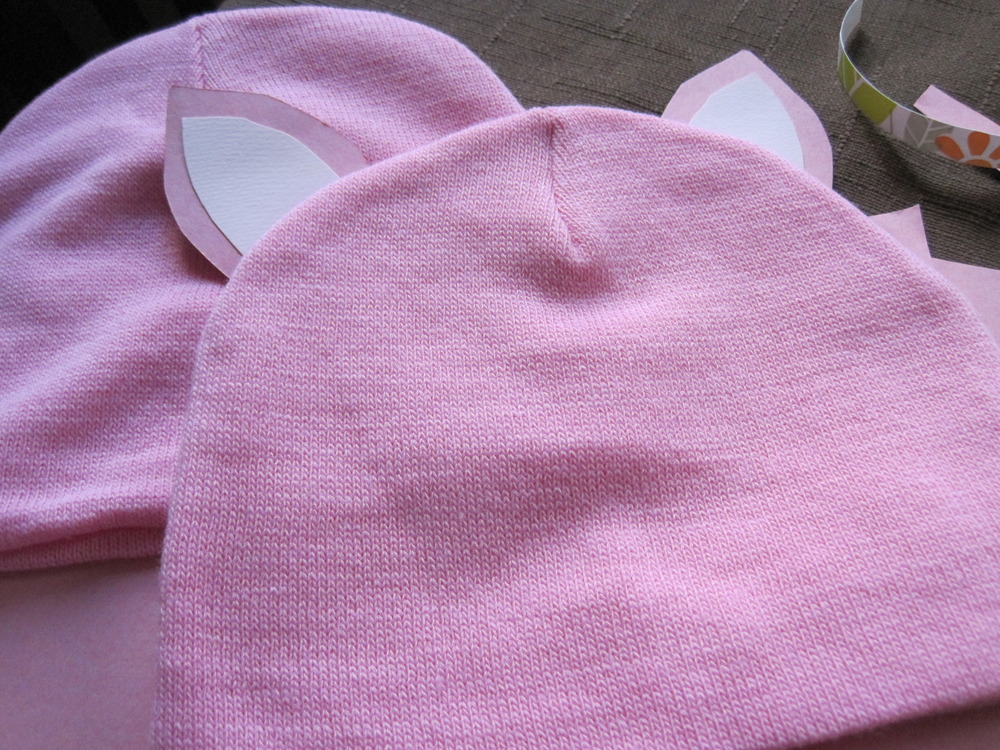
I cut out outer ears:

Img_3454

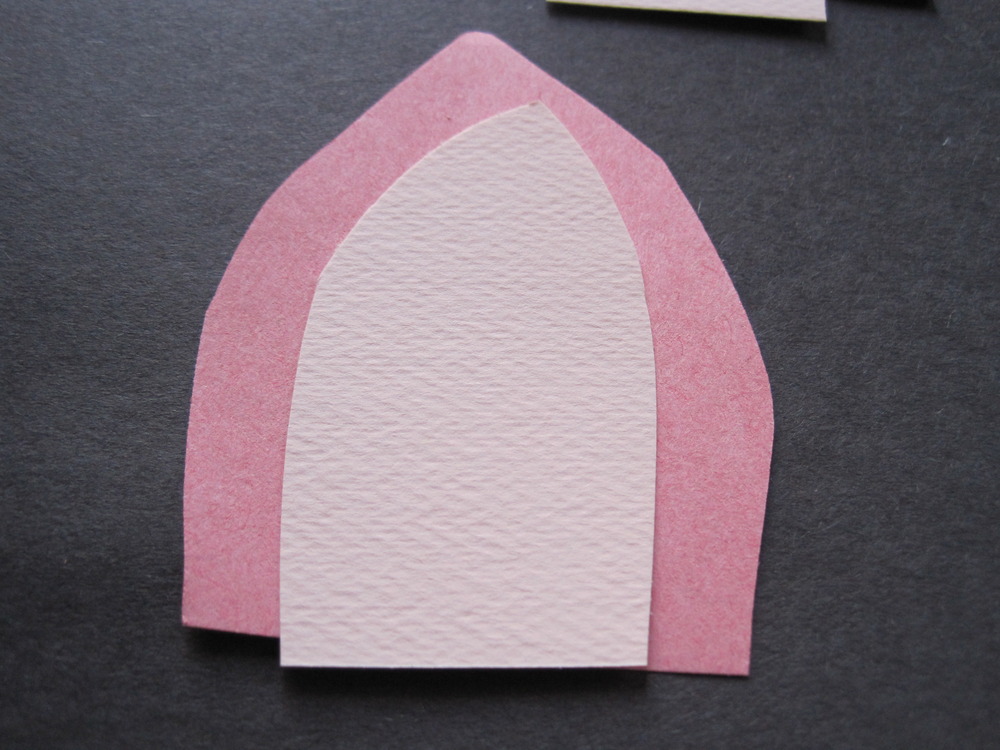
And inner ears:

Img_3455

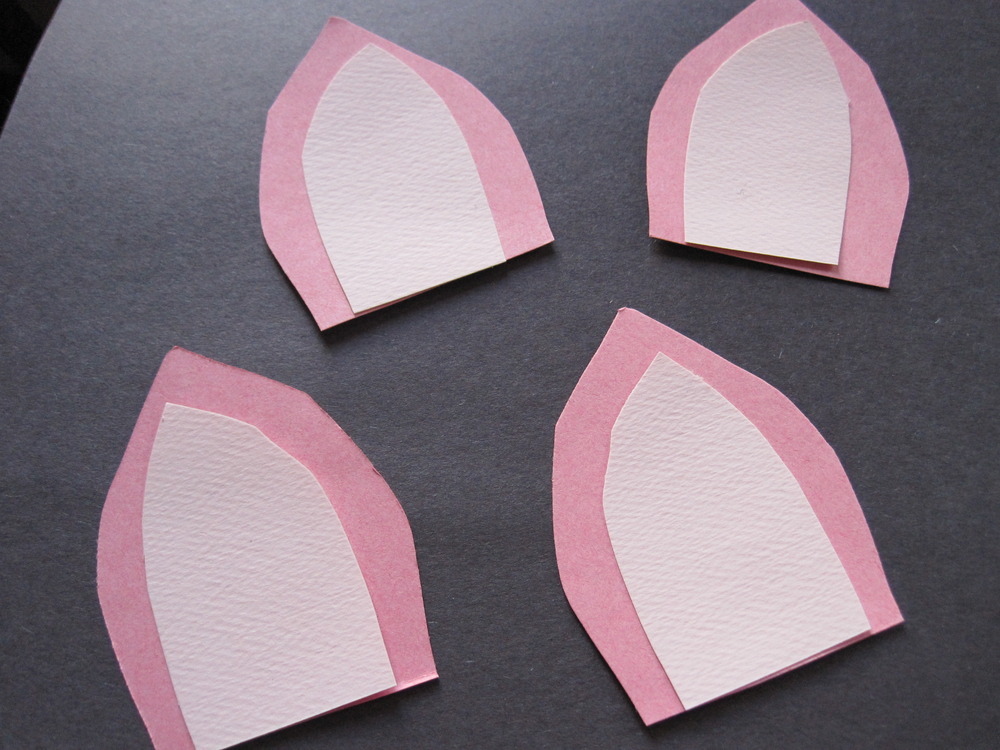
And glued them all together:

Img_3456

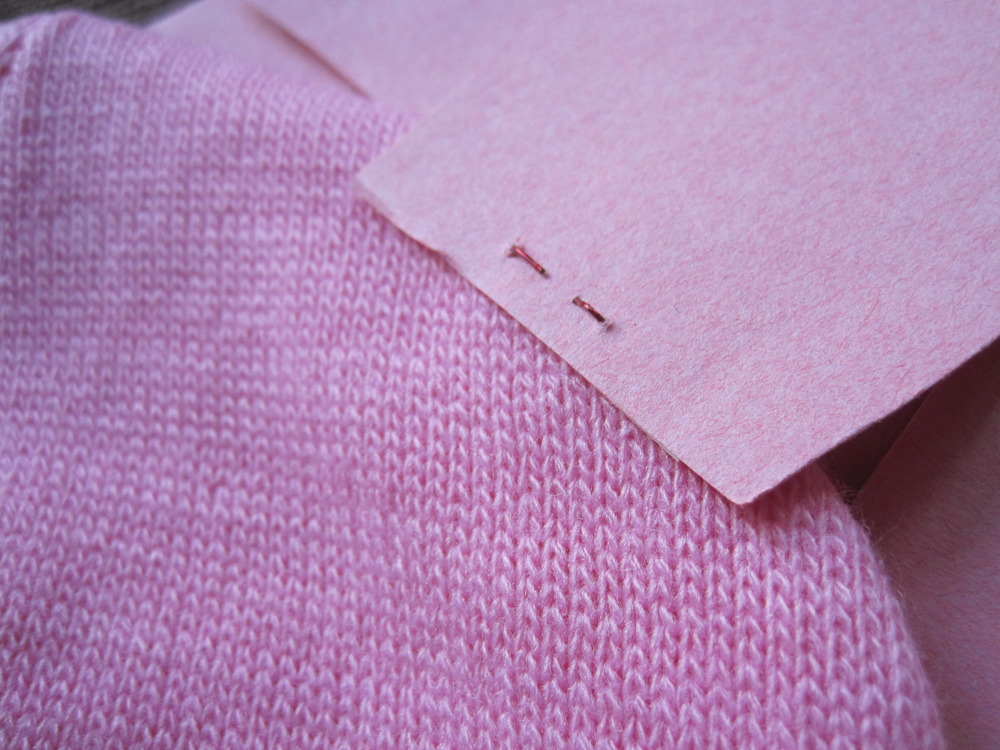
I stapled the ears to the top of the hats:

Img_3457

Here is the finished hat:

Img_3458

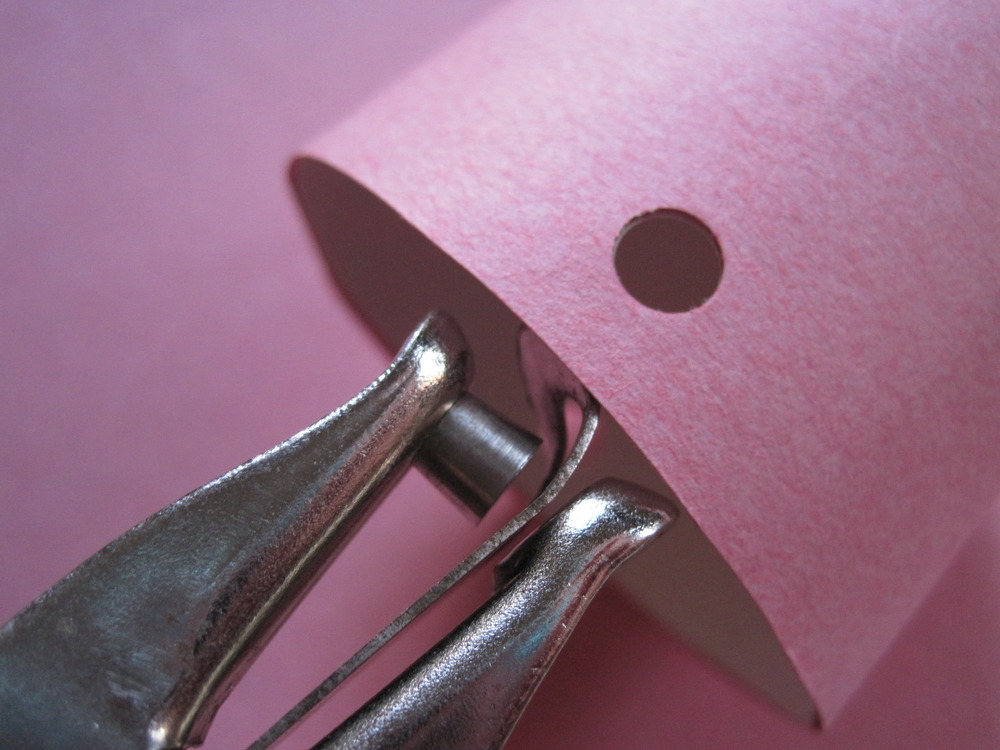
To finish up the noses, I punched holes in the sides of them:

Img_3464

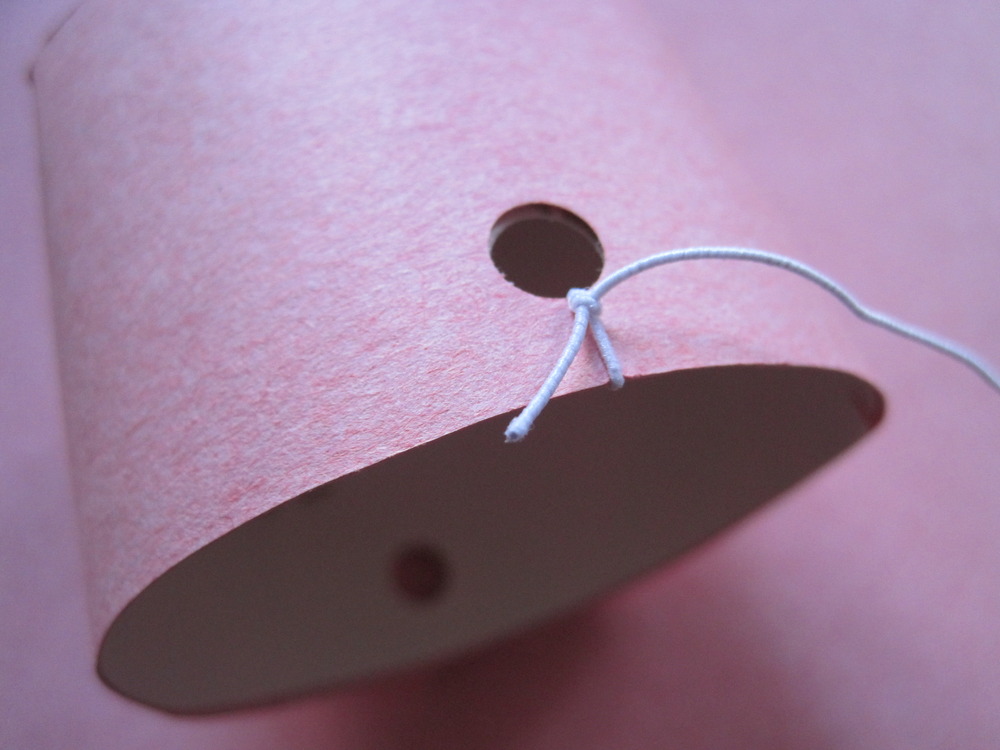
Tied on the elastic string:

Img_3467Img_3466

And ta-da! My costumes were complete!

Img_3468